A countershaft seal can leak because of a build-up of dirt or chain grease. Changing these seals is relatively easy once you know how its done.
A countershaft seal can leak because of a build-up of dirt or chain grease. Changing these seals is relatively easy once you know how its done.
How to change a countershaft seal
Step-by-step:
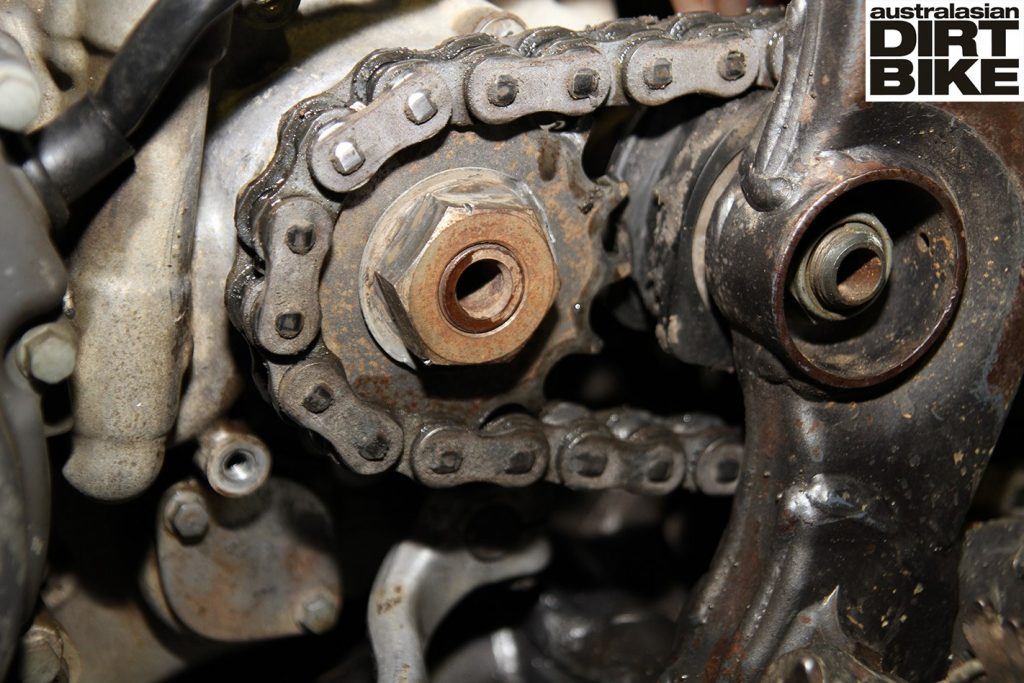
1. Remove the front sprocket cover
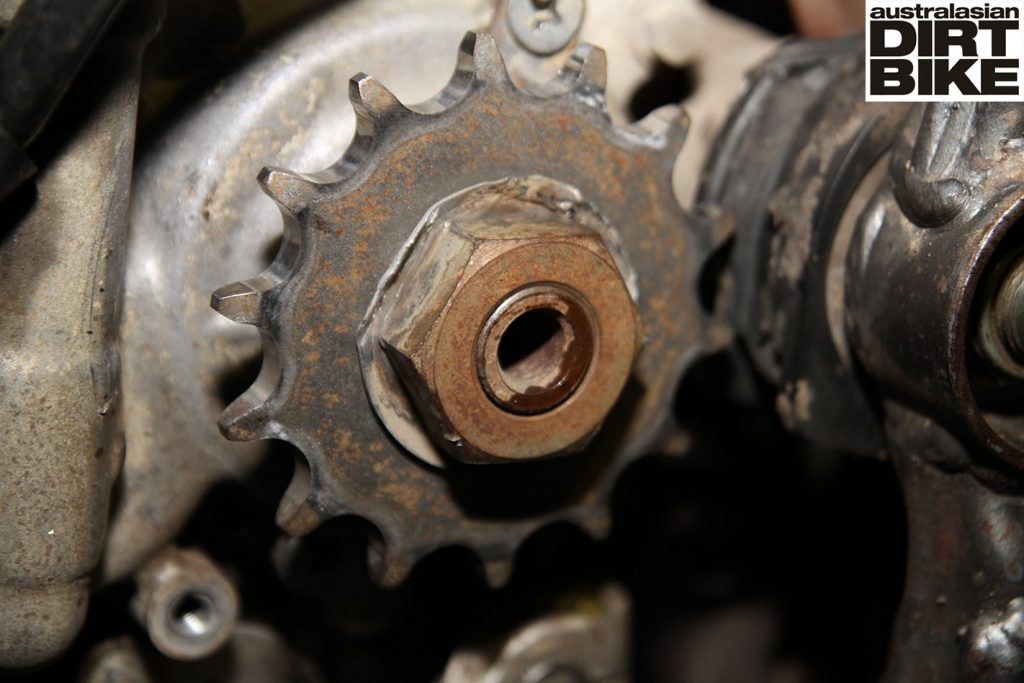
The countershaft seal is located behind the front sprocket. So start by removing the front sprocket cover. Once the cover is off, bend the lockwasher tabs away from the sprocket nut and remove the nut. Keep in mind that some bikes may not have a nut, but instead use a circlip.
2. Release the chain

Once the front sprocket nut has been undone, remove the sprocket and chain. It’s crucial to remember that it’s easier to undo the sprocket nut while the chain is still attached.
3. Seal extraction
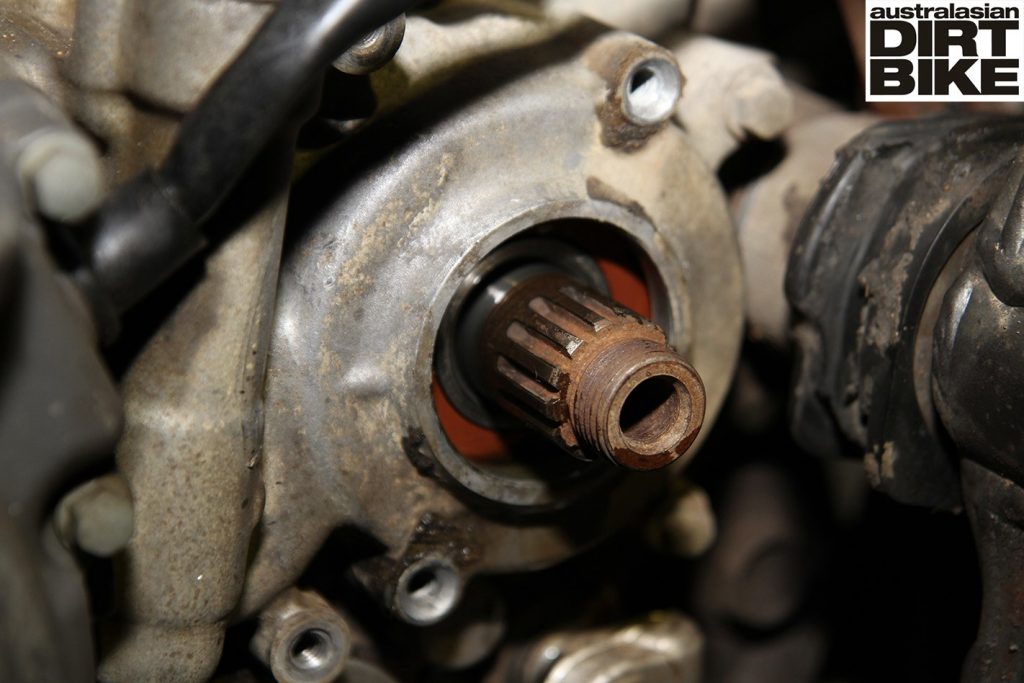
Now grab a pair of needlenose pliers and pull the inner sleeve out of the inside of the seal. But be careful not to lose the O-ring positioned inside the sleeve. Then use a fl athead screwdriver and pry the seal out. Be sure not to damage the engine casings.
4. Clean as a whistle
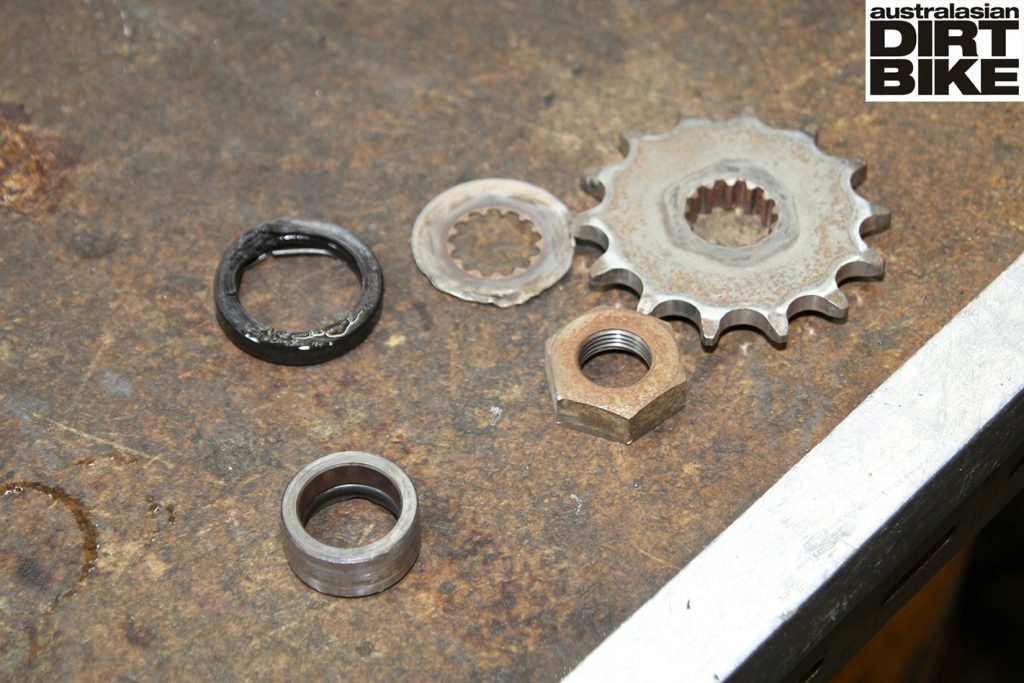
Lay all the parts on a bench and give them a thorough clean. Then grease the inner sleeve so it slides back on with ease. Also, it’s recommended that you replace the O-ring to limit leakage.
5. Tap the new seal in
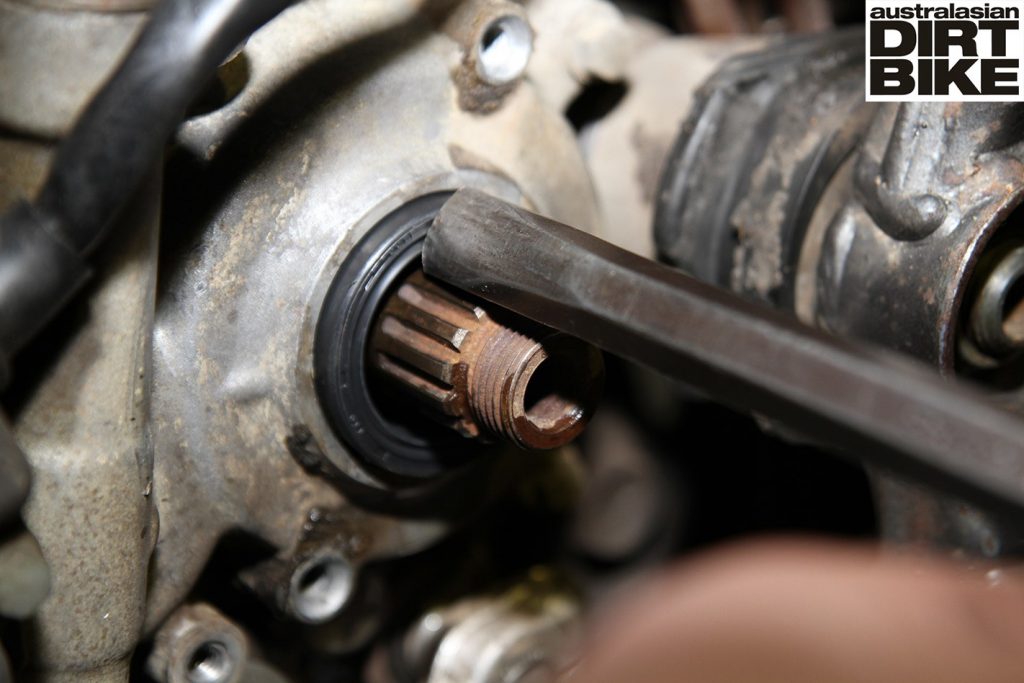
With everything back together, gently tap the new seal in with a hammer and punch. A small amount of lubricant applied to the seal will help it slide in. Once back where it belongs, refi t the inner sleeve. This will go in easier if you rotate it while pushing it in.
6. Refit chain
Once the new countershaft seal has been fitted, reinstall the front sprocket and chain and tighten to the manufacturer’s specifi cations. And fi nally, don’t forget to refi t the front sprocket cover. Simple as that!
DOs
• Be gentle when fi tting the new countershaft seal as some of the parts are fragile.
• Remember to replace the O-ring on the inside of the sleeve as it can wear out quickly.
• Be meticulous and clean every part thoroughly before refi tting.
• Leave the chain connected until you remove the front sprocket nut. It’s easier to loosen it that way.
DON’Ts
• Damage the engine casings or countershaft when removing the seal.
• Forget to grease the seal and sleeve. Never put the seal or sleeve back in dry.
• Hit the seal too hard while refi tting. You don’t want to damage it.
• Hit the inner sleeve in with a hammer, unless you want to destroy it.
TIPS:
• If you begin to notice oil leaking from the sprocket, it’s best to check the countershaft seals. They might be in dire need of replacement.
• Be meticulous and take things slow. Some pro cedures can be fiddly and some parts fragile, so you don’t want to rush things and damage parts.
• Just like a surgeon: a clean environment is the best environment.
• Avoid using the same part of the washer for the lock tabs as they may break off from fatigue.
To receive the latest news, reviews and video highlights from the world of dirt bikes, sign up to our weekly newsletter here.