Whether your old grips are falling apart or shredding your hands with blisters, fitting new grips can make a big difference to your riding experience.
How to fit new grips
Step-by-step:
1. Out with the old
If you’re lucky, removing your old grips will be easy. Simply grab them tightly and twist or hold the flange and peel them off. However, if your grips have been glued or bonded to the ’bar, the simple approach won’t work and you’ll need to use a combination of pulling them, then cutting them with a Stanley knife, to get them off.
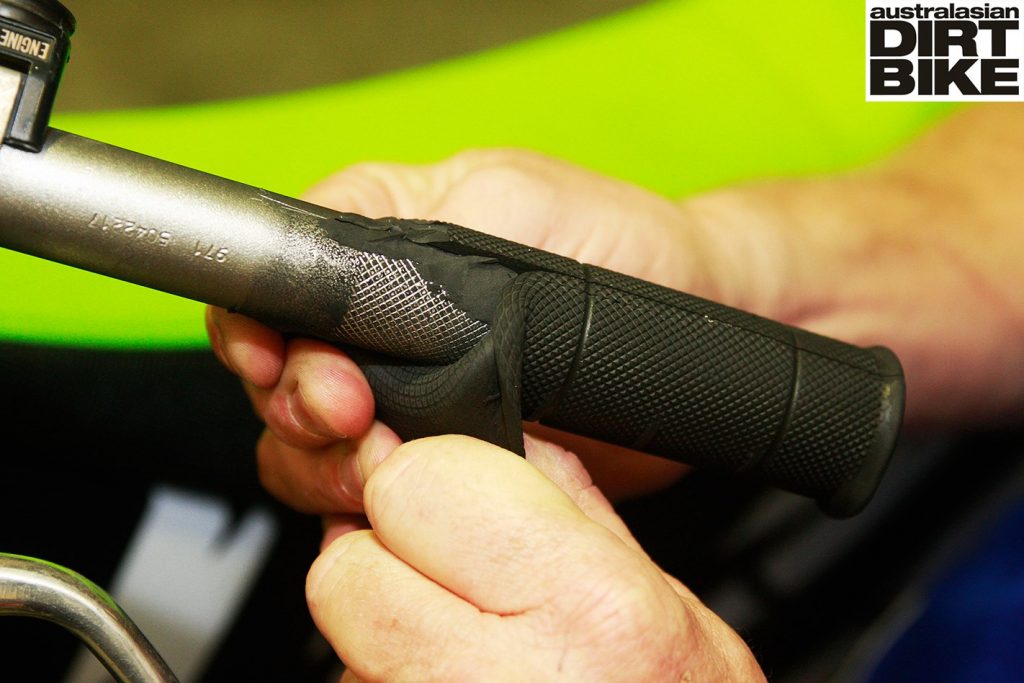
2. Kawasaki grips

Kawasaki grips, like these, are notoriously difficult to remove, being strongly bonded right onto the handlebar end. Using a large flat-blade cutter is the most effective option.
3. Clean up

Use a rough scouring pad, wire brush or course sandpaper to clean up the knurled ’bar surface in preparation for your fresh grips. The smoother the surface, the easier your new grips will slide on and the better they will bond.
4. Plug the ends

For safety’s sake it’s a good idea to plug the ends of your ’bar. In fact for most forms of motorcycle competition in Australia, plugging your ’bar ends is mandatory. The easiest way to do this is to slip a washer or $2 coin into the end of each grip before fitting.
5. Neat fit

Apply some grip glue to the handlebar, and quickly slip each grip over it. Due to the stiffness of the rubber and inside diameter of some grips, you may find them difficult to fit. The glue should act like a lubricant until it becomes tacky so speed is of the essence. If you have access to an air compressor, blowing up the inside of the grip can help getting it on.
6. Finishing touches

To reduce the chance of water getting under your grip and breaking down the grip glue, be sure to tie-wire both ends of the grip. Special tie-wire pliers make this job quick and easy, but normal pliers will do. Make sure the tie wire on the outside of the grip is no closer than 10mm from the ’bar end or the wire will slip off the end and tear into the grip.
TIPS:
Grip Donuts
If you suffer from blisters near your thumb, try a pair of neoprene grip donuts.
Tips on what to do:
• Keep your grips in good condition. Torn or worn grips can come loose and begin to slip or rotate, presenting a safety hazard.
• Use grip glue to secure your grips. Some people advocate a splash of petrol or hairspray to bond the grip to the ’bar but these methods may not last as long.
• Fit half waffle grips with the waffle facing down. The waffle pattern is designed for your fingertips, which latch on at the bottom.
Tips on what not to do:
• Ride with lose grips. They can rotate or come right off the ’bar and cause a nasty crash.
• Leave tie wire ends protruding. To avoid stabbing your fingers with the tie wire, secure the tie wire with the twisted ends near the bottom of the grip, trim to 5mm long then bend forward and press into the grip.
• Ride without plugged ’bar ends. The forces involved in a crash can stab the blunt end of your ’bar into you or others.