Brake and clutch levers are often the first things to break when you drop your bike. To prevent either of them breaking and ruining your ride, don't crash!
HOW TO BASIC: INSTALLING LEVERS
Step-by-step:
1. Boots off
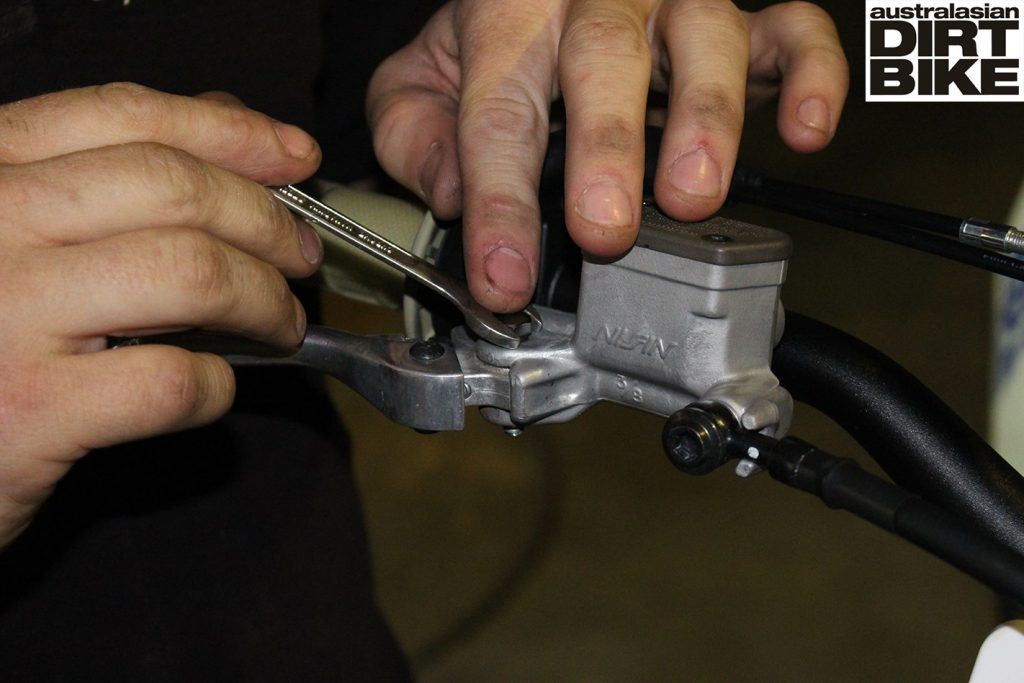
Slide the rubber boot that covers the bolt securing the lever to the master cylinder out of the way so you can access the head of the bolt. Put a spanner on the head of the bolt and on the nyloc nut and undo the bolt and remove it completely then remove the old lever.
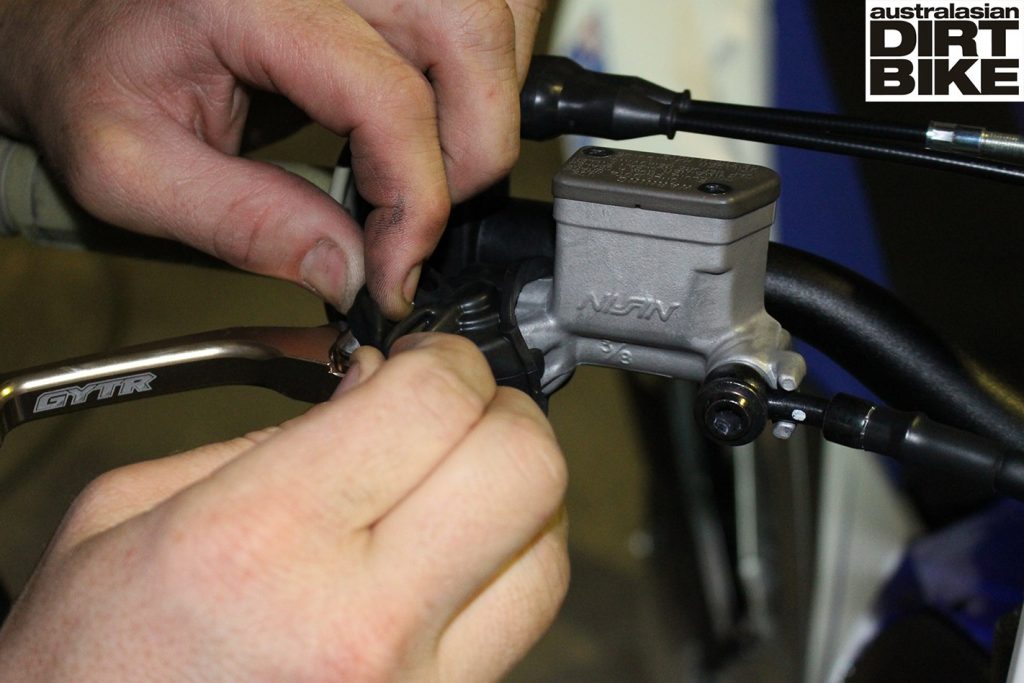
2. Assemble first
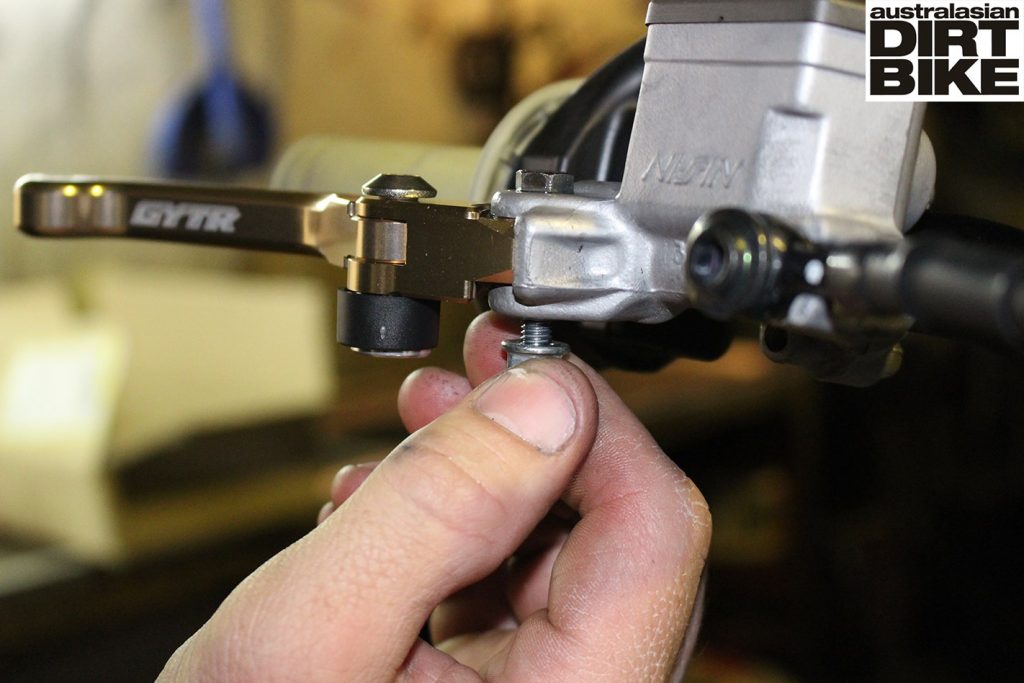
Assemble the new lever if you are using spring-loaded pivoting levers and then slide it into the master cylinder and line up the holes. Apply some grease to the original bolt to stop it from binding when tightened and slide it through the new lever and then tighten the nyloc nut to secure it in place. Then cover the pivot point with the rubber boot.
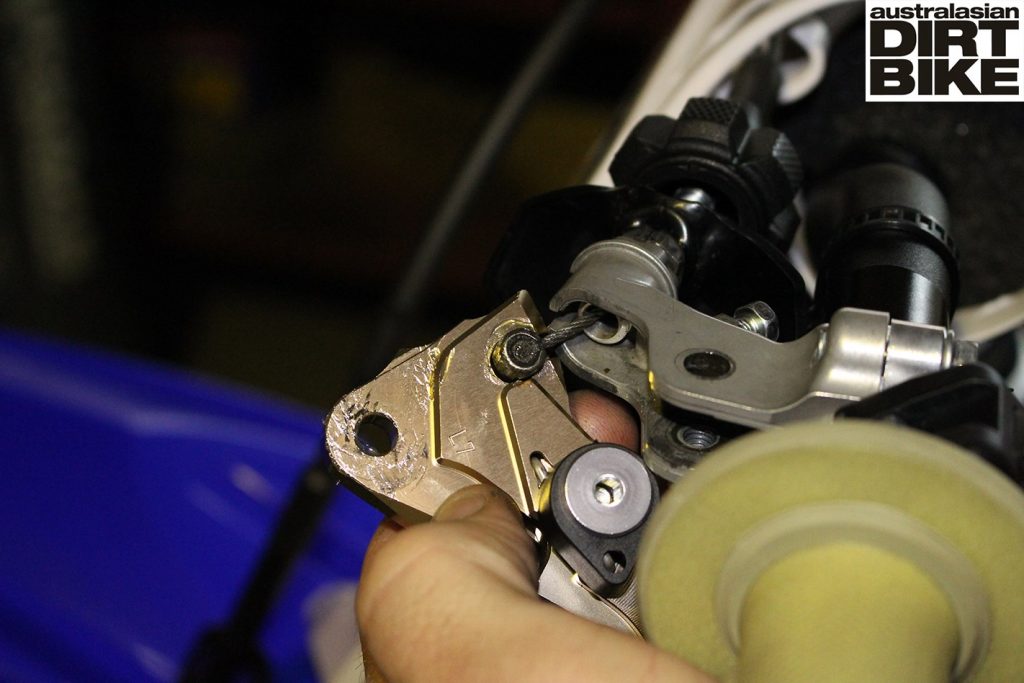
3. Cable clutch

Installing a new clutch lever will be different on a bike with a hydraulic clutch. Our Yamaha YZ450F has a cable clutch. Remove the rubber boot cover the pivot point and remove the bolt to release the lever from the clutch perch. Twist the lever around on itself so you can access the clutch cable.
4. Unhitch the clutch cable
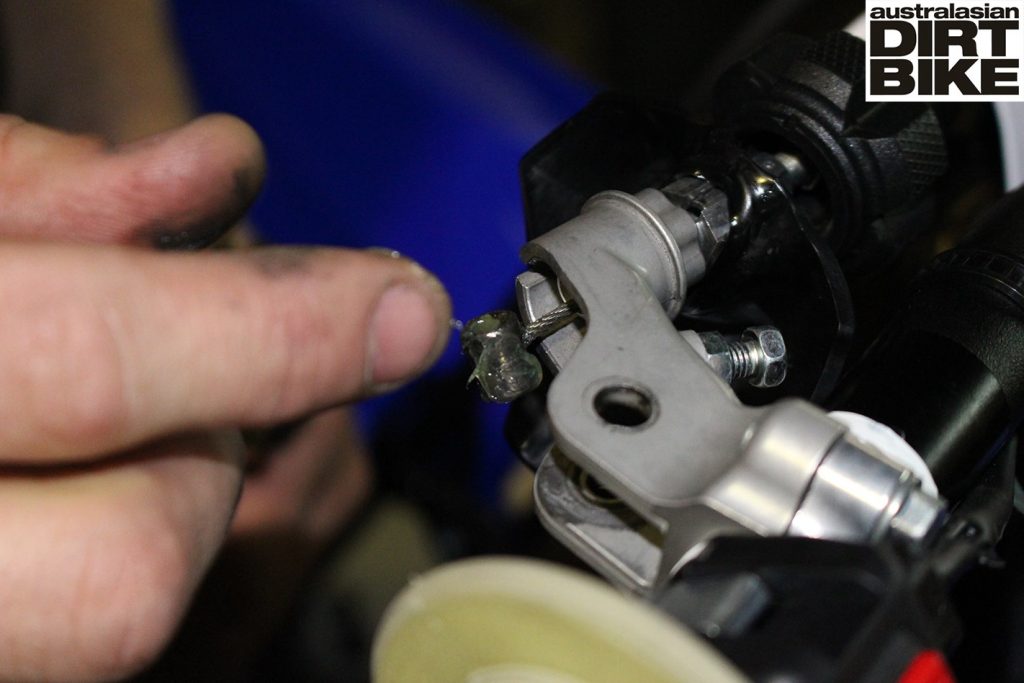
Unhitch the clutch cable from the old clutch lever, if difficult adjust the clutch free-play to give more length. Get your new lever and apply some grease to the hole where the cable will sit as well as the end of the clutch cable.
5. Slide and secure
Press the end of the clutch cable into the hole that is cut out on the underside of the clutch lever and lock it into place. Twist the lever the right way up and then slide pivot point into the perch and secure with the original nut and bolt. Pull the rubber boot over the pivot point.
6. Adjust and compensate
Adjust the clutch free-play back to how you like it and change the distance the lever sits out from the ’bar because it will be different on the new levers. On the brake side you might need to adjust the brake pin to compensate for the new lever.
THINGS TO DO:
• Apply grease to both the brake lever bolt and clutch lever bolt to stop binding and for easy removal down the track
• Adjust the freeplay in the clutch cable to make it easier to unhitch it from the clutch lever
• If you are using spring loaded levers assemble them before you install them on the bike – it’s much easier this way
• Adjust the clutch pull and the brake lever pull after installing the new levers as they may not be right with the adjustments from the old levers
THINGS NOT TO DO:
• Don’t over tighten the bolt which the lever pivots around – it may make the lever bind and not return to its neutral position
• Don’t ride the bike before checking the new levers operate the brake and clutch correctly – you should ensure they are adjusted before you charge out onto the track
• Don’t discard the rubber boot when you install new levers – it will let excessive amounts of sand, dirt and grit into the pivoting joint