Finding the correct jetting is one of the most crucial factors in determining how well or how poorly your bike will run.
How to basic: Correct carburettor jetting
Altitude, temperature and type of fuel all play into it, and most modifications to the engine often need to be backed up with an adjustment to the jetting.
Step 1. Changing jets
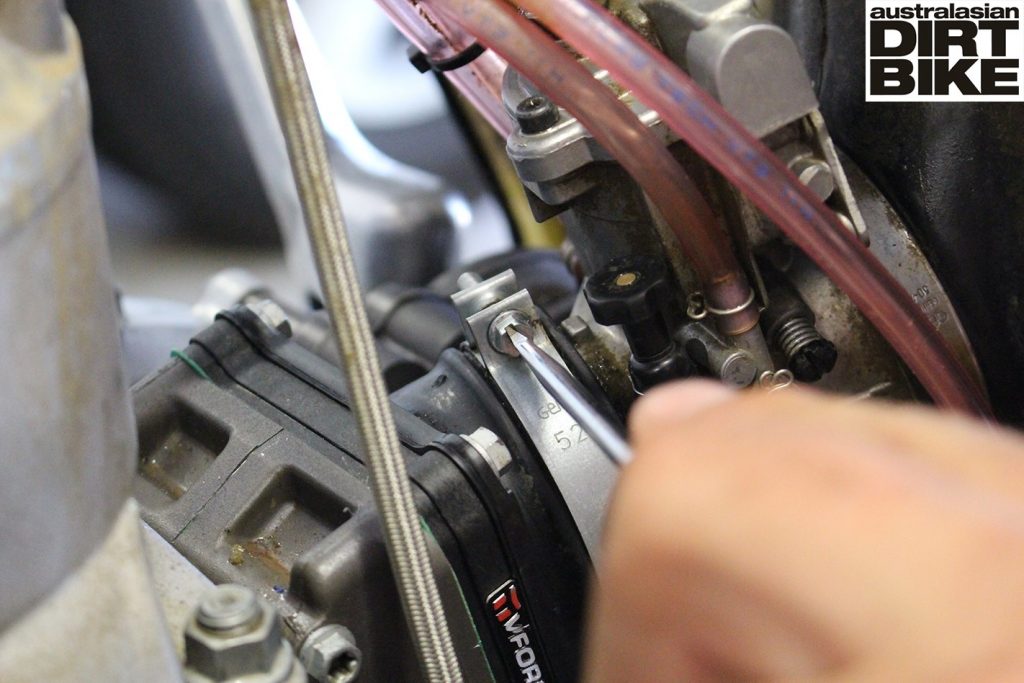
Changing the jets in a carburettor can be done with it still installed in the bike, but to make it easier to remove the pilot jet, we removed the carby from the bike. Undo the two hose clamps around airbox boot and engine intake to free the carburettor, and loosen the subframe bolts to make it easier to get it out.
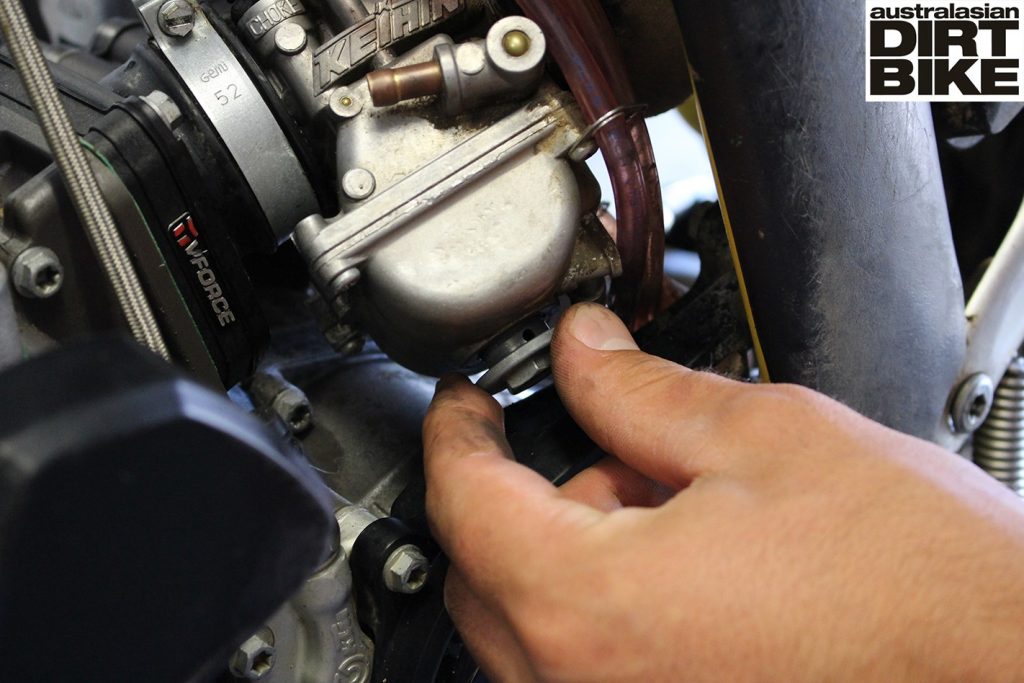
Step 2. Carby out
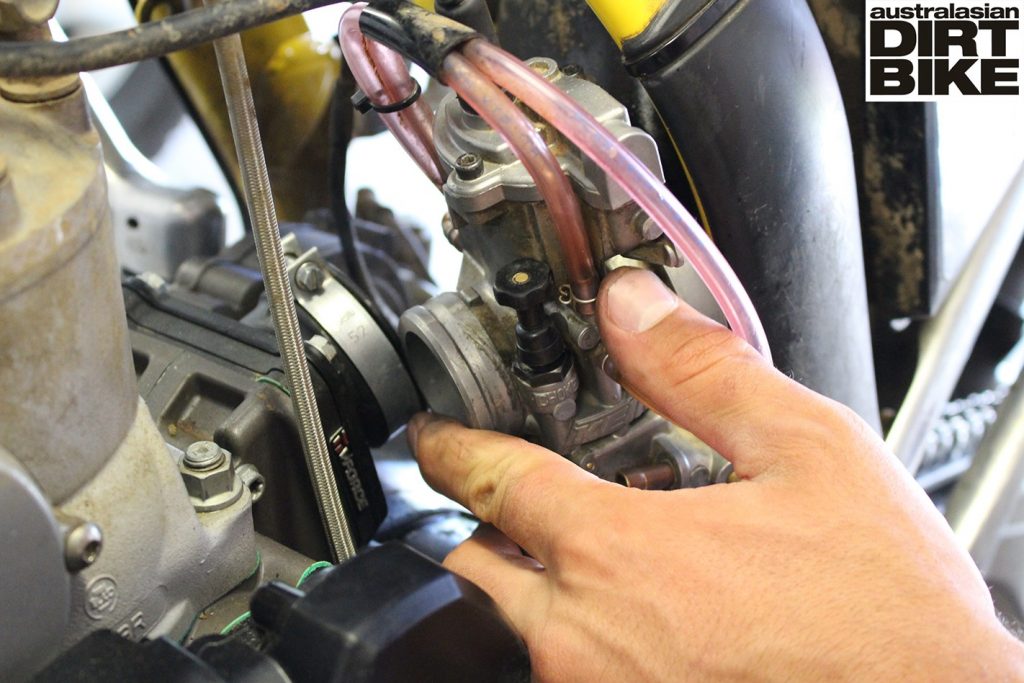
Pull the carburettor out through the side of the bike – pushing down on the subframe will release it from the airbox boot and make it easier to remove. Undo the drain bolt to empty all the fuel.
Step 3. The main jet
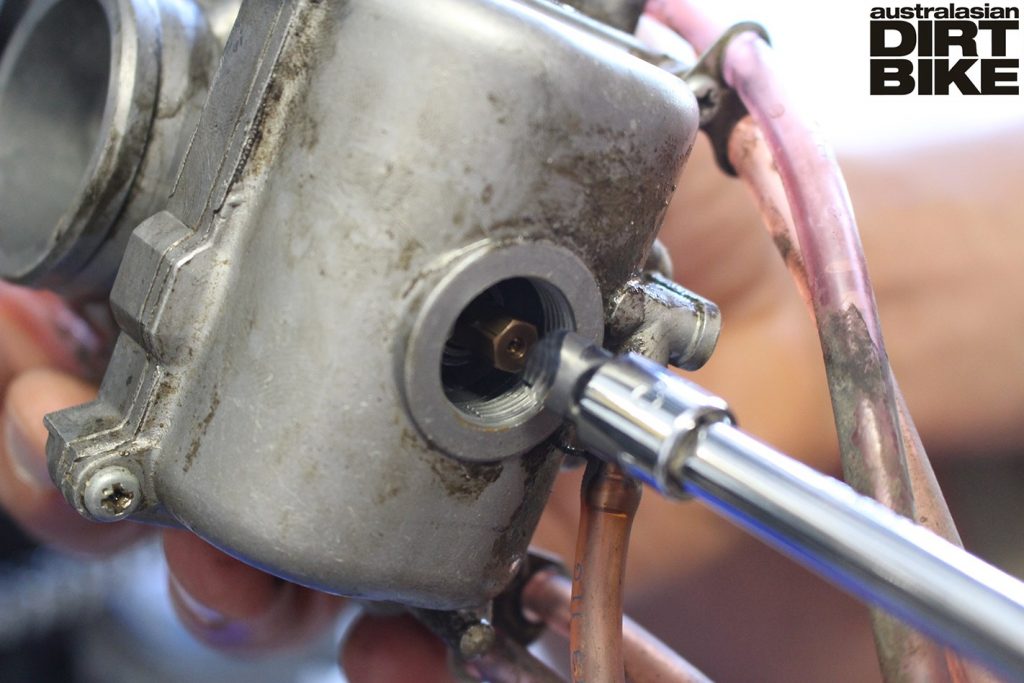
The main jet has a hex head and takes a 6mm socket piece to remove. If you feel bike is not running as well as it could be in the ¾ to full throttle range, the main jet is the culprit. It is very easy to strip when installing so only nip it up.
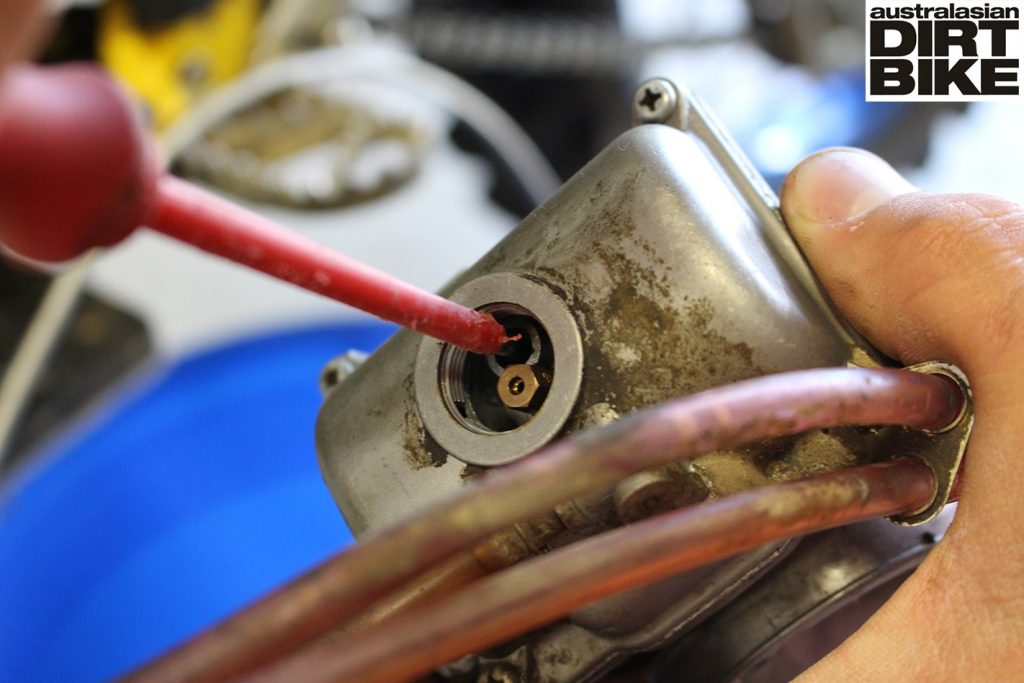
Step 4. The pilot jet

Recessed up inside the carburettor is the pilot jet, which is responsible for idle to ¼ throttle. It does have a small effect on the fuel to air ratio at all times, but after ¼ throttle it is insignificant. Use a flat blade screw driver to remove the pilot jet, unwind it until it comes loose, then turn the carburettor upright and the jet will drop out.
Step 5. Different sizes
Depending on how your bike is running adjust the jet sizes accordingly. If it’s running lean at wide-open throttle you will need a larger main jet and vice versa. Reinstall the new jets and nip them up, ensuring you don’t over tighten and strip them.
Step 6. Reinstall the carby
With the jets installed and tightened, screw in the carburettor drain bolt then slide the unit back into the bike. Spray a small amount of WD40 on the airbox boot so it will slip on more easily, then tighten the hose clamps and subframe bolts to secure everything in place.
TIPS:
What to do
• Loosen the subframe bolts to make it easier to remove the carburettor from the bike
• Use the correct size flat blade screwdriver to ensure you don’t strip the head of the pilot jet
• Remove the seat and tank to give more access to the carburettor if the tank hangs down low
• Leave the carburettor in the bike if you only need to change the main jet as this can be done through the drain bolt
What not to do
• Guess the correct jetting for your bike and go too lean – starving the engine of fuel is not good for it
• Over tighten the pilot or the main jet, you risk stripping the thread or worse snapping the jet in two
• Work on the carburettor with dirty tools and dirty hands – the smallest piece of dirt can block a jet and stop your bike running