The power is a little slow off the mark and it takes time for the engine to hit its torquey mid-range. To fix this the header pipe needs to be opened up so the exhaust gases can escape quickly and allow the engine to rev up faster.
What I have found is that a header pipe from a 2011 KX250F will fit with a little modification and allow the engine to breathe better and make the bottom-end power much stronger. If you’re like me then you will have an assortment of standard exhaust pipes lying around or maybe you can get your hands on one. It’s bound to be cheaper than a full, thousand-dollar exhaust system.
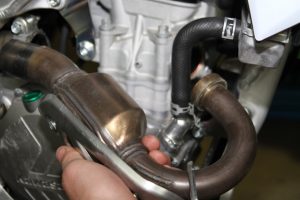
1 STORE AWAY
Remove the stock header from the bike and store it away somewhere in case you need it again.
2 SHIELD OFF
Take the 2011 KX250F header pipe and remove the heatshield. The reason I remove the heatshield is because the 2011 header sticks out further than the latest one and I found the heatshield was catching on my leg.
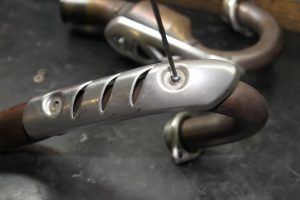
3 GRIND BRACKETS
Hold the header pipe tightly in a vice and, using a grinder, grind off the lugs that the heatshield bolts to. Be gentle and don’t grind into the pipe too deeply. You only need to grind off the lugs.
4 SANDPAPER
Once you have ground off the lugs you can use a piece of sandpaper to smooth out any rough spots but don’t panic about the grind marks being a different colour to the rest of the pipe. As soon as the pipe heats up the ground areas will turn the same colour as the rest of the header.
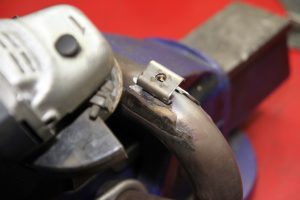
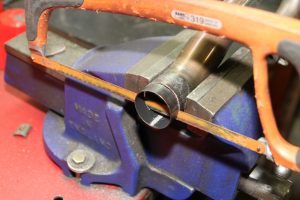
5 CUT THE END
While still holding the header pipe in the vice, mark and cut 15mm off the end that slides into the silencer. Keep the cut as straight and neat as possible.
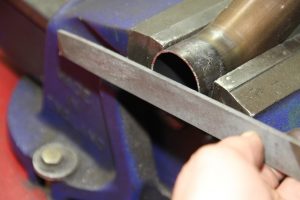
6 CLEAN THE SCAR
After cutting the pipe take a file and clean up the cut. Make sure there are no sharp edges as these will damage the exhaust gasket.
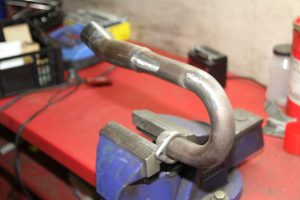
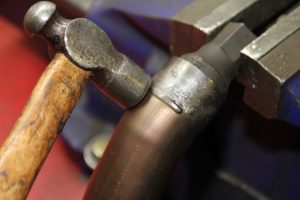
7 FLATTEN THE RIDGE
Place a socket that fits snuggly inside the end of the header pipe into the vice and then slip the header onto the socket. There is a ridge inside the end of the pipe that needs to be flattened. You will need to heat the ridge with an oxy-acetylene torch while tapping the ridge down to make it as neat and flat as my six-pack chest.
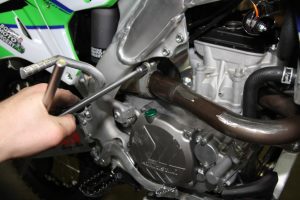
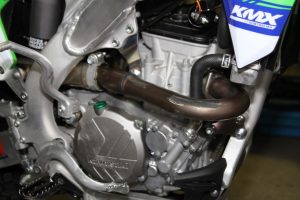
8 FIT THE HEADER
Once the header has cooled, replace the exhaust gaskets and fit it to the bike. Don’t over-tighten the bolts. They only need to be nipped up to seat the gaskets.
9 BREATHING FREE
Now you have your new/old header fitted, take the bike for a ride and feel the difference. The 250F motor really comes alive once the header allows it to breathe.
LEAVE IT TO A PRO
This modification requires some experience in steel fabrication. If you are not proficient or knowledgeable in this skill set then this modification is best left to someone who knows what they are doing.
Technical Editor Mat Boyd