Part 2 of our mini-series in using your e-MTB to hone your dirtbike skills will focus on a few more advanced techniques that can improve your riding skills on the e-MTB and eventually crossover onto your moto. This is a follow up from Part 1 of using moto skills on an e-MTB.
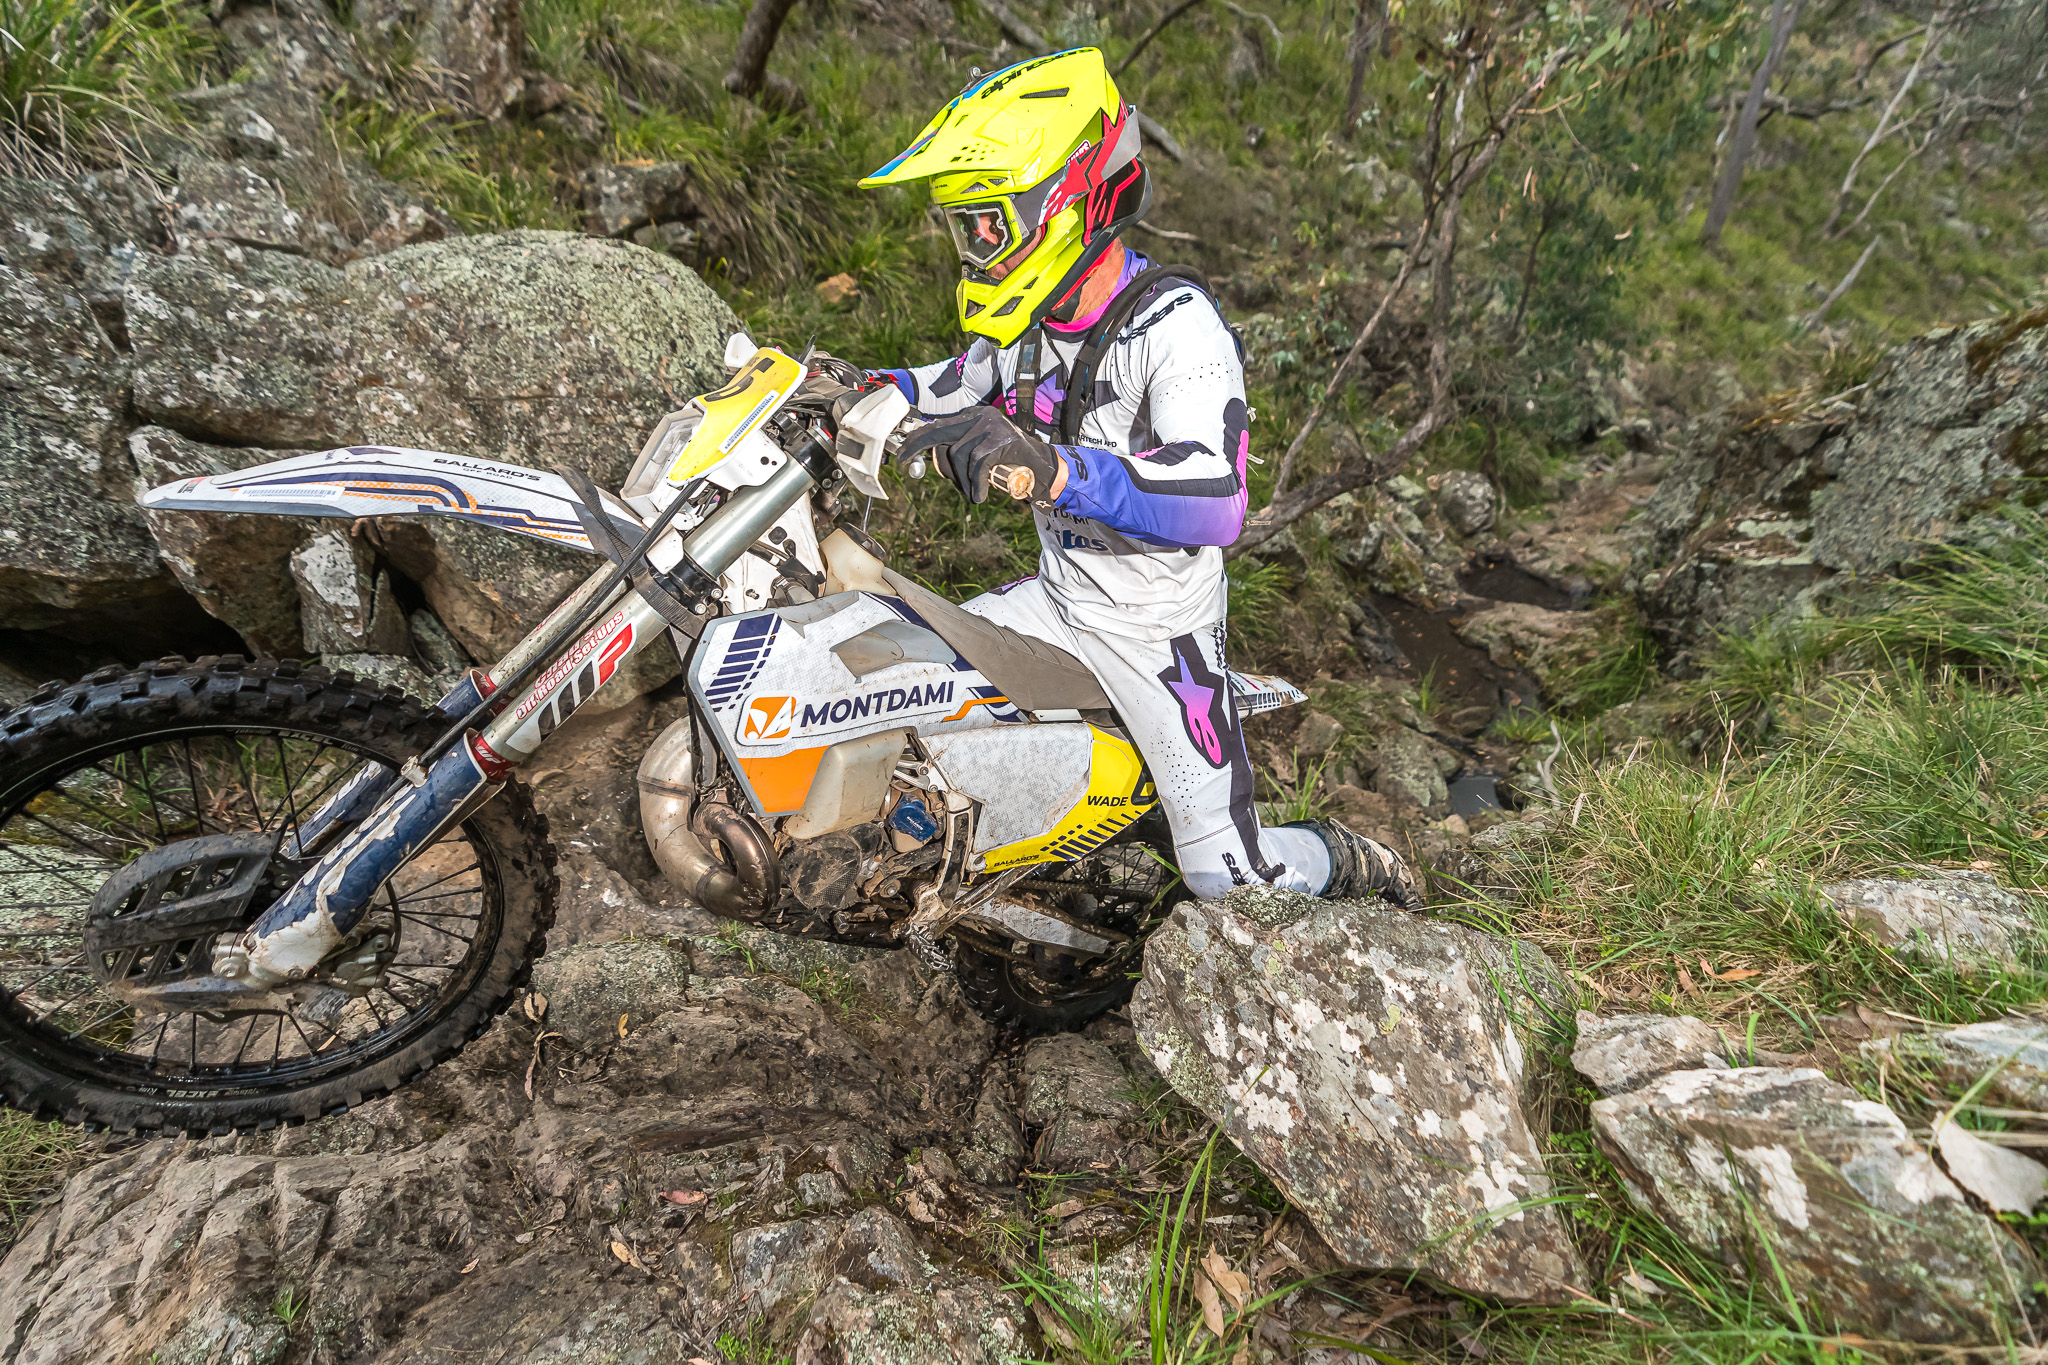
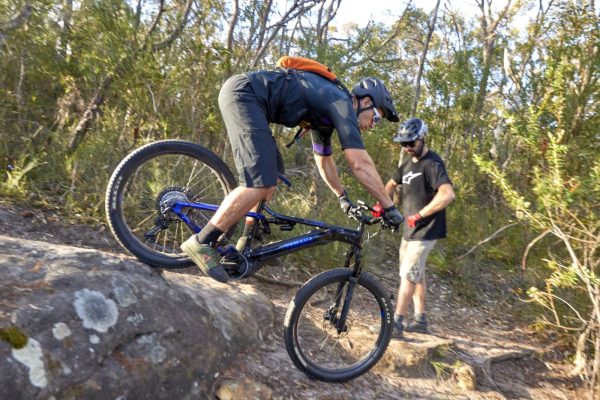
I asked our test subject and boss man Mitch which areas that he feels he needs to hone down some of his MTB skills and he said there are many areas for him to improve. For now, let’s focus on riding up and down small rock ledges and navigating up and down loose, rocky hills. While these sections seem like nothing on a moto, they are more than capable of bringing a rider who is new to e-MTB riding unstuck and getting hurt.
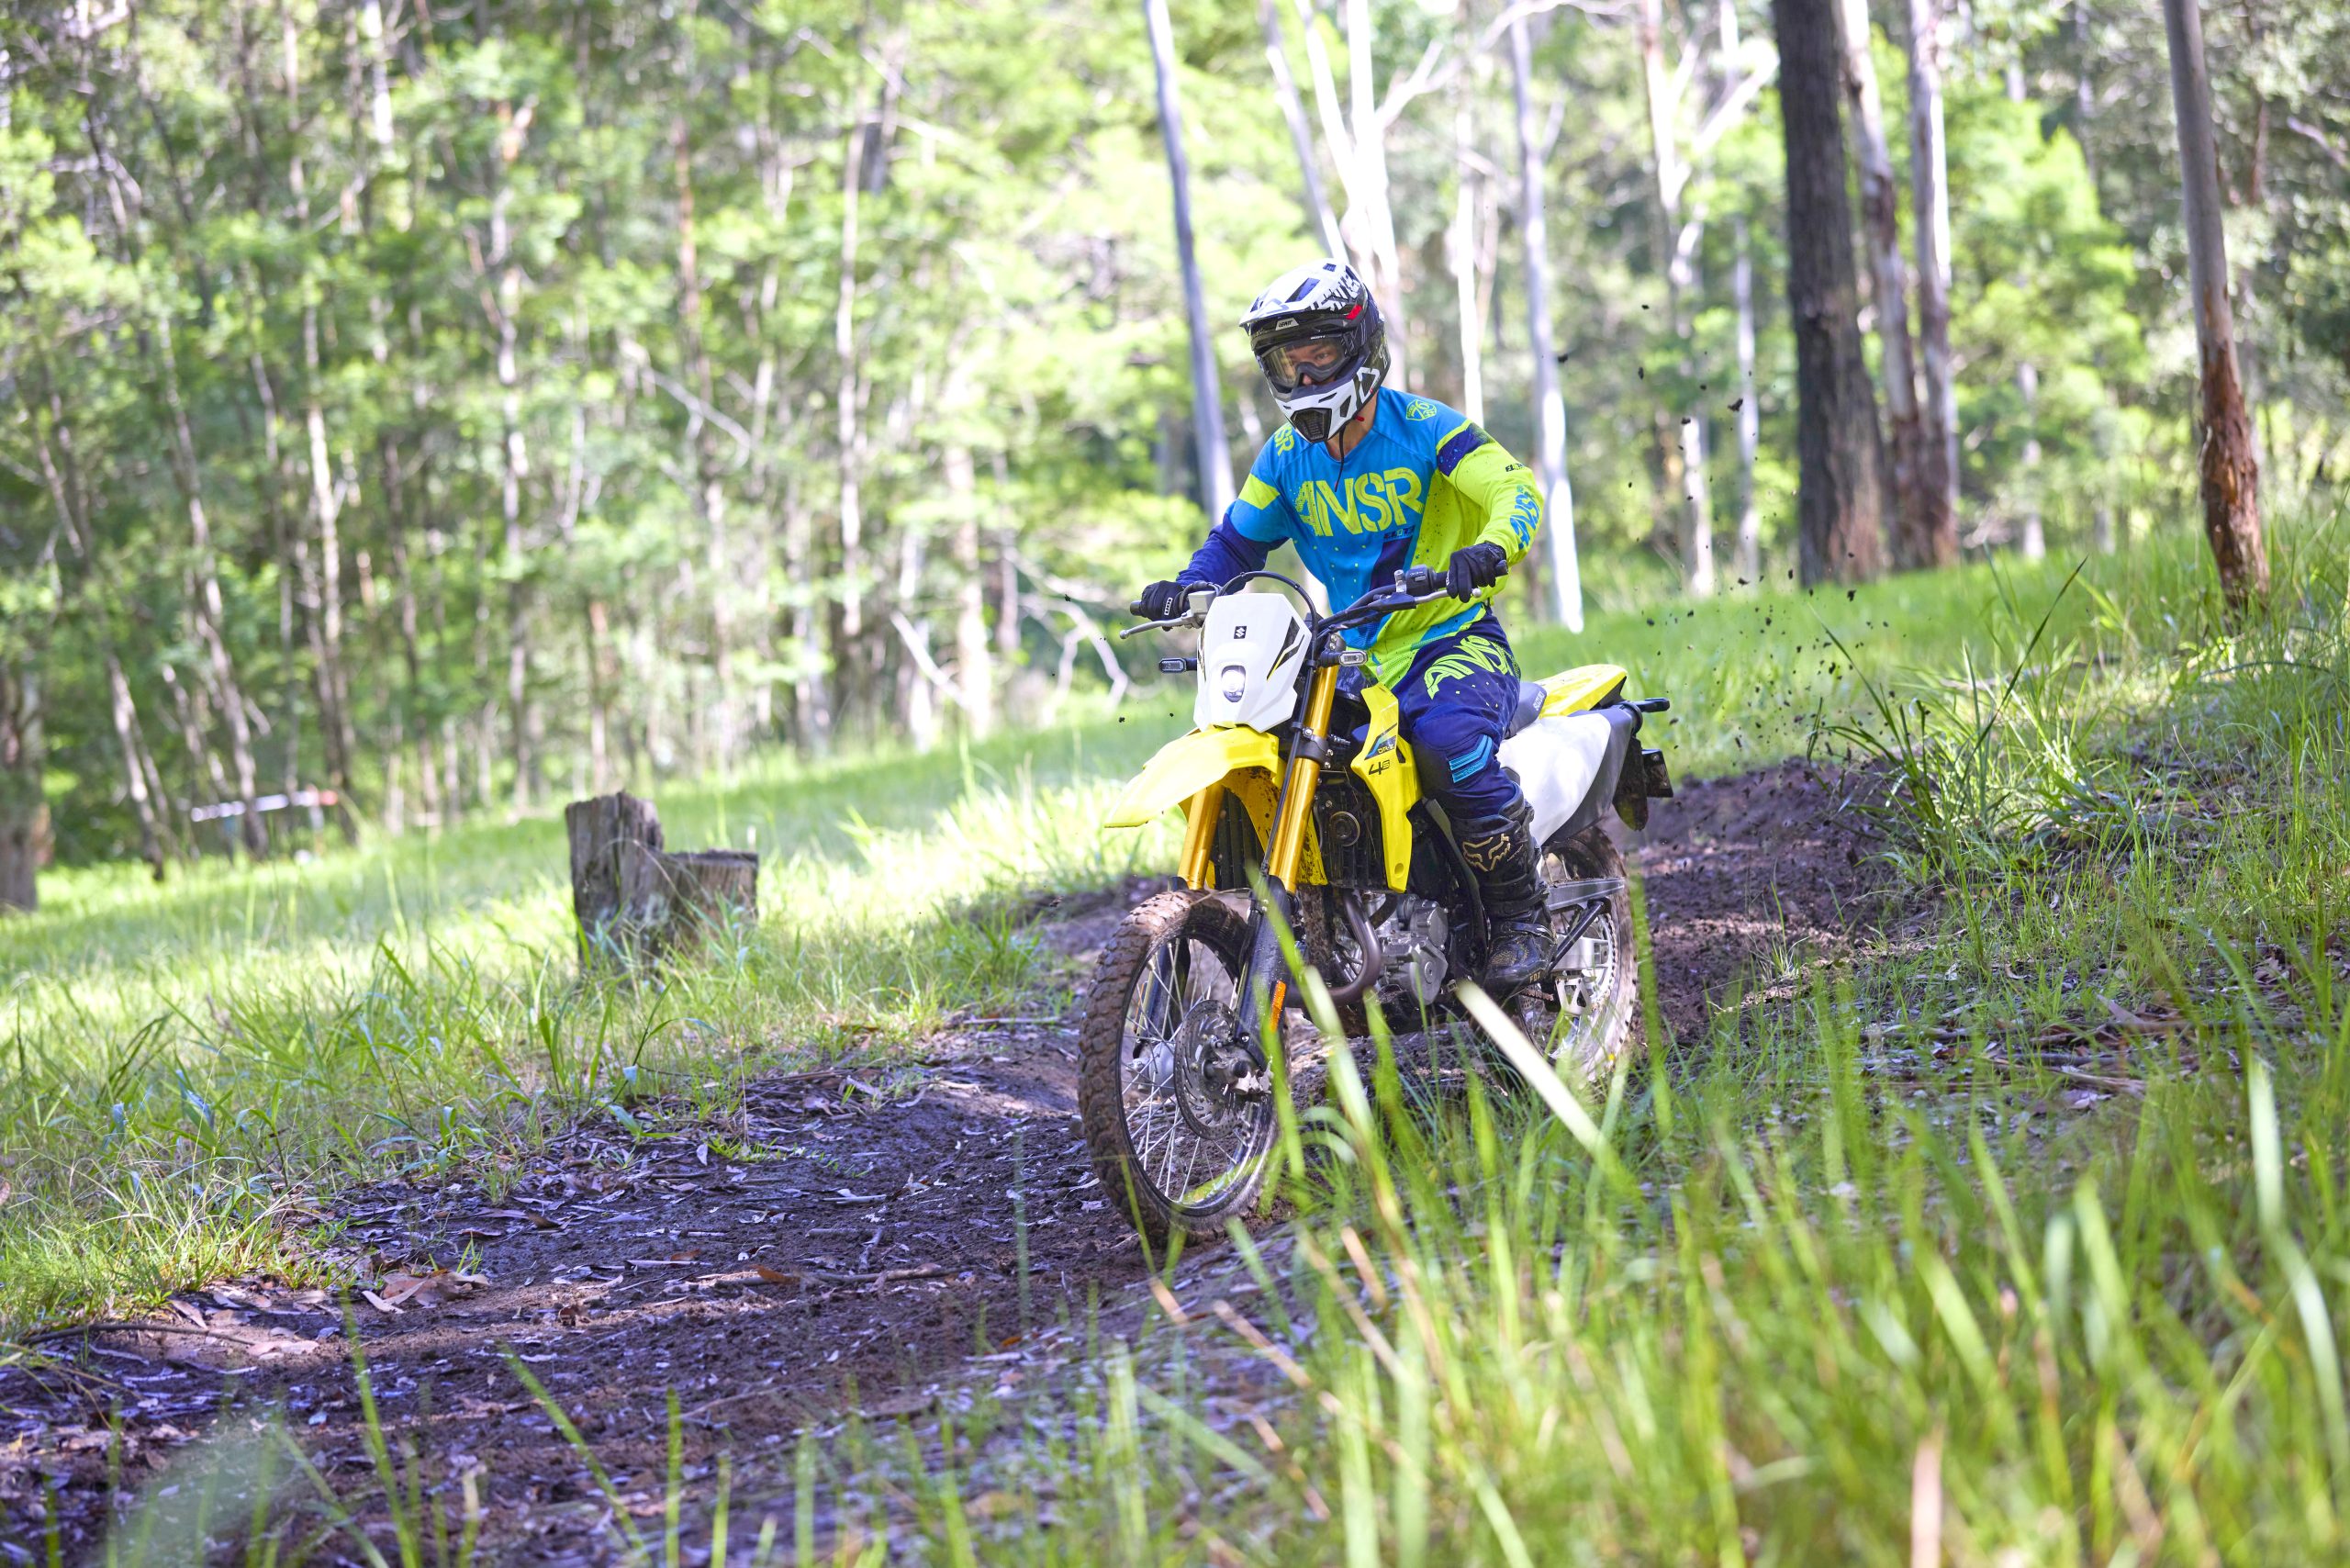
Mitch is new to the e-MTB world and it was clear to me that he loves the heavier feel of the Yamaha YDX Moro e-MTB and loves to be in turbo mode and smash his way through the trails like he does on the moto. While it’s awesome to see him out on the bike and charging his way up and down the trails, Mitch wants to learn to be safer on the bike and be more efficient along the trails with the hope of it helping him on the moto as well. So we set off to find some sections to work on and it was pretty awesome to see the quick progression that Mitch made during the afternoon.
SMALL DROPS
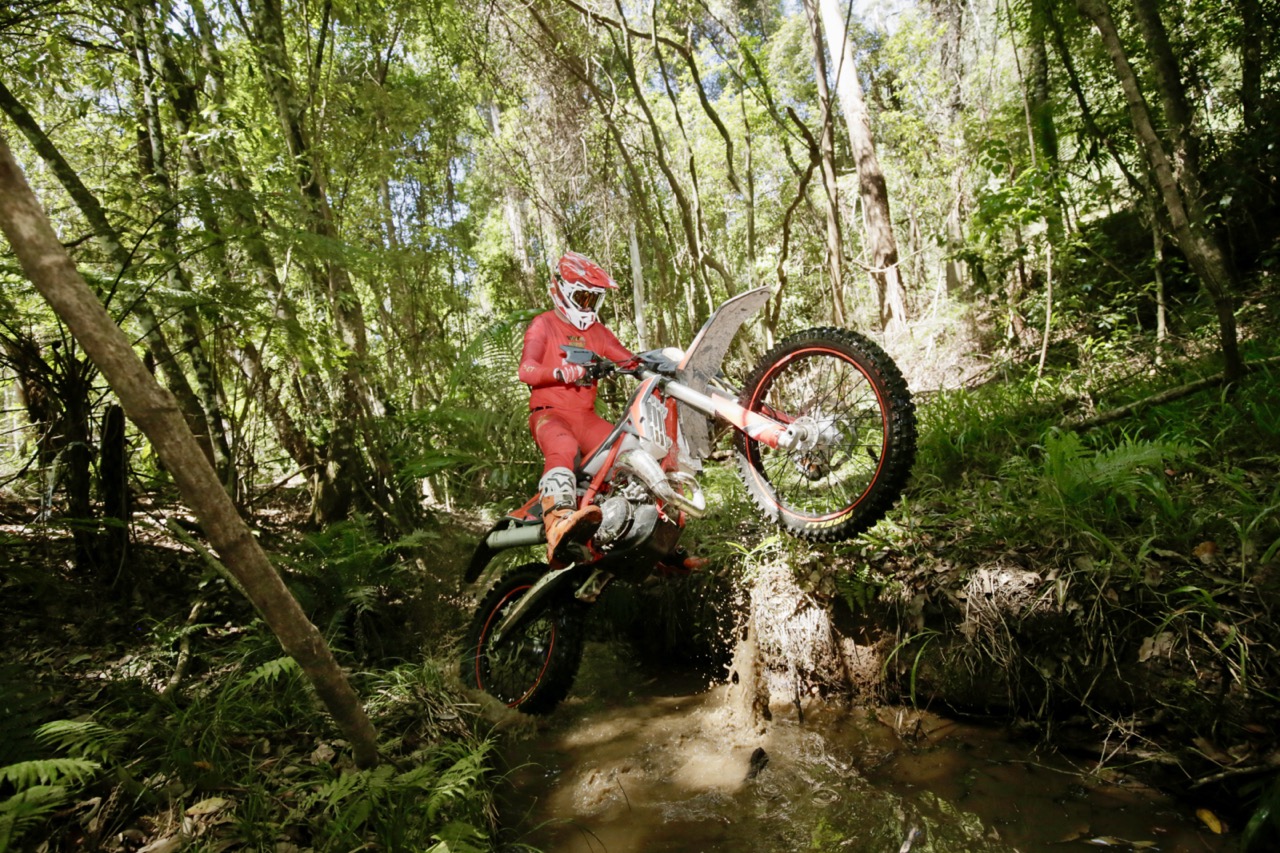
Almost every MTB and moto trail will have multiple drop-offs along the way whether it is off a rock ledge or maybe a step formed up by a log and most of the time they come up on you with little notice. Obviously, the safest thing to do is to pull up and check out the drop first and hopefully you’re looking far enough ahead to see it and you have enough time to safely jump on the anchors. Once you have scoped it out, you need to make the decision if you can roll down it or not.
If it’s rollable and you feel comfortable enough to do so, then it’s time to give it a go. First and foremost, look ahead. You can’t focus on your front wheel you need to have you head up and eyes on the trail in front.
Next is the good ol’ level pedals. You really don’t want to be tagging your cranks and pedals on the rock as you ride down as this can spit you over the bars. Build up your speed before the drop and have enough rolling speed that you can have your feet level to each other. Have one finger on each of the brakes and just ever so slightly feather them as you roll down the ledge.
It’s important to not lock the brakes up as this can cause the wheels to slide and you could tuck the front or have the rear slide out. Lean your weight back as you descend ensuring you don’t go over the bars and if all is well, you have made it down safely and can continue! Using this technique on an MTB will also help you on the moto especially when you’re doing slower, more technical trails. You have to be more precise on the MTB and that precision can transfer across to the moto which then leads to you picking better lines down ledges and reading the trail better.
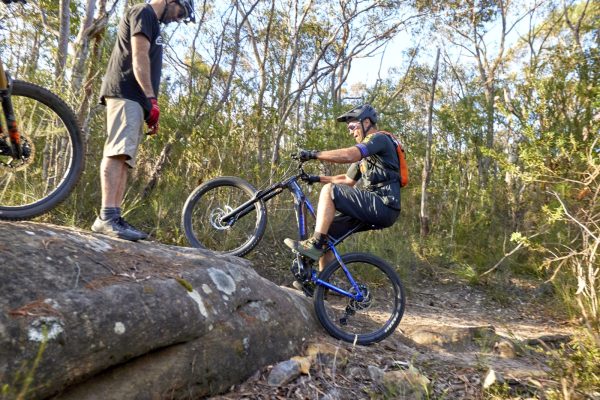
CLIMBING UP LEDGES
So you have made it down the rock ledge which now means, you probably have to go back up. Much like a moto, the key to climbing back up is momentum and it’s crazy how slow you can actually ride up the ledges with the right techniques. We’ve all been on those single tracks with the hill climb that has been torn to pieces by riders who got stuck and dug their way with the rear wheel. With the torque and power of the bikes these days, most of the time, you can use the motor to crawl your way up the hill with minimal effort.
It is a kind of similar situation for the e-MTB riding too. At first, Mitch was charging at the rock ledges using plenty of momentum and smashing his way up. Sometimes it worked, sometimes it didn’t as the suspension would unload and send him off his preferred line. He also tagged a crank as he rode over the rock and it stopped all forward movement. Much like the moto, the E-MTBs are so good you can crawl up the ledges. You don’t need to chuck it in turbo and smash your way up.
When approaching the ledge, make sure that you are in a gear that isn’t so low that your pedals turn too fast, you want to feel the bike engage as you pedal and feel the torque of the motor. Like the moto, you don’t want the rear wheel to spin you want it to bite into the ground. You need to have enough momentum to get up over the obstacle but not enough that you hit it with the front wheel and it upsets your flow. Sometimes, it’s possible to lift the front wheel ever so slightly to avoid making full contact with the ledge.
As you pedal up, it’s important that you look far enough ahead that you time your pedal strokes to be ‘level-pedalled’ over the worst parts. That way you can continue the forward momentum and get up trouble free.
Due to the added torque of the Yamaha e-MTB, you may want to trail your rear brake as you ride up the hill. This will prevent you from looping out and also make sure the rear wheel doesn’t spin. Just like the moto, as soon as that rear wheel starts spinning, you’ll lose drive so you need to pay attention to the power delivery and listen to how the bike is gripping the rocks. It may not happen on your first try but as you get the technique down, you’ll be getting up hills in no time and you’ll benefit on the moto too.
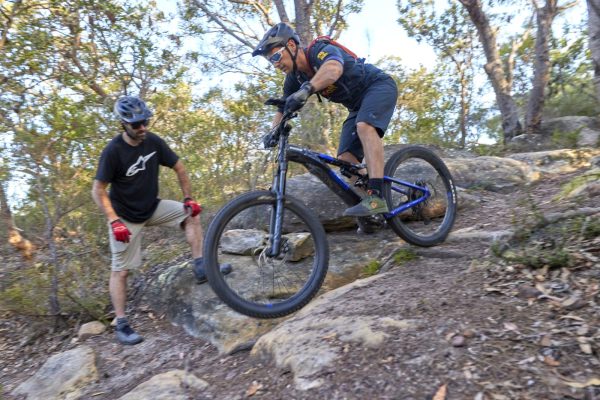
LOOSE, ROCKY DOWNHILLS
Ol’ Mr Charge Everything strikes again! We found some more downhills that had a bunch of long, loose and rocky sections and I watched Mitch point straight down and bounce his way through. He said that the e-MTB being heavier and more planted than a regular MTB, is much more stable and he felt that much like a moto, you can just point and shoot down the hills. I pointed out that, on a moto, you have a lot more support beneath you in case things go pear shaped.
More weight, bigger tyres, a lot more suspension travel and most of the time, you’re wearing more protection so you feel quite safe. On an e-MTB, you can get a false sense of security because it’s very quiet so you don’t think you’re going that fast when in reality you’re moving.
While he made it down safely and at pretty good speed, we still decided to try a few different techniques and line choice to get him feeling more comfortable. The first descent we stopped at had multiple lines and each had its own obstacle to overcome. It was good to put the new skills from the first two focus points to work and link them both together. Looking ahead is the key here.
Choosing a line that is safe and manageable is the goal. As I said, look ahead, level pedals again and pick your way down carefully and as calculated as possible. It’s also important to try and be as light on the bike as possible. You don’t want to slam into the rocks or roots as you descend as they can cause the suspension to be unsettled and also you run the risk of blowing out a tyre on impact.
The bike responds better when the suspension is not under a huge load on descents and becomes more manoeuvrable which is awesome if you have to make a direction change quickly should your line down the hill turn out to be the wrong one.
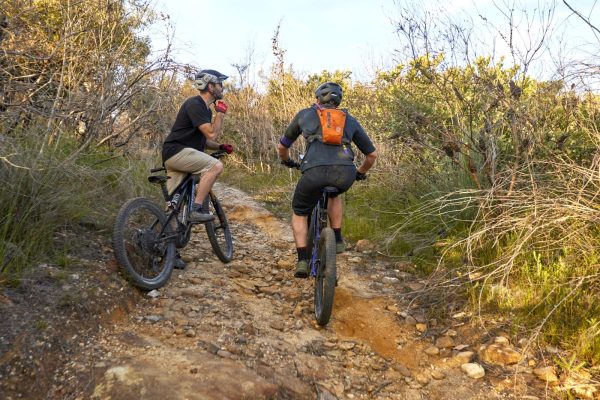
LOOSE, ROCKY UPHILLS
This scenario is one of the trickiest times when out on the single track riding an e-MTB. It’s one thing to tackle an incline on either a moto or e-MTB, but when it is littered with loose rocks, it becomes a different animal. The biggest issue in these situations is having the loose rocks unsettle either the front or back end or worse, both. It’s happened to me a bunch of times on the moto and on the e-MTB as well, one rock spits you offline and then it’s a real battle to get your momentum back and get back on track.
The best advice I can give for a loose rocky uphill is to look ahead and try and aim for the path most travelled. If you are on a public track, chances are there is a bedded in single line through the rocks that most likely has the firmest ground where the rocks are more likely to stay in place. Make sure you enter the hill with good momentum and ensure that you are in the correct gear. Too low and you’ll pedal too fast and wheel spin, too high and you’ll bog down and won’t be able to turn the pedals at all.
You want the bike to feel like the motor is always engaging with each pedal stroke much like riding a moto in the meat of the power. Trailing the rear brake also can help keep you stable and on the correct line.
If you do go offline into the loose rocks, remain calm and do what you can to get back on the main line. e-MTB are incredibly torquey so think about how you would use the torque of a moto feathering the clutch to get yourself moving when you go offline up a hill. If you lose too much momentum on an e-MTB, it’s easier to just stop and try the hill again.
HONING YOUR DIRTBIKE SKILLS
There are plenty of small skills that transfer between moto and e-MTB and for me, the e-MTB makes you focus more on what lies ahead as you don’t have the throttle to get you out of trouble. You need to be more in tune on an e-MTB as you are relying so much on the timing of your pedal strokes to ensure you get over or through the tricky sections. We have a final part three of this mini series coming up with some advanced techniques that you can try once you have spent some quality time on your new e-MTB.
WORDS | GEOFF BRAICO
PHOTOS | MITCH LEES