BEWARE – If this procedure is done incorrectly then your bike could develop an even bigger oil leak than it had before, which could lead to serious damage to your engine.
Most manufacturers have an outer rubber seal and an inner O-ring that seals the collar and stops oil leaking around the shaft. With careful inspection, you can usually tell if the oil is leaking from inside the collar or from the seal. Whatever the case, it is recommended that you replace both the seal and the O-ring at the same time to prevent a recurring oil leak. This particular bike is a KTM 65SX and they often develop leaking countershaft seals. Here is a guide on how to replace them. I’ll even throw in a little tip on how to get them to seal better so they last the longest possible time.
1 LAY IT OVER
If the bike has clean oil in it then just turn the fuel off and lay it on its side so you don’t lose any oil from the gearbox when you remove the seal. If the oil needs changing then this is the perfect time to drain it.

2 REMOVE COVER
Remove the countershaft sprocket cover and set it aside so you have clear access to the sprocket.
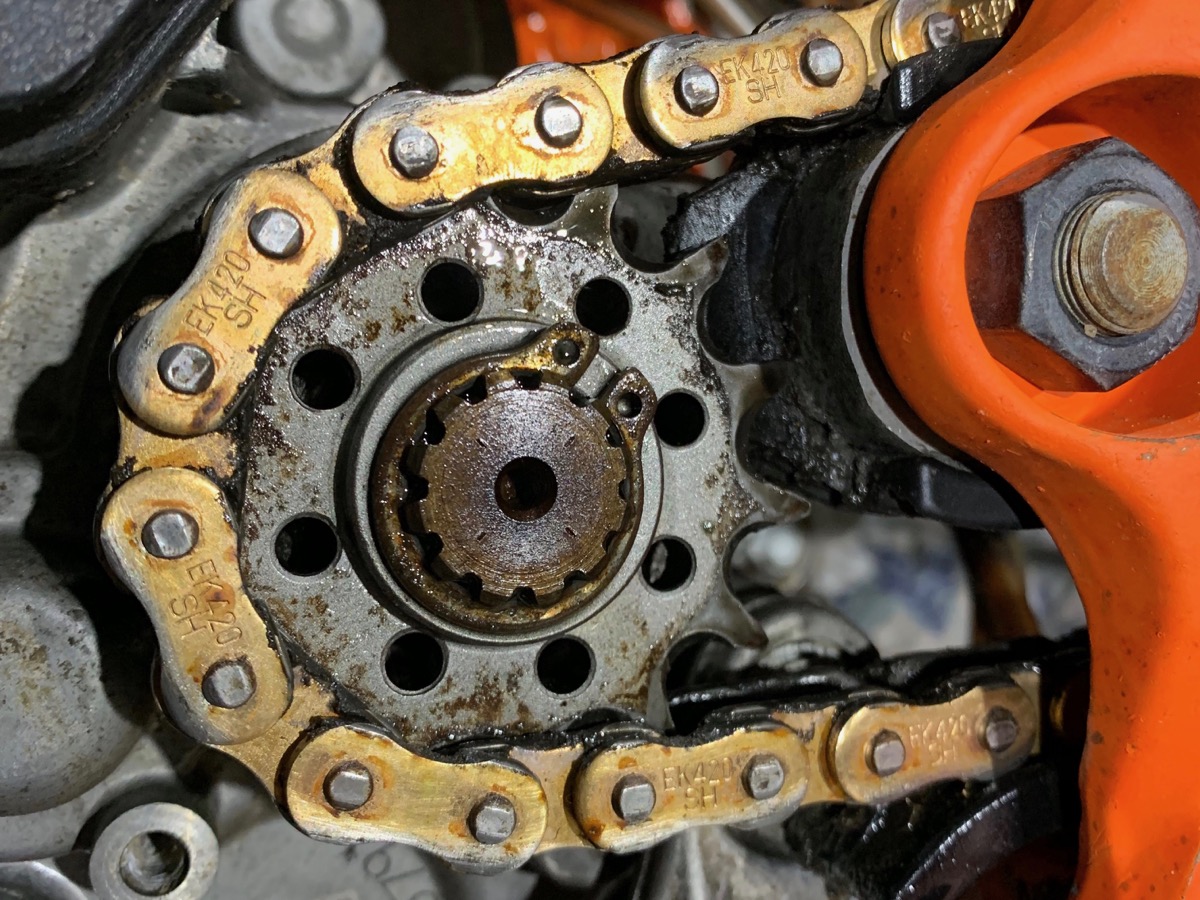
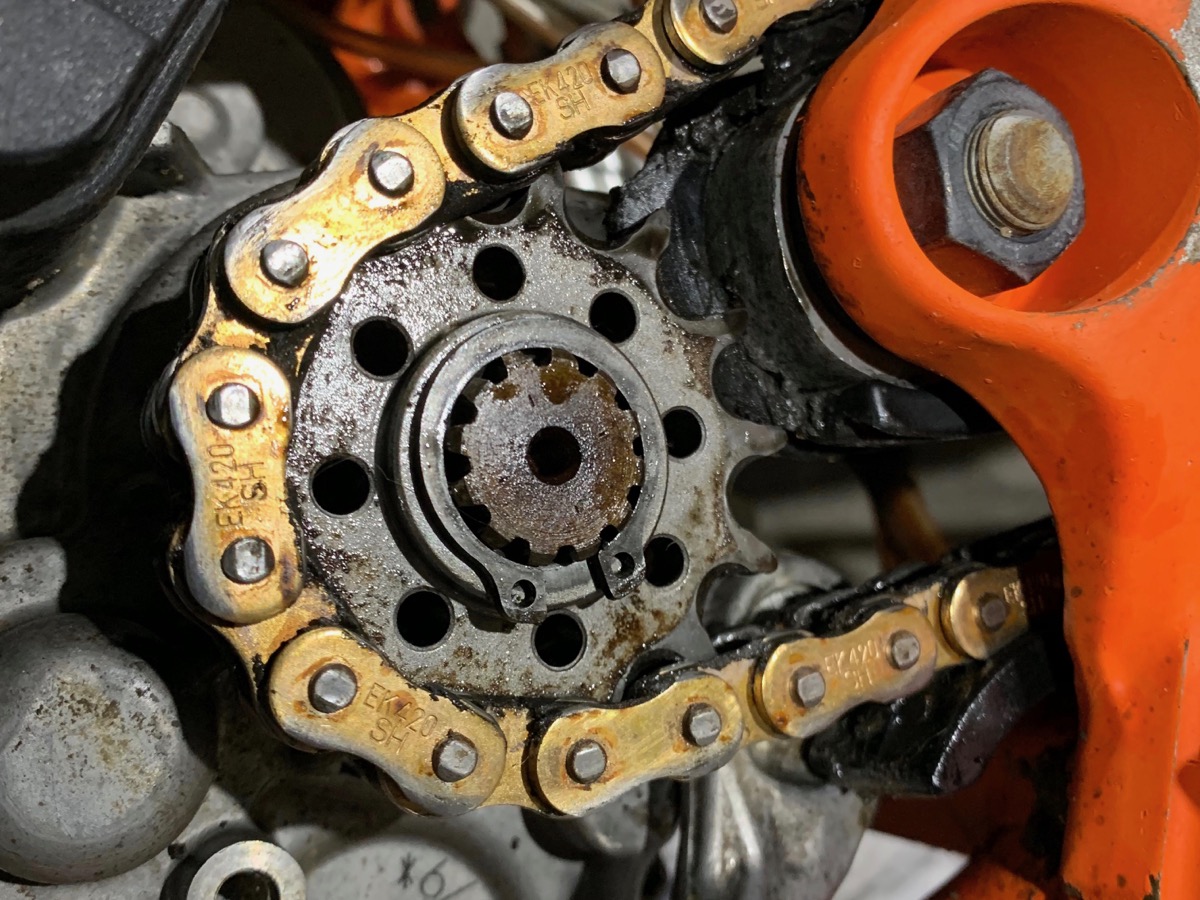
3 RELEASE SPROCKET
Remove the circlip holding the countershaft sprocket in place.

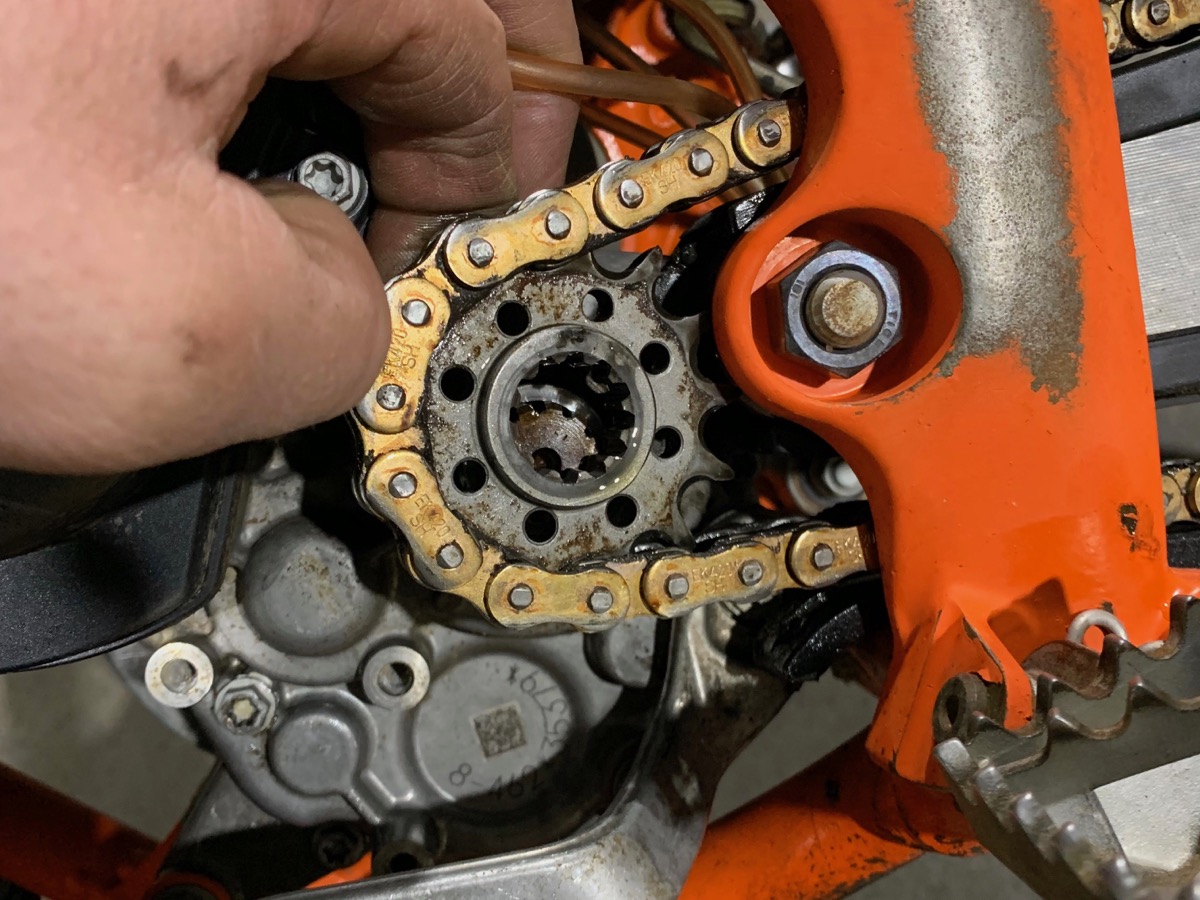
4 REMOVE CHAIN
On some bikes you can slip the front sprocket off and position the chain out of the way like this but on some bikes you will have no choice but to remove the chain completely to get the sprocket off.
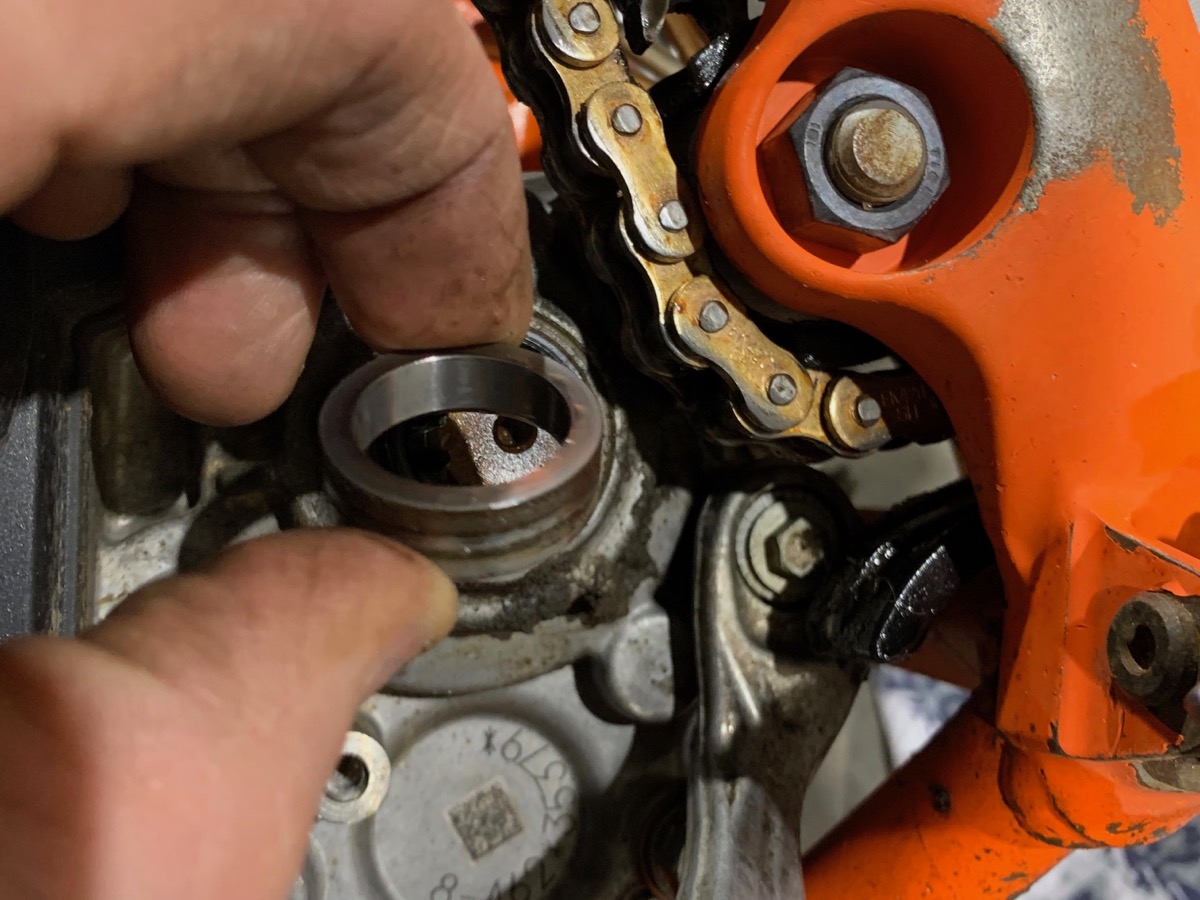
5 CLEAN AROUND SEAL
Once you have the sprocket off, take a rag and clean around the seal so that you don’t drop any dirt into the engine. Then, using a pair of pliers, remove the collar from inside the seal.

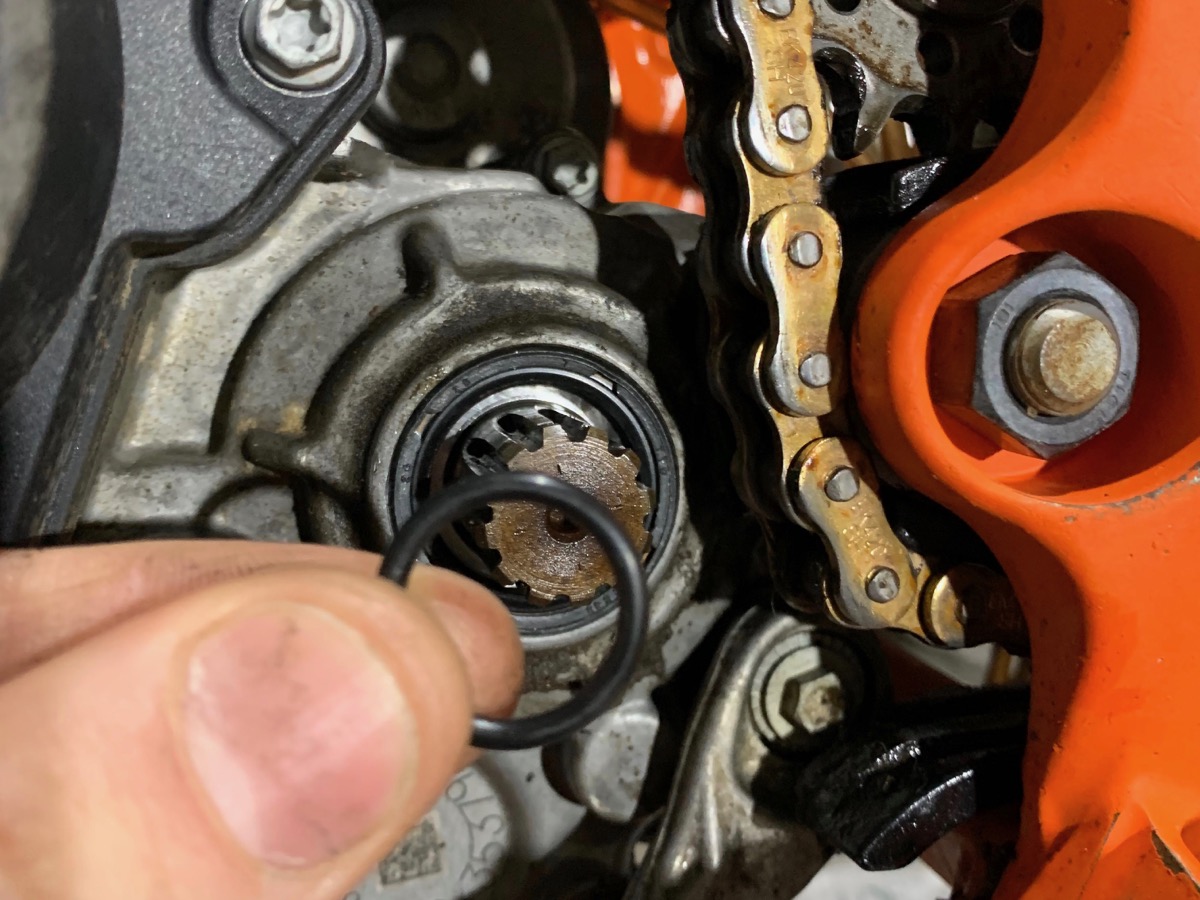
6 PICK THE O-RING
Sometimes the O-ring will stick to the collar and come out with it but other times you will need to take a small screwdriver or pick and pull it out.
7 REMOVE SEAL
Now take a flat-blade screwdriver or small pry bar and remove the rubber seal. Be careful not to dig too deep behind the seal as you may damage the roller bearing.

8 LUBE THE NEW ONE
Before fitting the new seal, wipe a bead of grease on the inner lip. Then, using an appropriately-sized socket, gently tap the new seal into place.

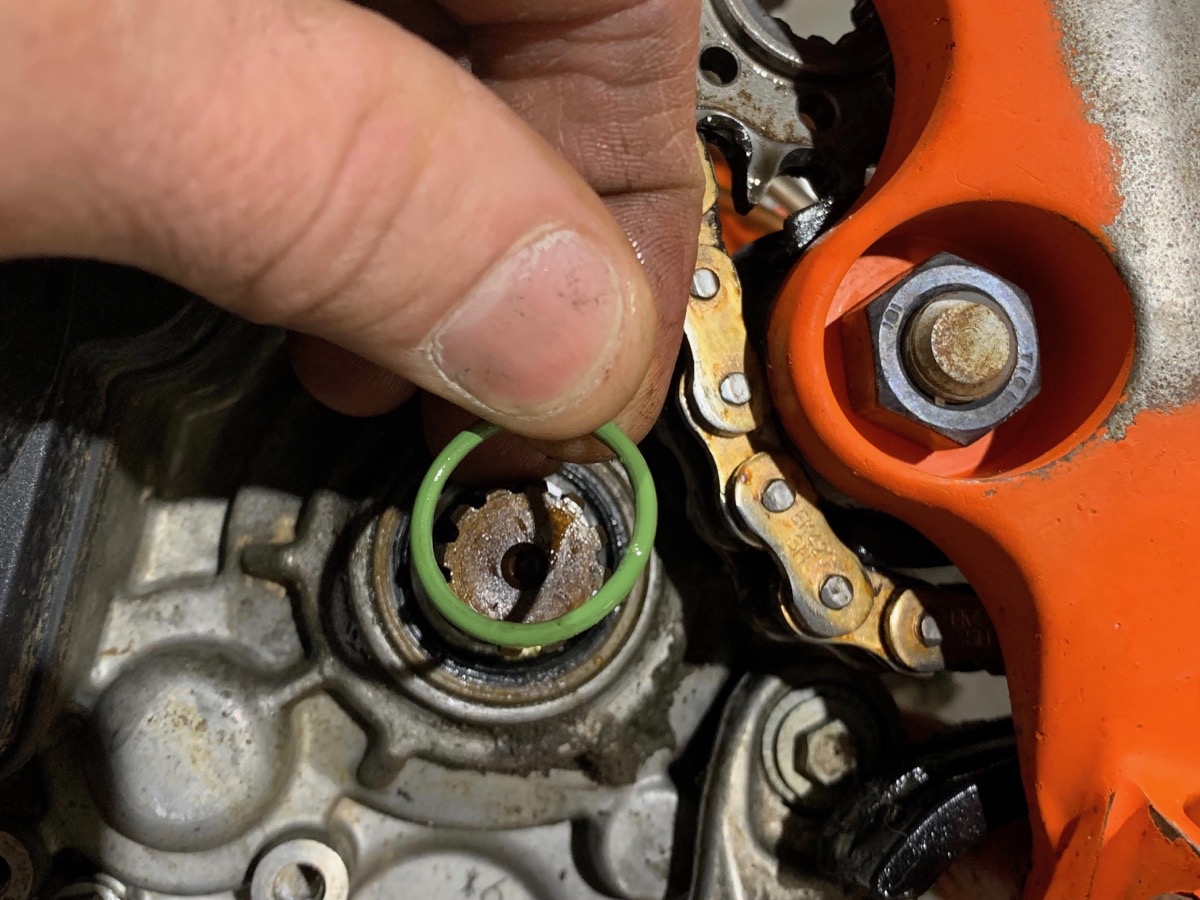
9 GREASE O-RING
Take a new O-ring, cover it in some grease and fit it over the countershaft. I like to use an O-ring slightly thicker than the stock one on the 65SX as the KTM one wears quite quickly and starts to leak.
10 CLEAN COLLAR
Clean the collar and make sure there is no pitting or damage, then slide it over the countershaft. Gently turn the collar as it passes through the seal and be careful not to fold the outer lip of the new seal over as you insert the collar.
11 REFIT SPROCKET
Refit the sprocket and chain and then fit the circlip on the countershaft.
12 TAP CIRCLIP
Here comes the trick. If you have used a slightly thicker O-ring than the stock one, you will need to gently tap the circlip down into its groove. This will place more pressure on the O-ring so that it seals tighter than the old one. Then refit the sprocket cover and refill the engine with oil if you drained it. Technical Editor Mat Boyd

GYRO GEARLOOSE
Front sprockets are secured in three common ways. Some manufacturers use a bolt to secure the sprocket while others use a circlip or a locking plate. Here I’ll go through each design in
more depth.
LOCKING PLATE
The locking plate has a hole in the middle with teeth around the hole. These teeth fit into grooves in the countershaft. The plate is then turned so that the teeth are opposite the grooves in the sprocket and secured with two small bolts that hold the plate on the sprocket. This prevents the sprocket from coming off. This arrangement generally has the countershaft seal running directly on the shaft and does not use a collar.
THE BOLT
The bolt system is more common with larger, more powerful motorcycles and uses a collar that slips over the countershaft. The sprocket then sits directly against the countershaft and is held in place via a bolt that goes into the shaft and tightens the sprocket against the collar. This style sometimes uses an O-ring on the inside of the sprocket but sometimes it does not.
CIRCLIP
The circlip style of attachment shown here uses a collar with an internal O-ring that slips over the countershaft. The sprocket then sits against the collar and the circlip holds the sprocket in place. The major problem with this system is when the O-ring or other parts wear and movement occurs between the sprocket and the collar. This allows a gap to form around the O-ring for oil to leak out. Fitting a thicker O-ring fixes this issue.
TIPS
DO’S
1 Be gentle when removing the countershaft seal.
2 Always use a new O-ring on the collar.
3 Apply grease to the inner lip of the seal before installing.
DON’TS
1 Jam a screwdriver into the countershaft bearing when trying to remove the old seal.
2 Be rough when installing the new seal or tapping the circlip into place.
3 Fit the new seal or O-ring dry. Always install them with grease for lubrication.