And besides all that, every dirtrider should know how to change their brakepads so that if they ever need to get the job done at the track or out on the trail they can do it done quickly and easily, without going into cardiac arrest.
1 INSPECT PISTON
Firstly you need to inspect the piston(s) in your brake caliper. If it has any rust or built up dirt or brake dust on it then you will need to give it a spray with some brake cleaner and rub it with a wire brush or sandpaper until it is nice and smooth.
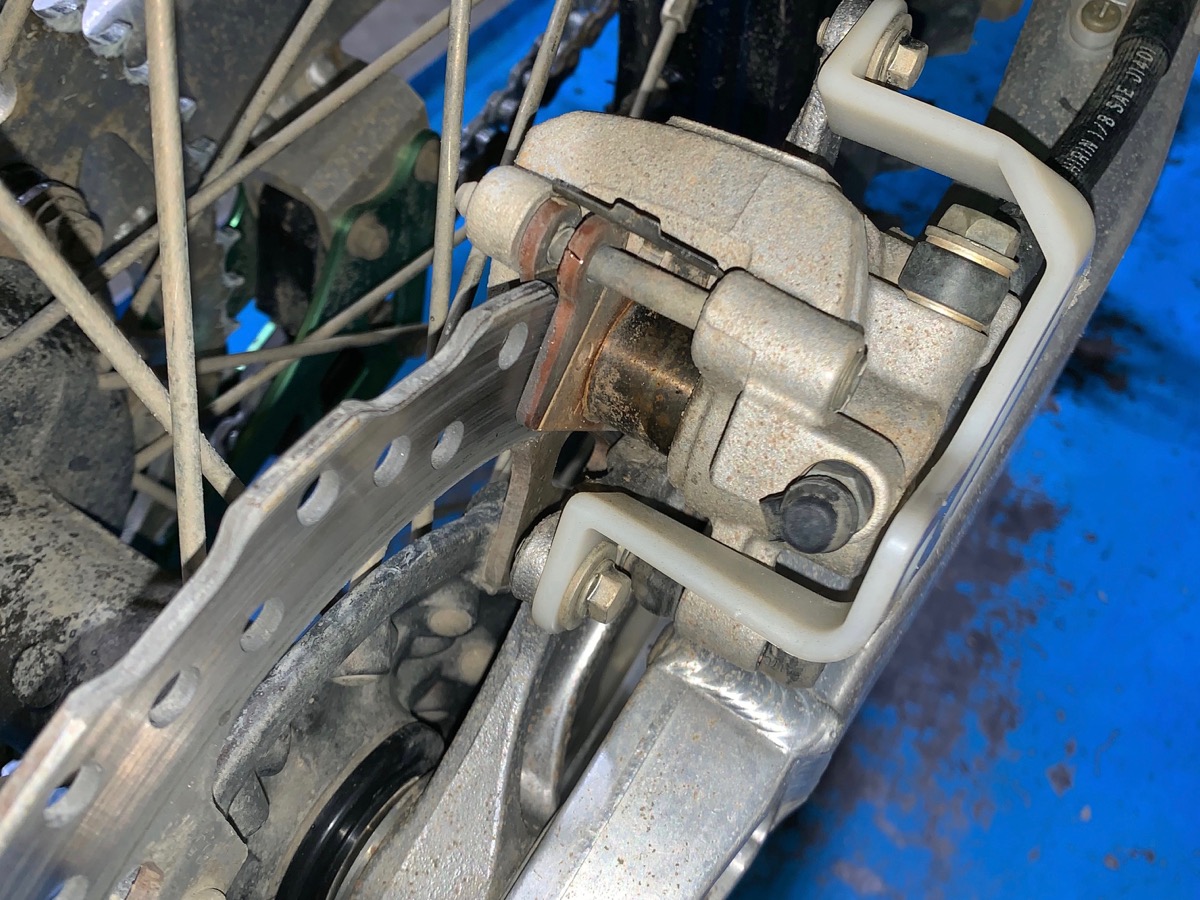
2 PUSH BACK
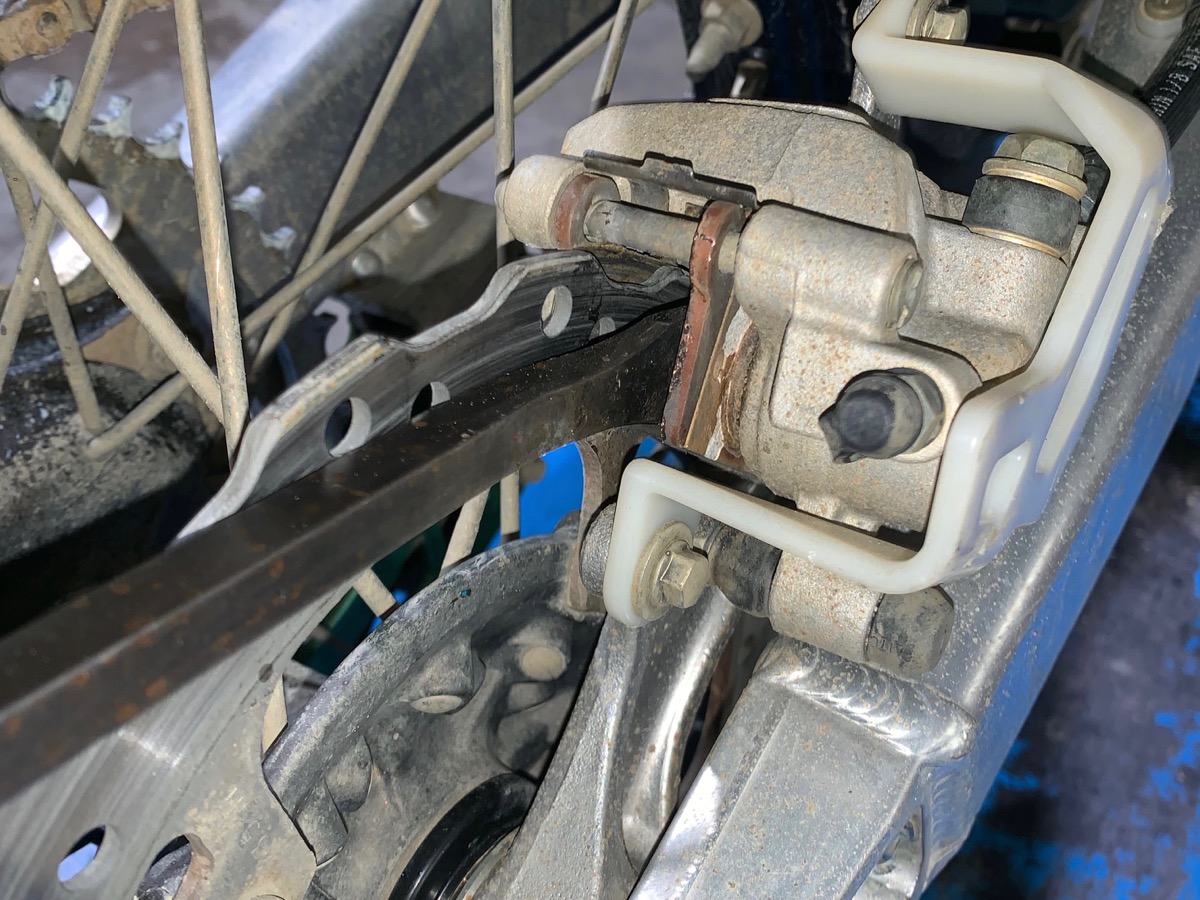
Once the piston is clean, give it a spray with a silicone aerosol and then use a pry bar or large screwdriver to push the brake pads and piston(s) back into the caliper. Be careful not to leverage too much on the disc or you may bend it. The piston should move freely and easily, if it doesn’t then there is most likely something wrong.
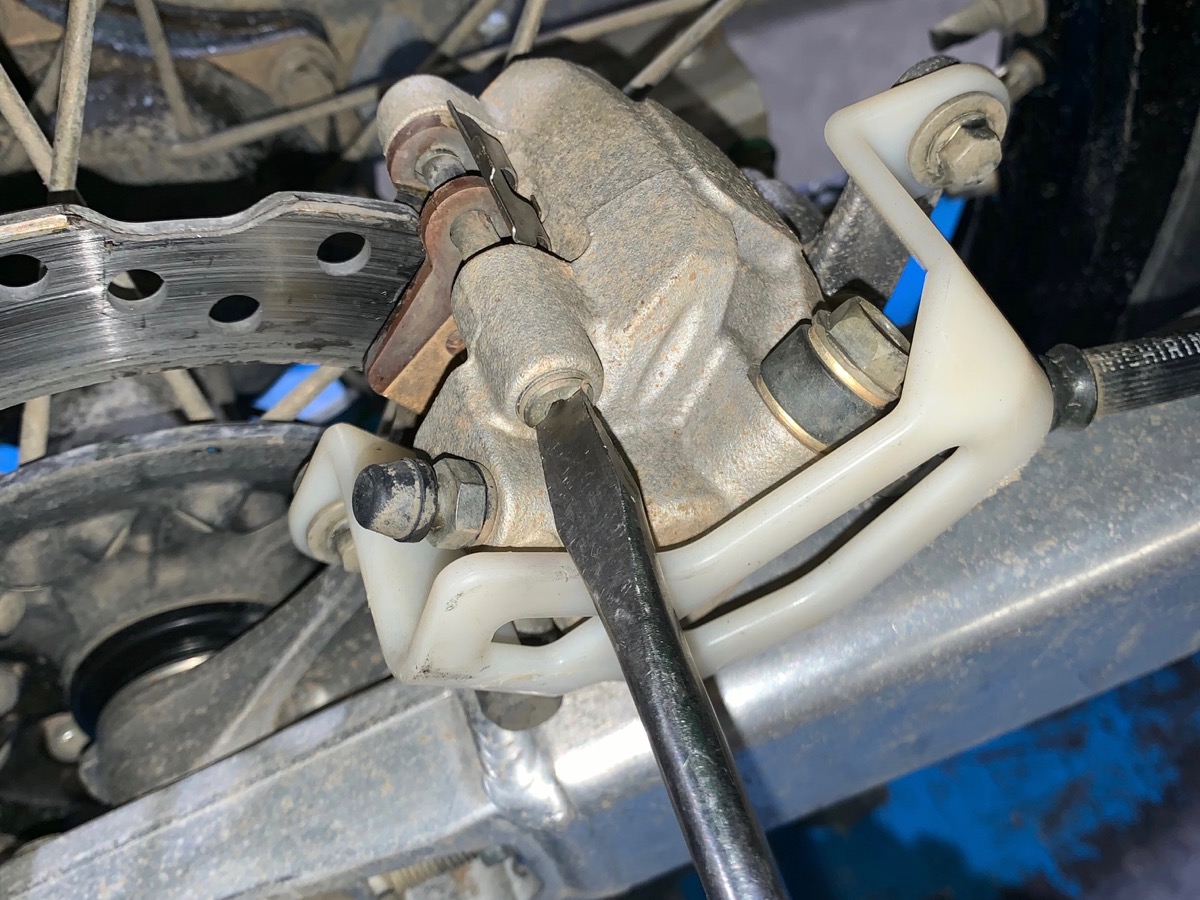
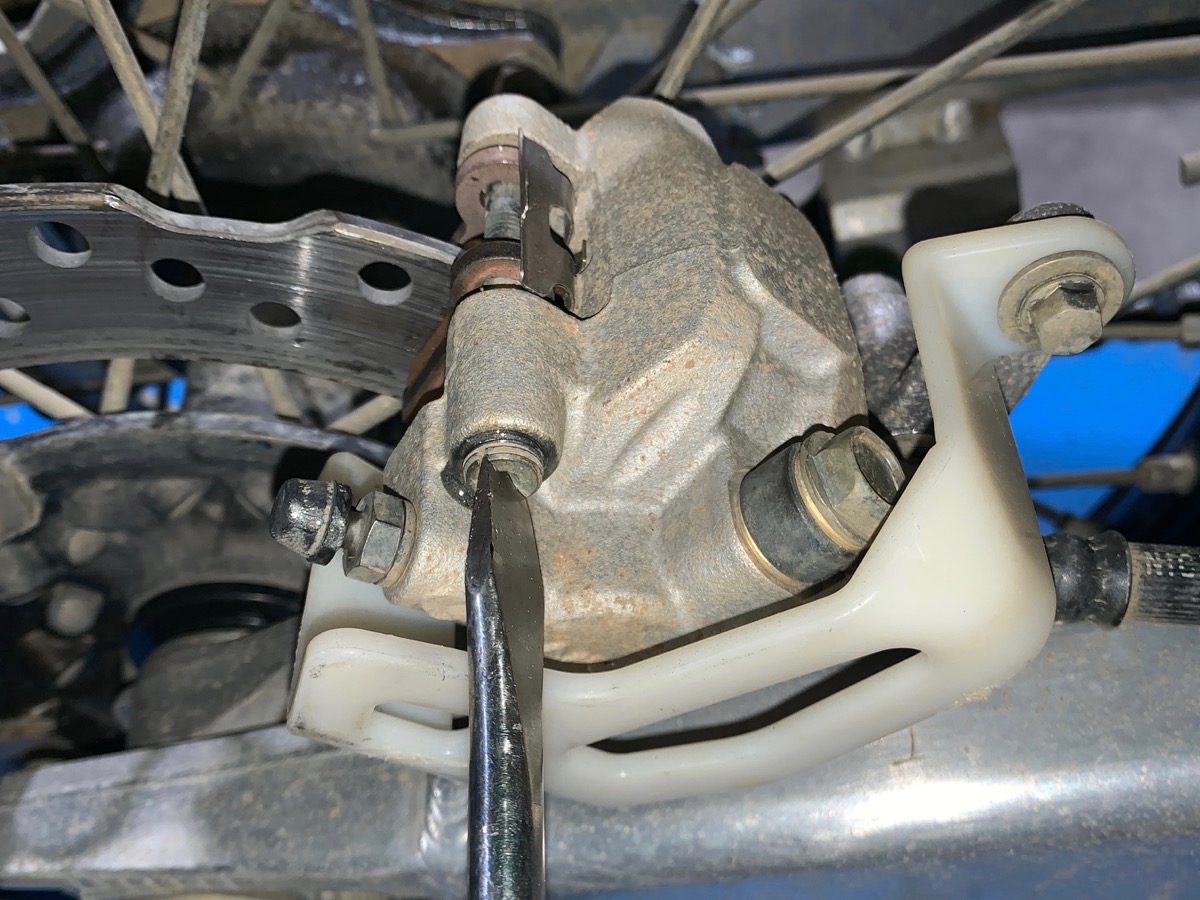
3 JOLT THEM LOOSE
Using a flat-blade screwdriver, remove the retaining cap and then use an Allen key to remove the brake pin so that the pads are loose in the caliper. If either of these parts is too tight to undo easily then give them a light tap with a hammer to jolt them loose.
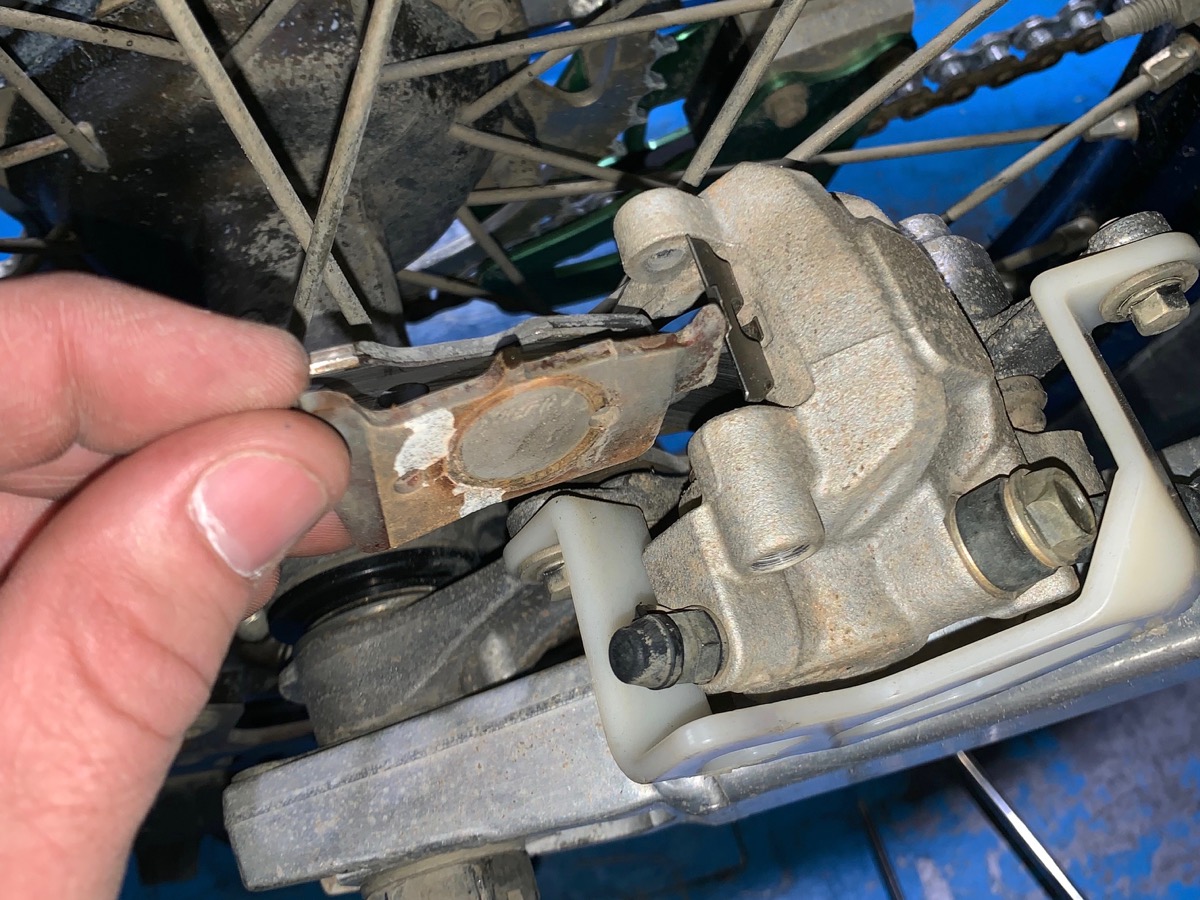
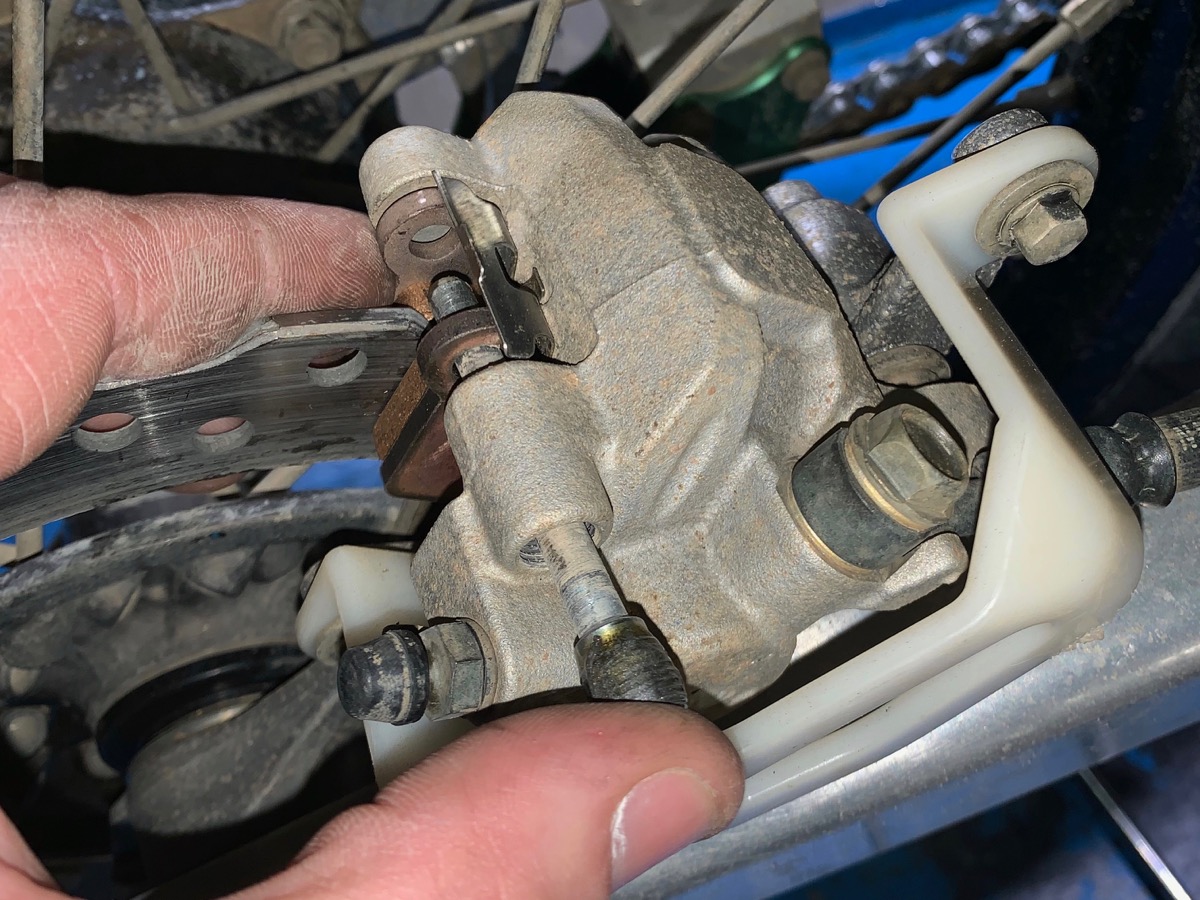
4 REMOVE PADS
Now that the pin is out, remove the brake pads from the caliper, being careful not to knock any of the retaining plates or springs out.
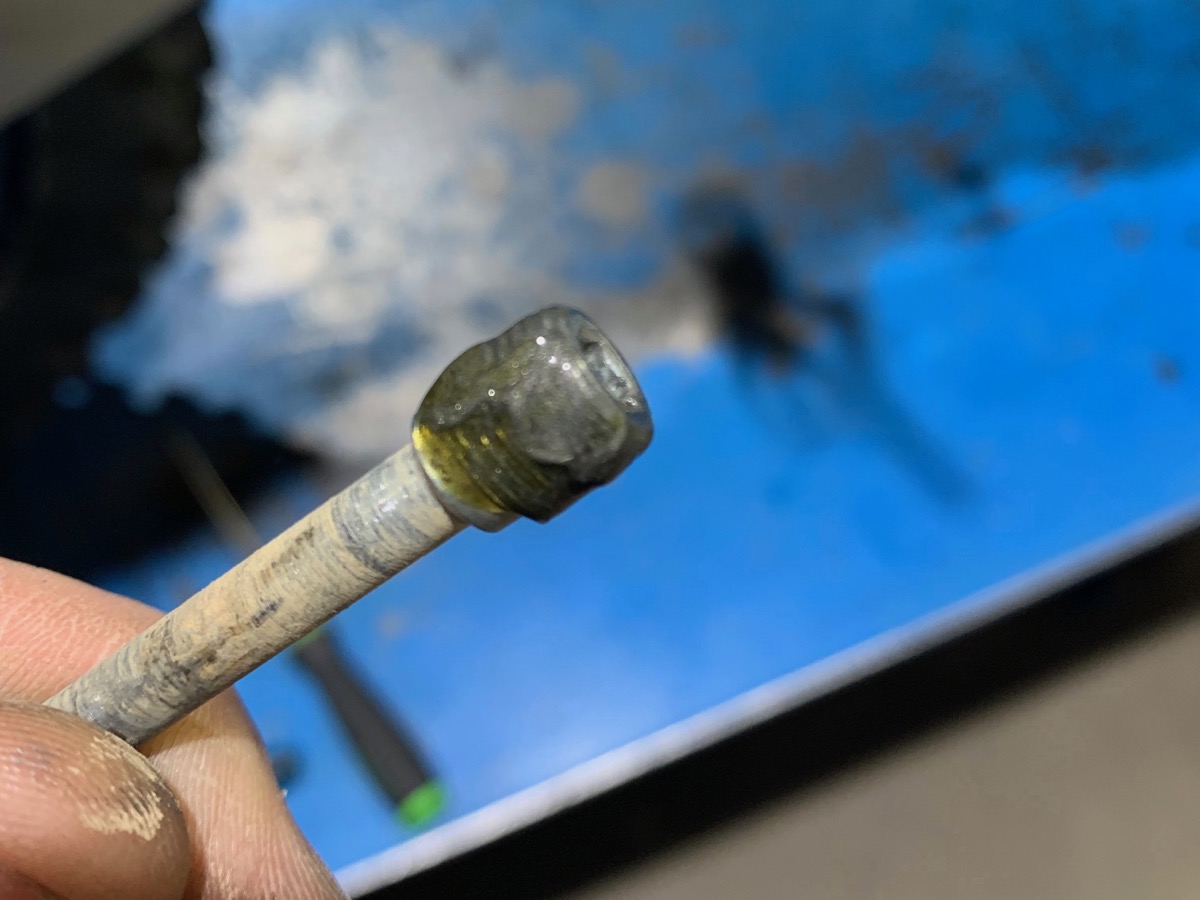
5 ANTI-SEIZE
Take some anti-seize and apply it to the thread of the brake pin (shown) and the slotted-head retaining cap. This will help prevent these parts from seizing in the future.
6 PUSH THE PIN
If you have dropped any retainer plates or springs then refit them and install the pads. While holding them in the right position, push the brake pin through and tighten it.
7 RETAINER CAP
Once the new pads are fitted and the brake pin is tight, fit the retaining cap. It only needs to be snug. If you over-tighten the cap then you may strip the thread of the cap or struggle to remove it next time.
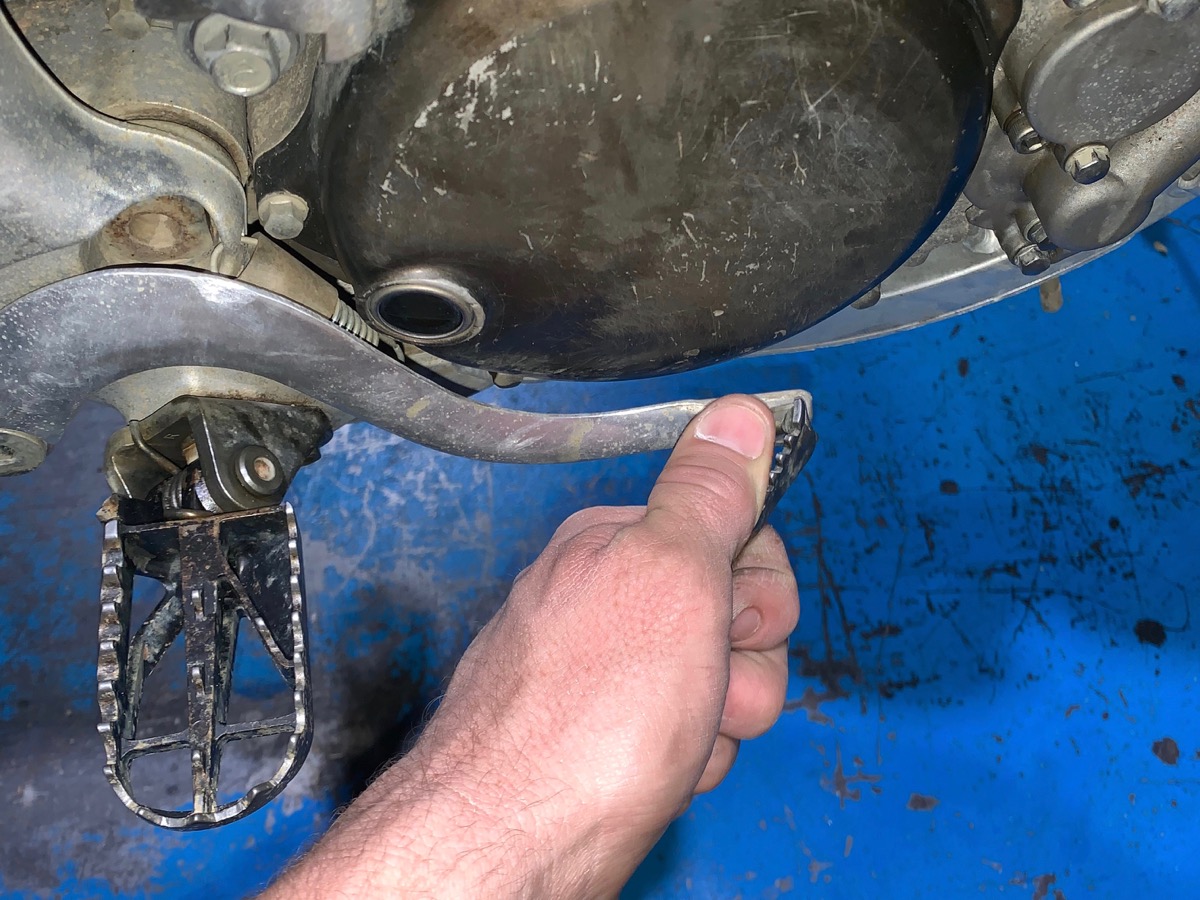
8 PUMP THE PEDAL
Now that everything is back in place and tight, pump the brake lever or pedal until it becomes hard. Now you are ready to go out and give the bike a run but be careful as new brake pads sometimes need some time to bed in.
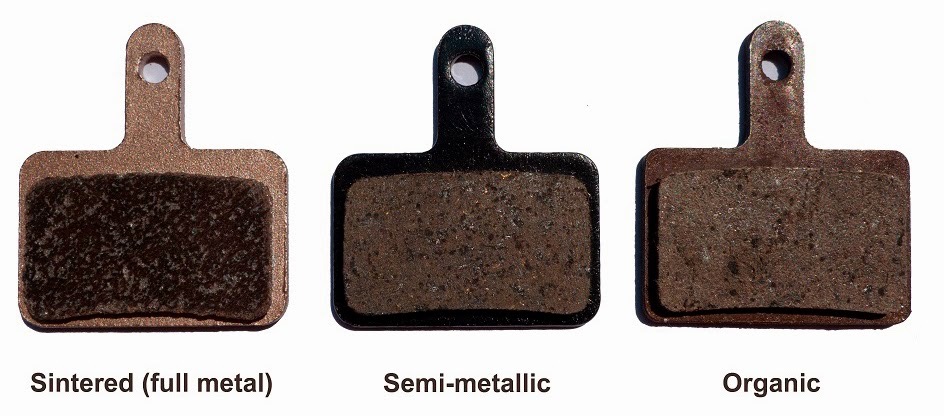
SINTERED VS NON-SINTERED
Non-sintered pads will have more bite initially but tend to fade in harsh conditions and wear out much faster. The heavier you are on the brakes, the more heat is generated. Sintered brake pads will handle the heat better and not fade as much, but they can make some noise when hot and can become really loud and annoying. Non-sintered pads are softer and can make the brake feel soft and spongey, as if there is air in the hydraulic line.
Non-sintered pads are a mixture of fibres held together with a resin. These materials can include Kevlar, carbon and rubber. Sintered pads include metallic particles and are fused together at high temperature and pressure.
BEWARE
Take your time and take care when changing brake pads. If you make any mistakes then it may lead to your brakes malfunctioning, causing serious injury.
Technical Editor Mat Boyd