WHAT IS IT? 1998 KAWASAKI KX80
WHO? Carter Cullimore
WHERE DID YOU BUY IT? Facebook Marketplace
HOW MUCH? $500 with a blown engine and in poor condition
WHY DID YOU BUY IT?
My dad and I bought this bike with the intention of fixing it up to ride and have lots of fun. This is my first two-stroke bike, and I think they sound cool since my dad has a 2016 YZ250.
The bike was in terrible condition—dirty, neglected, and clearly unloved—so we had to strip it down and start a parts list. The more parts that came off, the longer that list grew! But to be fair, the KX80 is 27 years old, so we had a good idea we’d be replacing a lot more than expected.
WHAT HAVE YOU DONE TO IT?
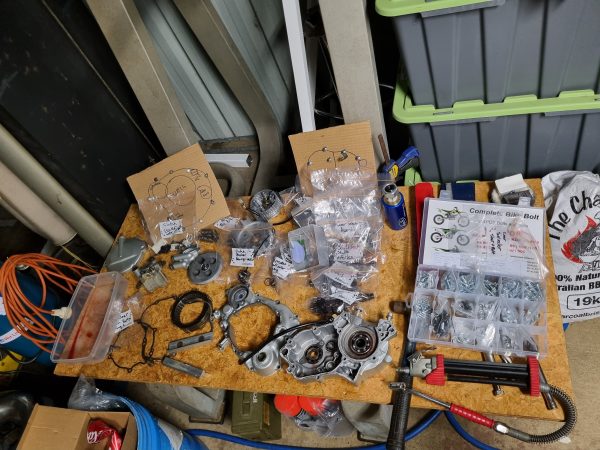
What have we done to it? More than we expected! My dad and I stripped it right down to nuts and bolts, cleaning years of grease and grime off every part that didn’t need replacing.
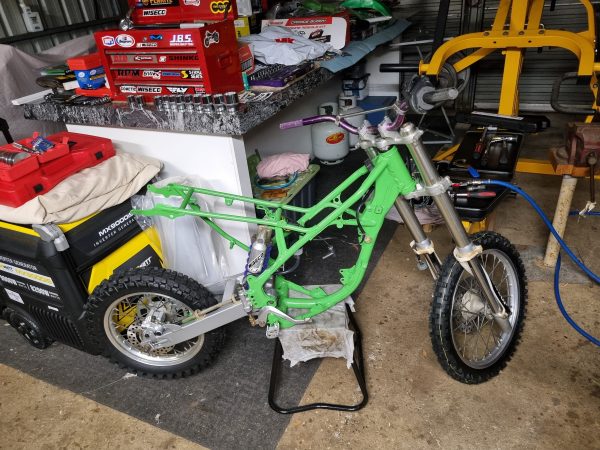
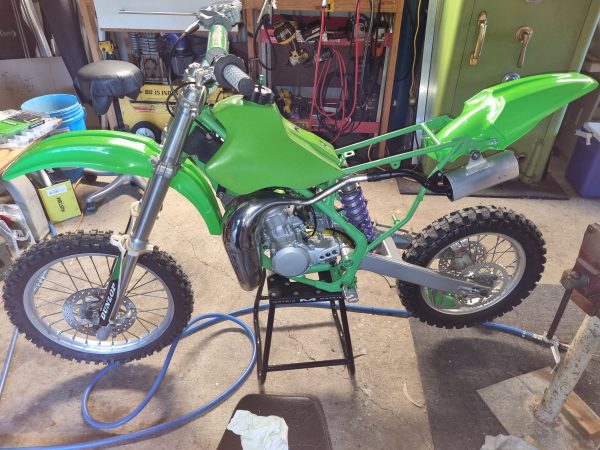
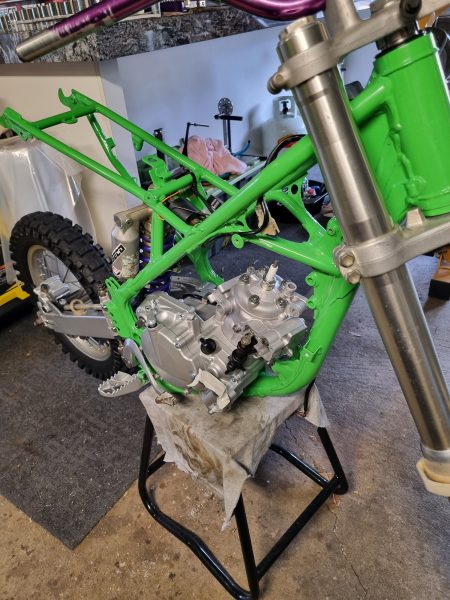
We had the frame powder-coated in lime green—close to the original Kawasaki colour—and the swingarm done in silver to complement it. While those were out, we tore into the engine and found bearing material everywhere; the bottom end had let go. We disassembled and flushed it thoroughly (a box of degreaser did the trick).
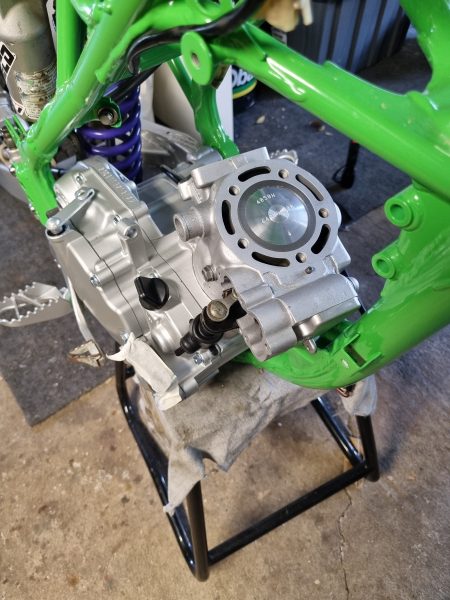
We ordered a Wiseco Garage Buddy rebuild kit, which was great as it included everything in one box. The old cylinder sleeve was worn out, so we replaced it. Once cleaned, we painted the case halves in silver engine enamel and reassembled with all new bearings, seals, and bolts.
When the swingarm came back, we pressed in new bearings, added fresh grease, and reassembled. New sprockets, a gold EK chain, and chain sliders went on, along with new steering bearings and freshly coated silver footpegs, kickstarter, and engine mounts. We installed a new rear brake caliper and master cylinder before fitting the rebuilt engine into the frame—it was starting to look mint!
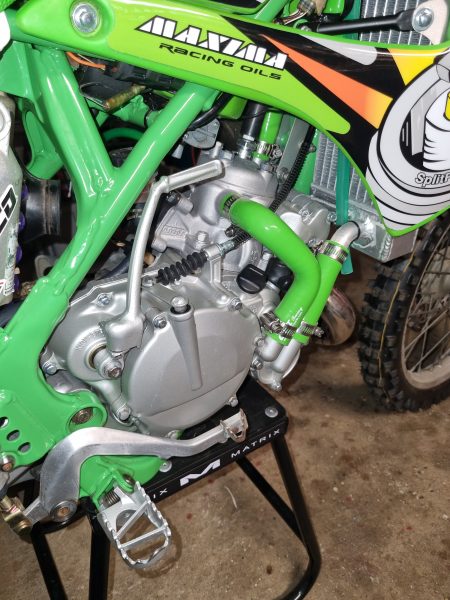
The carburettor was surprisingly clean, but we gave it a blast of carby cleaner, checked jetting, and replaced the seals. We installed a new radiator, hoses, and Boyesen Pro Series carbon reeds, along with green Renthal bars. The cracked airbox was repaired, fitted with a new filter, and the faded tank revived with a heat gun.
We replaced the guards with new UFO plastics, polished the dented exhaust using a two-stroke repair kit, and finished it off with a new seat cover, fuel lines, breather hoses, and a Splitfire sticker kit—the cherry on top.
HOW DOES IT GO?
The freshly rebuilt engine runs great and needs about an hour of gentle running-in—10, 20, and 30-minute sessions with cooling periods in between. It starts first kick, has plenty of punch for an 80cc, and loves to scream on the powerband through all six gears. We’re running a 32:1 mix with 98 pump fuel and Penrite two-stroke oil, and it absolutely rips.
WOULD YOU RECOMMEND BUYING ONE?
If you’re looking for a project to tackle with your kids—or on your own—I’d definitely recommend buying a dirt bike that needs some attention. It’s heaps of fun, you learn a lot, and there’s so much info and advice online. It’s also a great way to get your kids off the PlayStation and into the garage, tools in hand, learning something useful. Some bikes just need a solid clean and detail, but if you enjoy the mechanical side of things, projects like this are even more rewarding.
5 UNIQUE THINGS ABOUT YOU OR THE BIKE
- The bike was broken and not running—now it works amazingly with all the new parts.
- I get to enjoy the bike that I helped build.
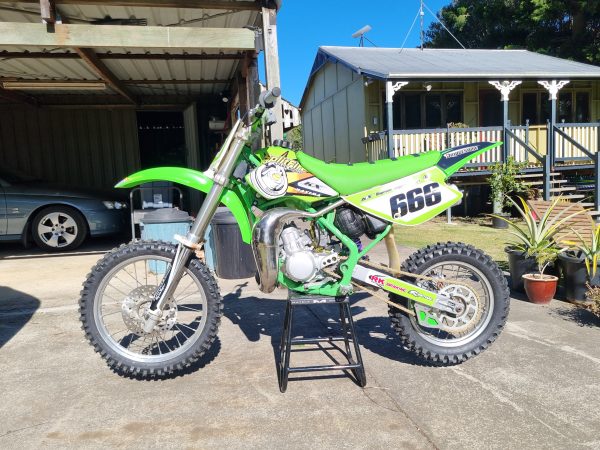
- It has the number of the beast.
- It was fun building this bike with my dad.
- Green is my favourite colour and looks awesome on my bike.