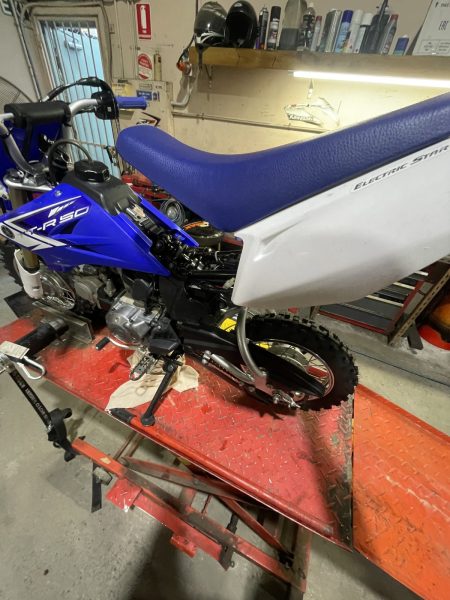
The majority of modern motorcycles are now electric start which means they have a battery fitted to the motorcycle to power the starter motor to start the engine. Kid’s bikes don’t have a lot of room on them to go fitting a large size battery so they are generally fitted with small batteries that don’t take long to discharge when sitting around unused. If the bike is used weekly then the battery will stay charged but if the bike sits around for two to three months between rides then you can almost guarantee the battery will be flat when you pull it out to use it again. With many kid’s bikes being fitted with no kick start you are left with no choice but to charge the battery. This particular kid’s bike is a Yamaha TT-R50 which are very popular amongst learners so here I will show you how to remove and charge a Yamaha TT-R50 battery.
#1 BOLTS OUT
First you will need to remove the seat to get to the battery. The seat bolts are located under the back guard. You will need to loosen and completely remove them.
#2 SEAT OFF
Now it’s time to remove the seat. The seat slides backwards and up to come loose. Be sure to remember which way the seat slides in as you’ll need to perform the same movement in reverse to refit the seat later on.
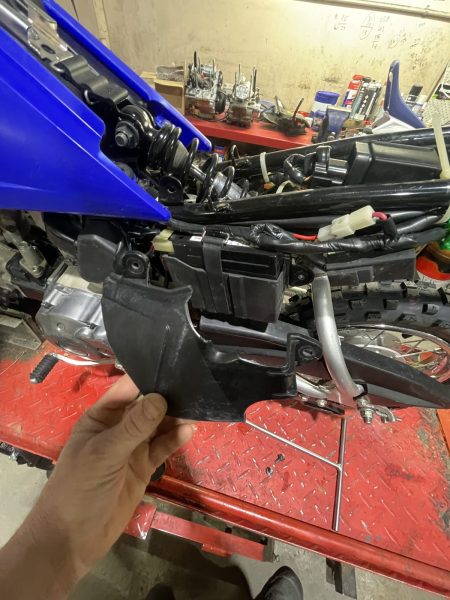
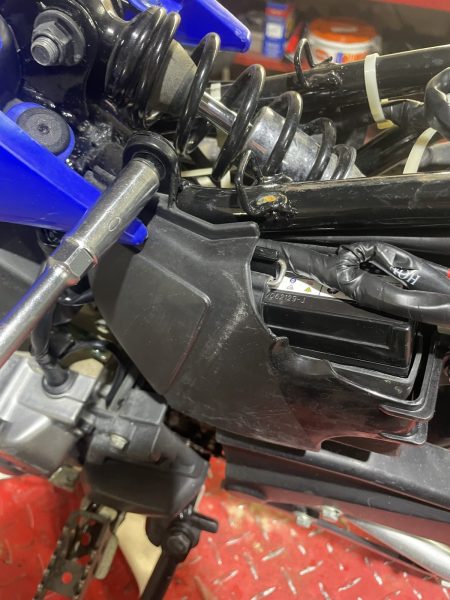
#3 REMOVE BATTERY GUARD
Remove the plastic guard from across the battery. There are two 10mm bolts holding it in place. Remove these bolts completely and then remove the guard.
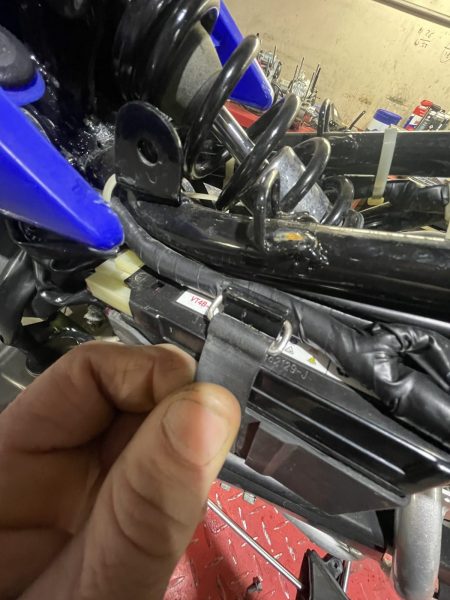
#4 UNSNAP THE STRAP
Now remove the rubber strap holding the battery in place. You will need to stretch the strap and unhook it so that the battery will come loose.
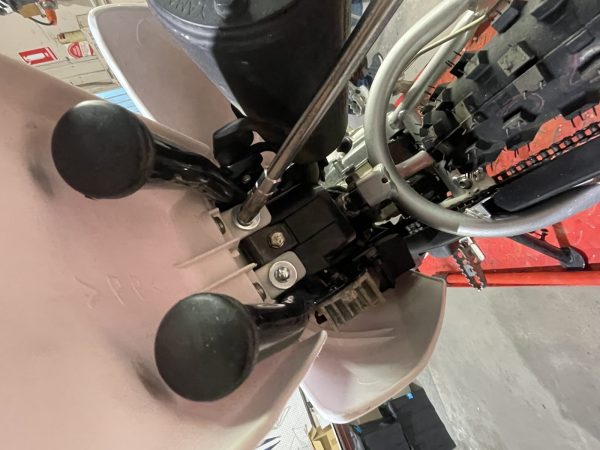
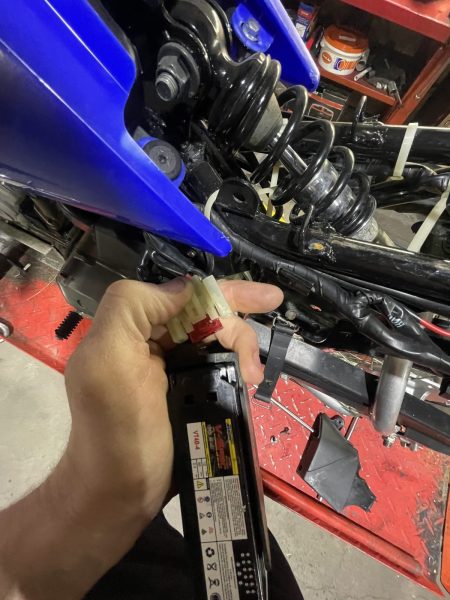
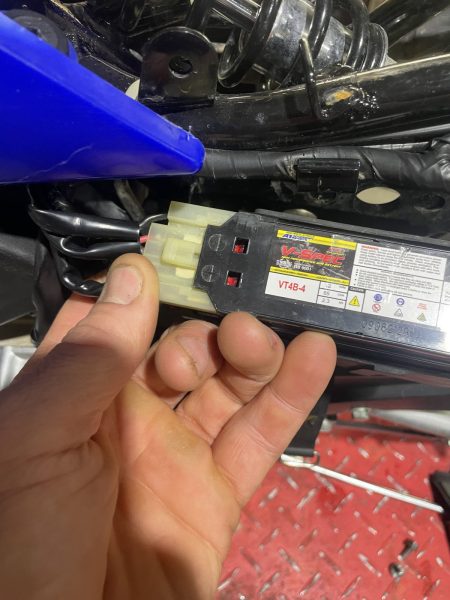
#5 TERMINAL REMOVAL
Now that the battery is loose, disconnect the terminals. The terminals on this battery are slightly different to normal. There is a white plastic tab at the top that you need to depress and pull to get the terminals to come loose. Once you have removed the terminals sit the battery on the bench.
#6 CHARGE IT
Now it’s time to hook up the battery charger. Make sure you pay attention to fitting the red or positive terminals together and the black or negative terminals together.
#7 USE THE CORRECT CHARGER TYPE
There are many different types of battery chargers out there that charge at different rates. It is best to consult the manual for the battery charger to make sure it is compatible with the type of battery you are charging. If unsure then I suggest you use a slow or trickle charge on the AGM setting to prevent overcharging and cooking the battery.

#8 REPLACING THE BATTERY
Once the battery is charged it is time to put it back in the bike and refit the battery terminals. You will need to push these in until you feel them click and lock into place.
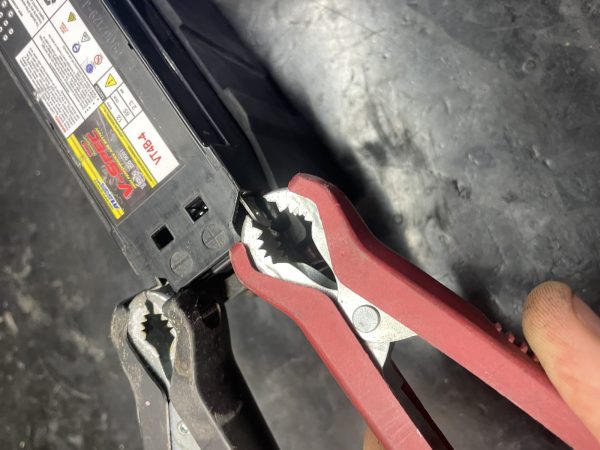
#9 STRAP IT
Then refit the rubber battery strap. Sometimes it is easiest to grab this strap with pliers to put it back into place.
#10 REPLACE THE GUARD
Then refit the plastic battery guard and then the seat by sliding it into place and securing it with the two mounting bolts located under the rear guard.
For the full feature check out issue #529 of ADB.
WORDS | MAT BOYD