A brake line is what is fitted between the master cylinder and brake caliper. The task of the brake line is to carry the force applied to fluid in the master cylinder through to the brake caliper where it clamps the brake pads onto the rotor and slows the motorcycle. These lines can be damaged in a crash or just simply be changed to a fancier looking one or to a braided brake line for more braking power. Here’s how to fit a brake line to your bike.
Whatever the reason for changing the brake line is, it is a fairly simple job with the rights tools and knowledge. So let’s take a look at how to change your brake lines.
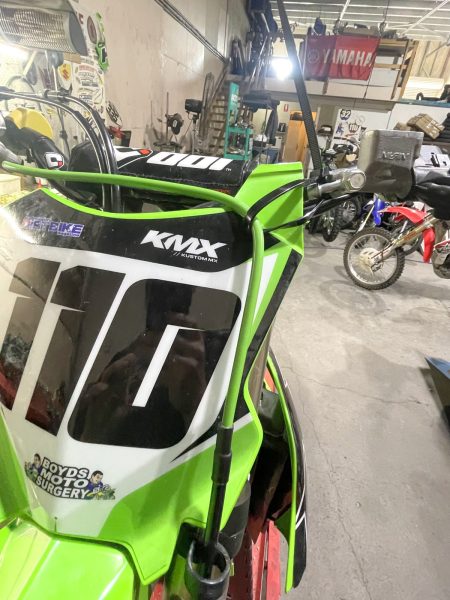
#1PREPARARTION
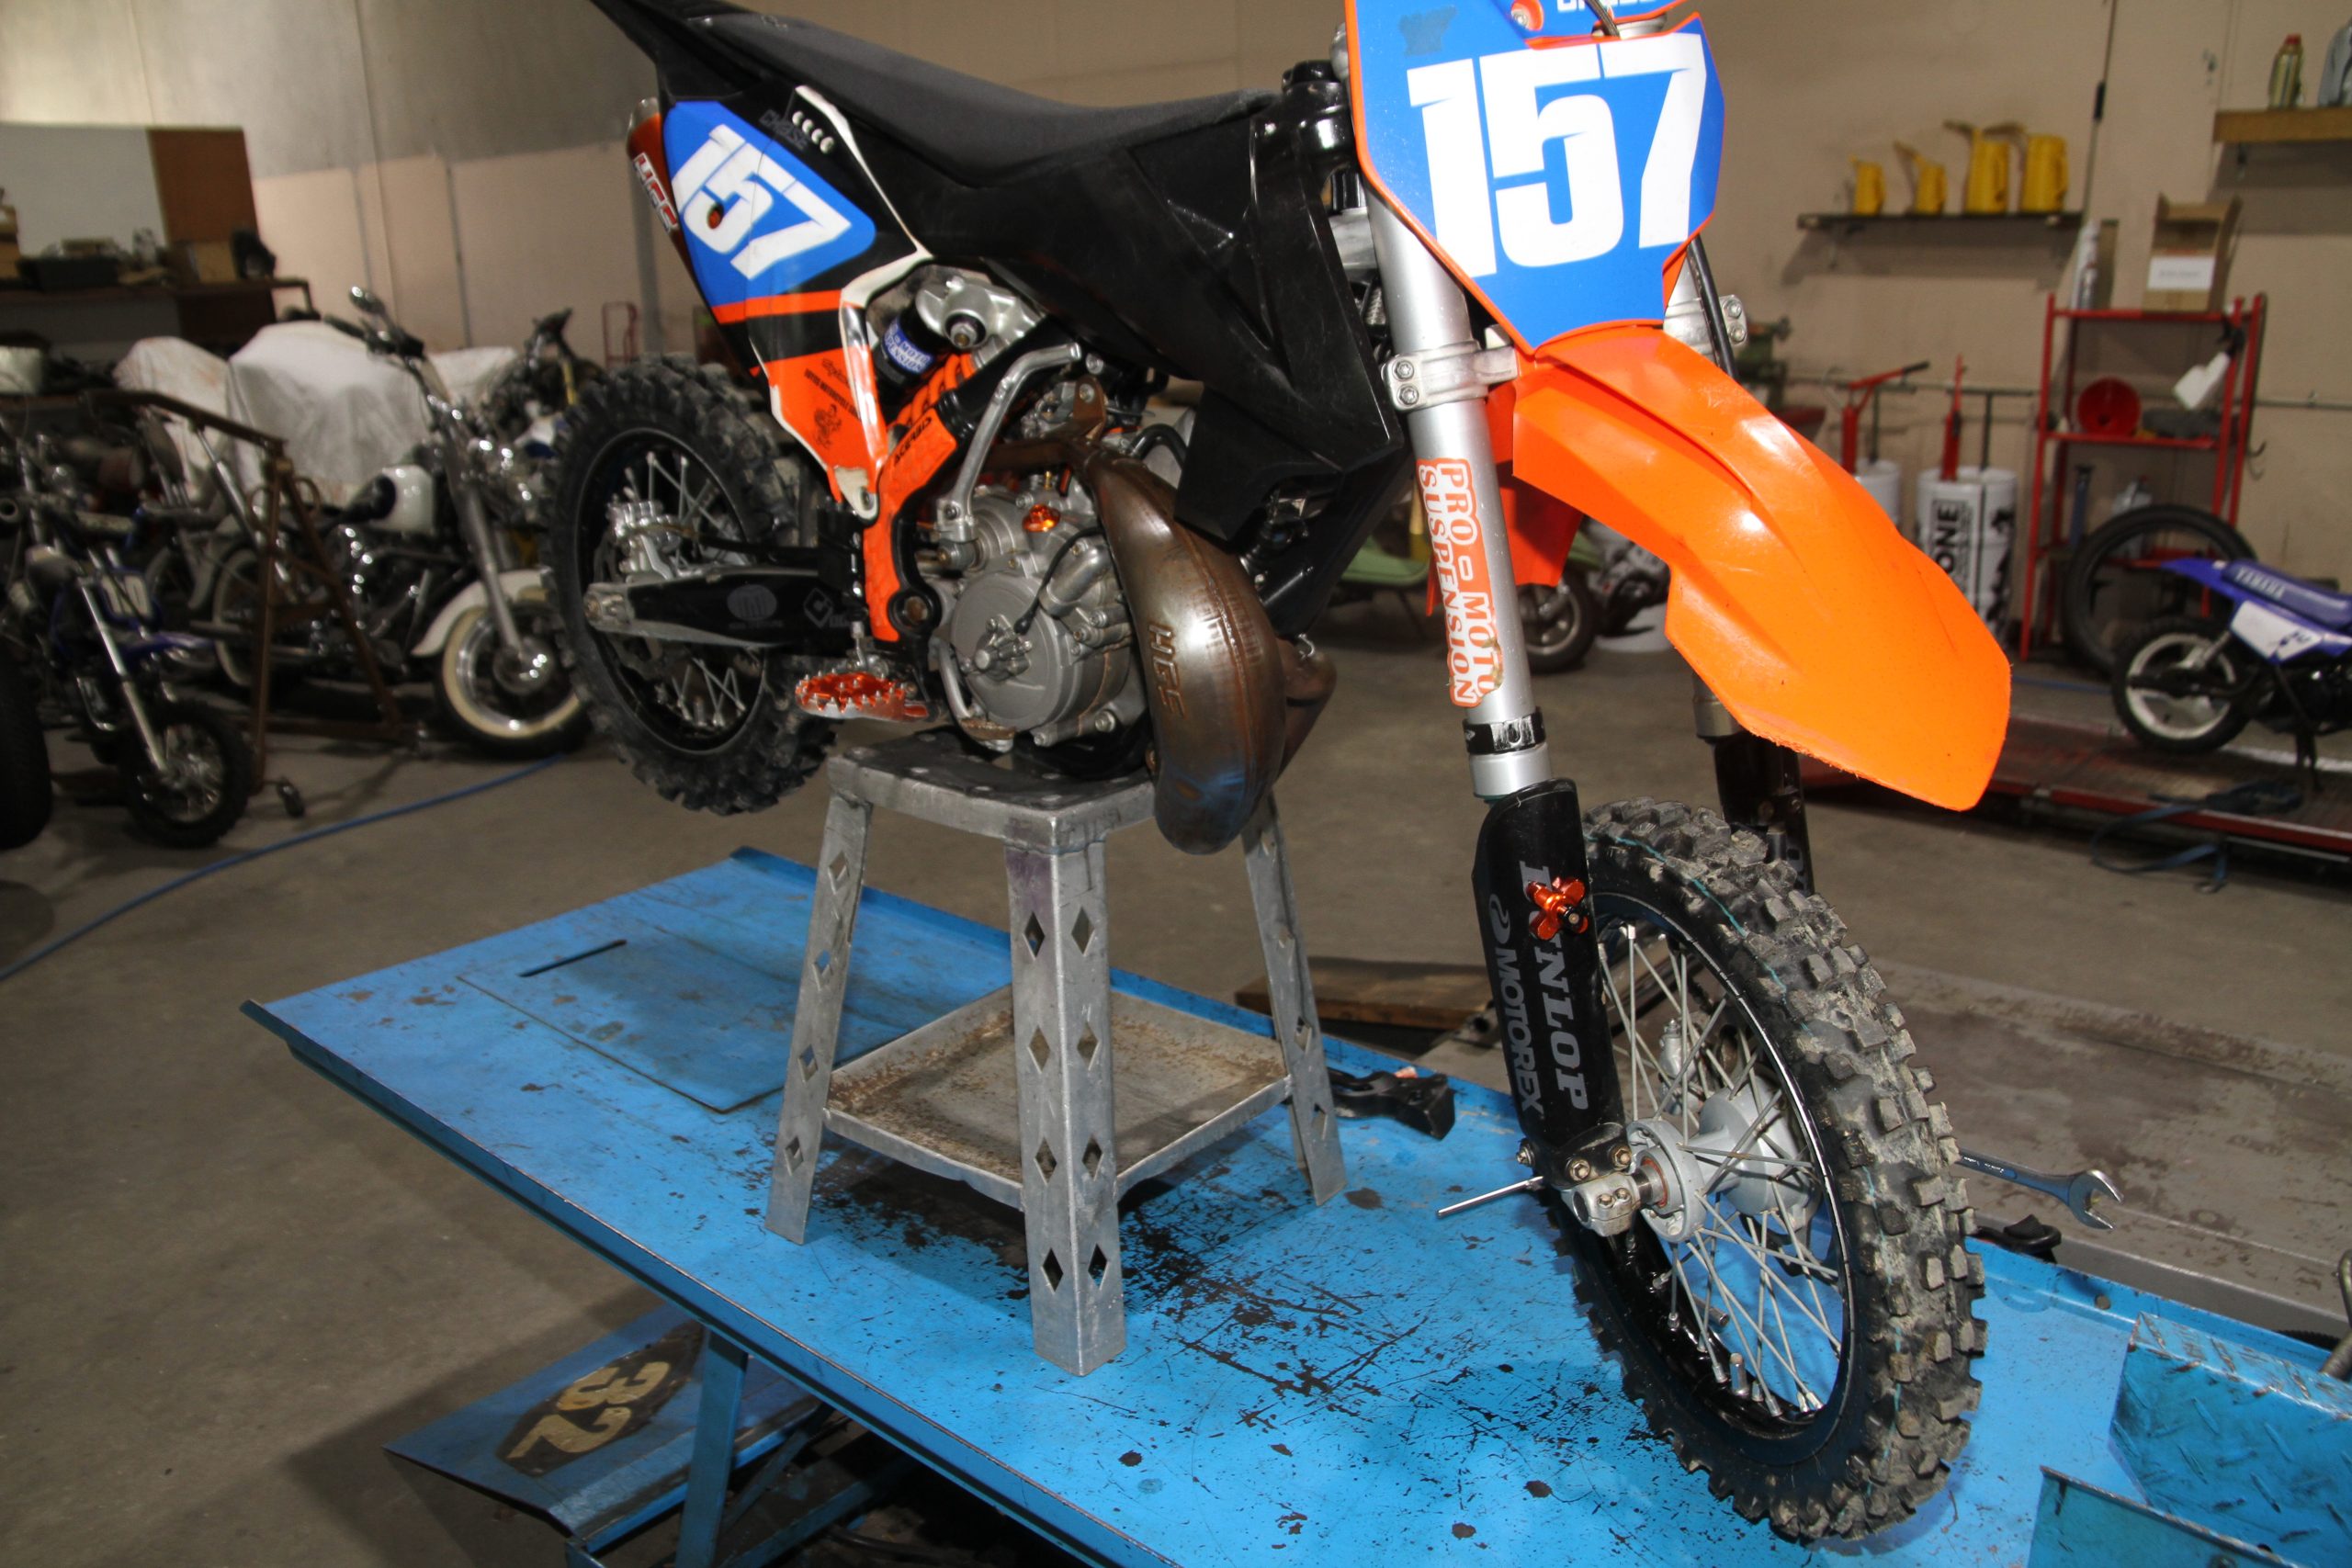
Start with the motorcycle on a steady, level work bench. I have this bike up on a motorcycle hoist so it is at eye level to make it easier but you can also do this on the ground on a centre stand.
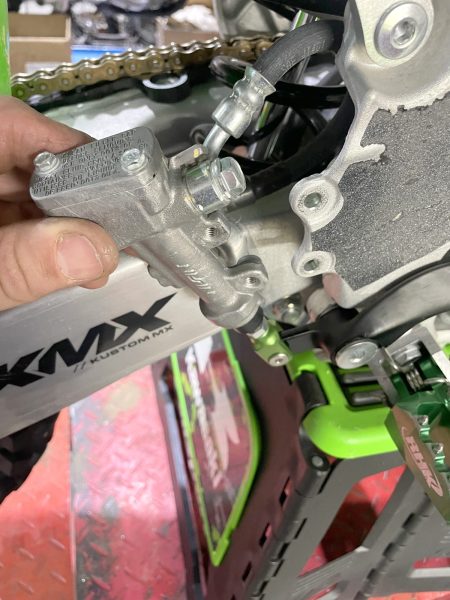
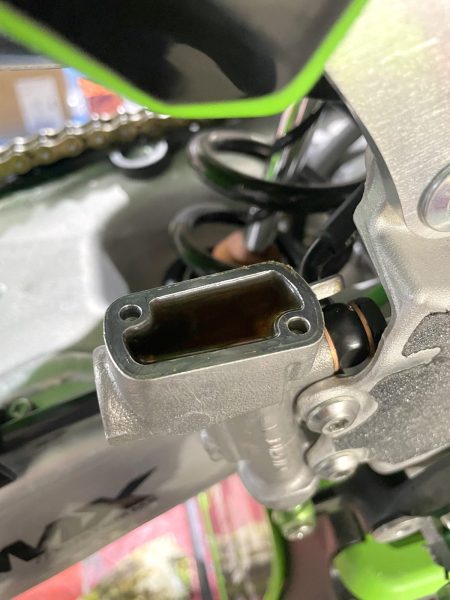
#2 FIND THE MASTER CYLINDER BANJO
Many models the front brake line banjo bolt is hidden behind the master cylinder so you will need to remove the master cylinder to access the brake line banjo bolt.
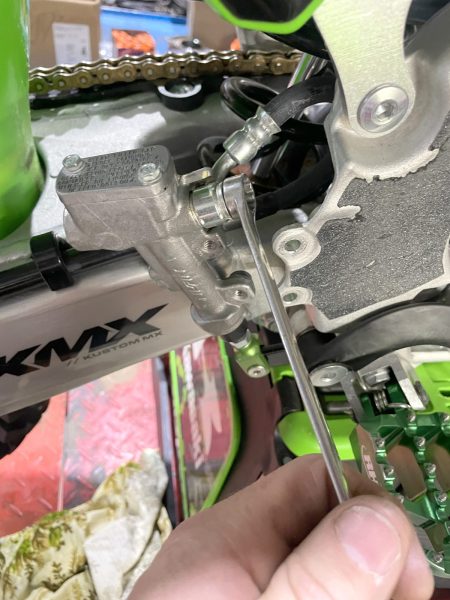
#3 REMOVE THE BANJO
Place a container or rags down and remove the banjo bolt securing the brake line. Fluid will drain out so be ready to catch it.
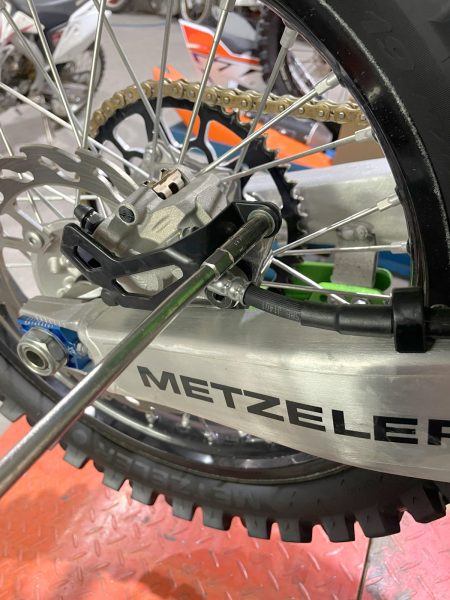
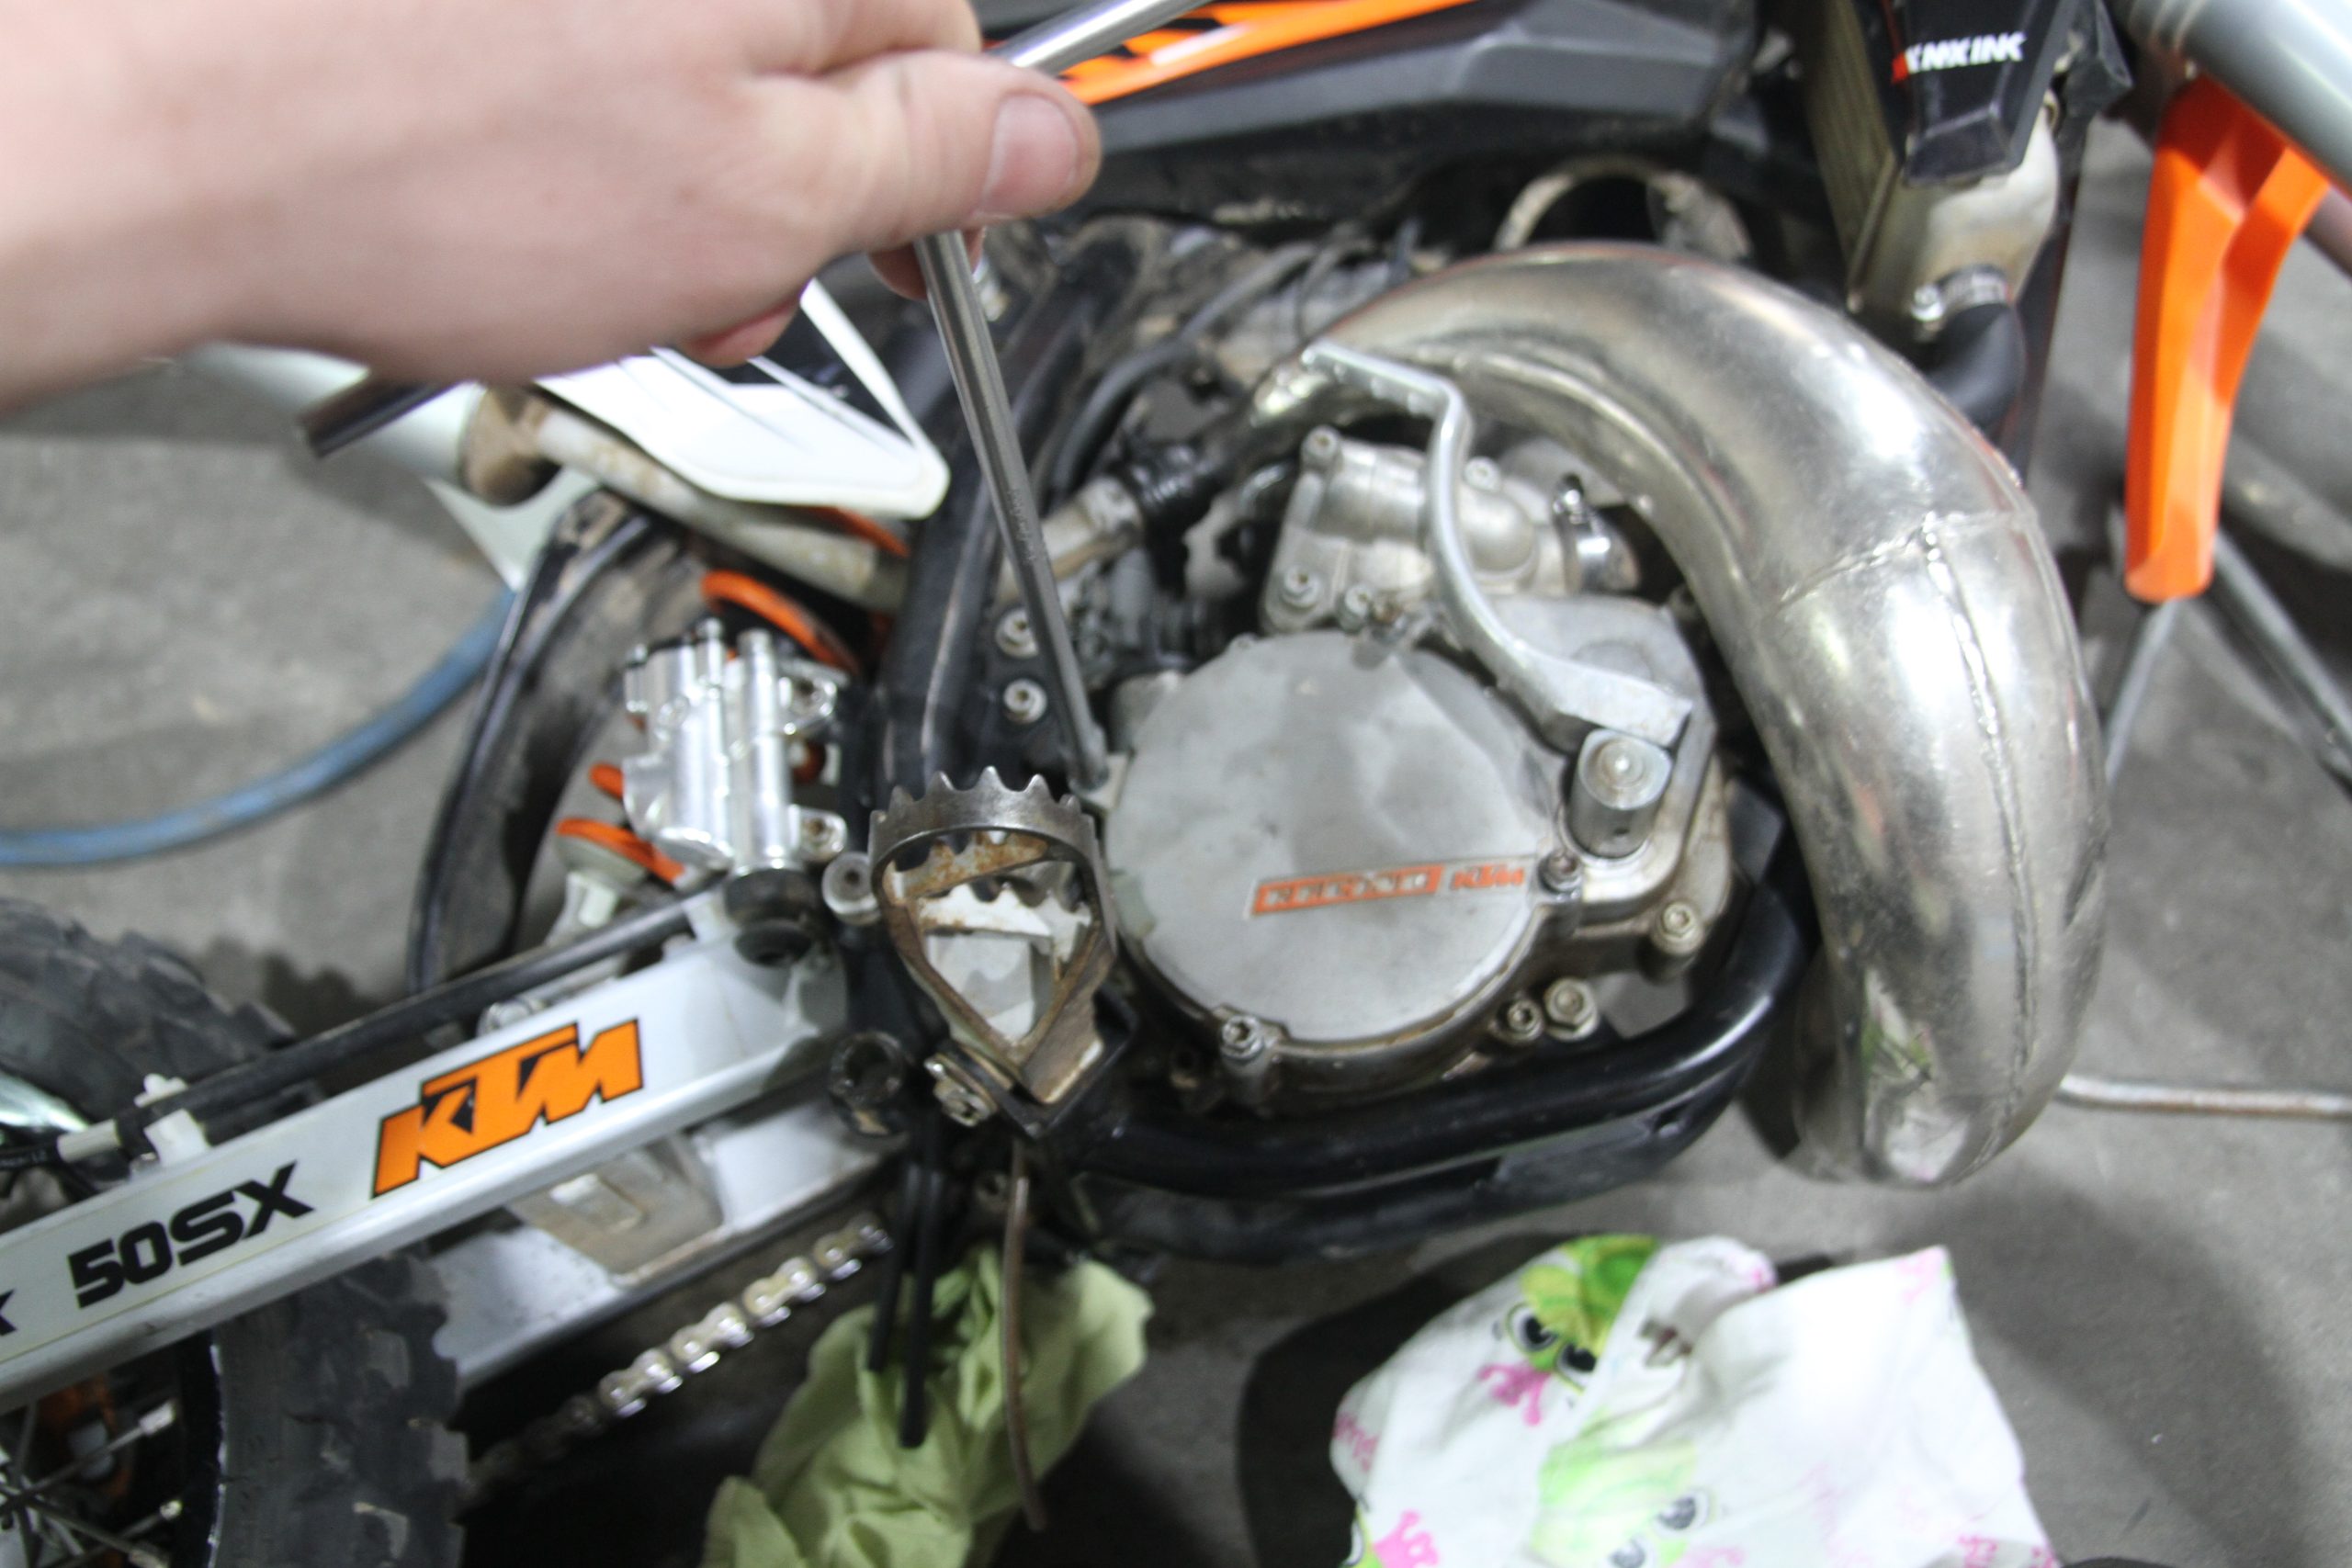
#4 UNCOVER THE CALIPER
Now move along to the brake caliper and remove the guard covering the caliper.
#5 REMOVE CALIPER BANJO
Then you can remove the banjo bolt from the brake caliper and catch any fluid that comes out.
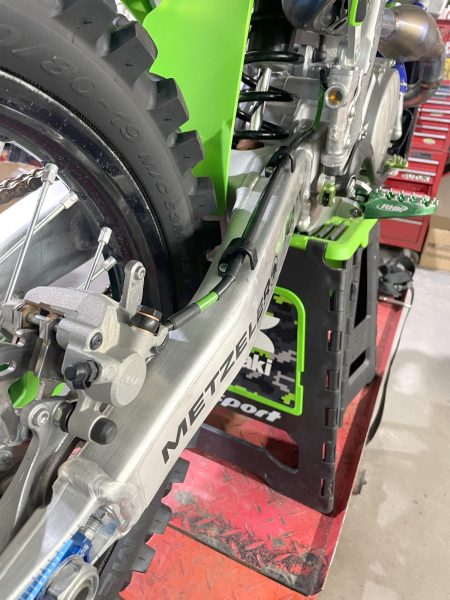
#6 LINE REMOVAL
Now it’s time to remove the old brake line from the bike. It is secured to the swingarm by plastic brackets. You do not need to remove these brackets as the brake line will slip out the side of them.

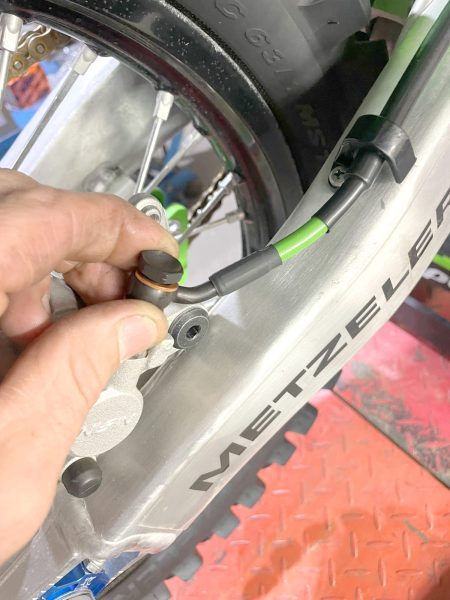
#7 FIT NEW LINE
Time to fit the new brake line. Most brake lines will only fit in one direction and have different shaped fittings on each end. Make sure to fit the new brake line with the same fitting as the old one at the same ends. Then tighten it into place with the new banjo bolts but make sure to have a copper or aluminium washer on either side of the brake line fittings or you will end up with a leak.
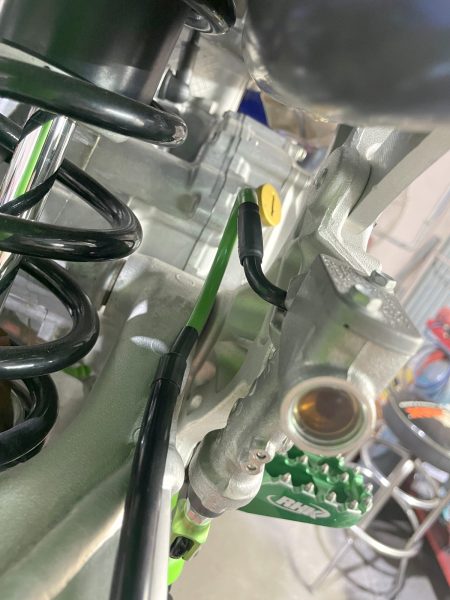
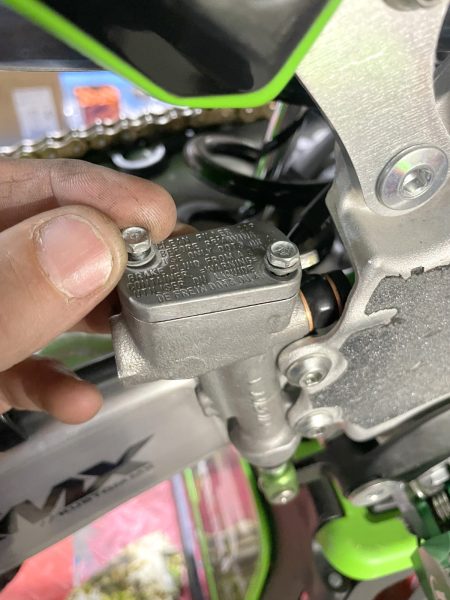
#8 FILL WITH NEW FLUID
Now fill the master cylinder back up with new fluid. Then pump the pedal until bubbles stop coming up through the fluid in the reservoir. Keep an eye on the fluid level as you may need to top it up several times as you bleed the brake system.
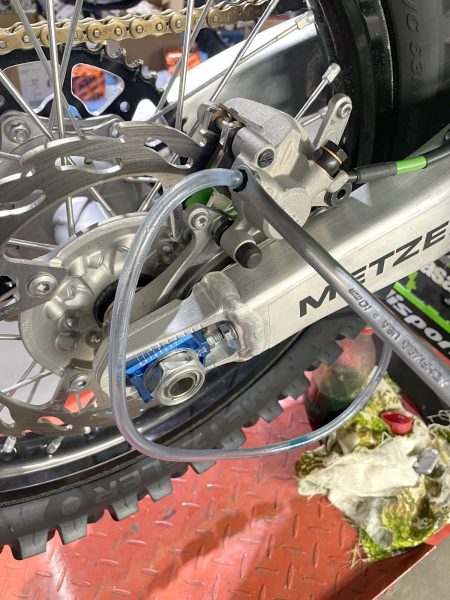
#9 PUMP NEW FLUID THROUGH
Fit a clear rubber hose over the brake nipple in the brake caliper. Then run this hose into a bottle or container. Then loosen the brake nipple and pump the pedal until all the old fluid and air bubbles have stopped and only clear new fluid is coming through the hose. Then tighten up the bleed nipple.
#10 SEAL IT UP
Now top up the master cylinder with fluid and refit the cap and any guards and caps and then clean up any spilt brake fluid with soapy water or brake cleaner.
#11tEST TIME
Lastly press the brake pedal to make sure the pedal is hard. If there is still air in the system then the pedal will feel soft and spongey and you will need to bleed the brake system again.