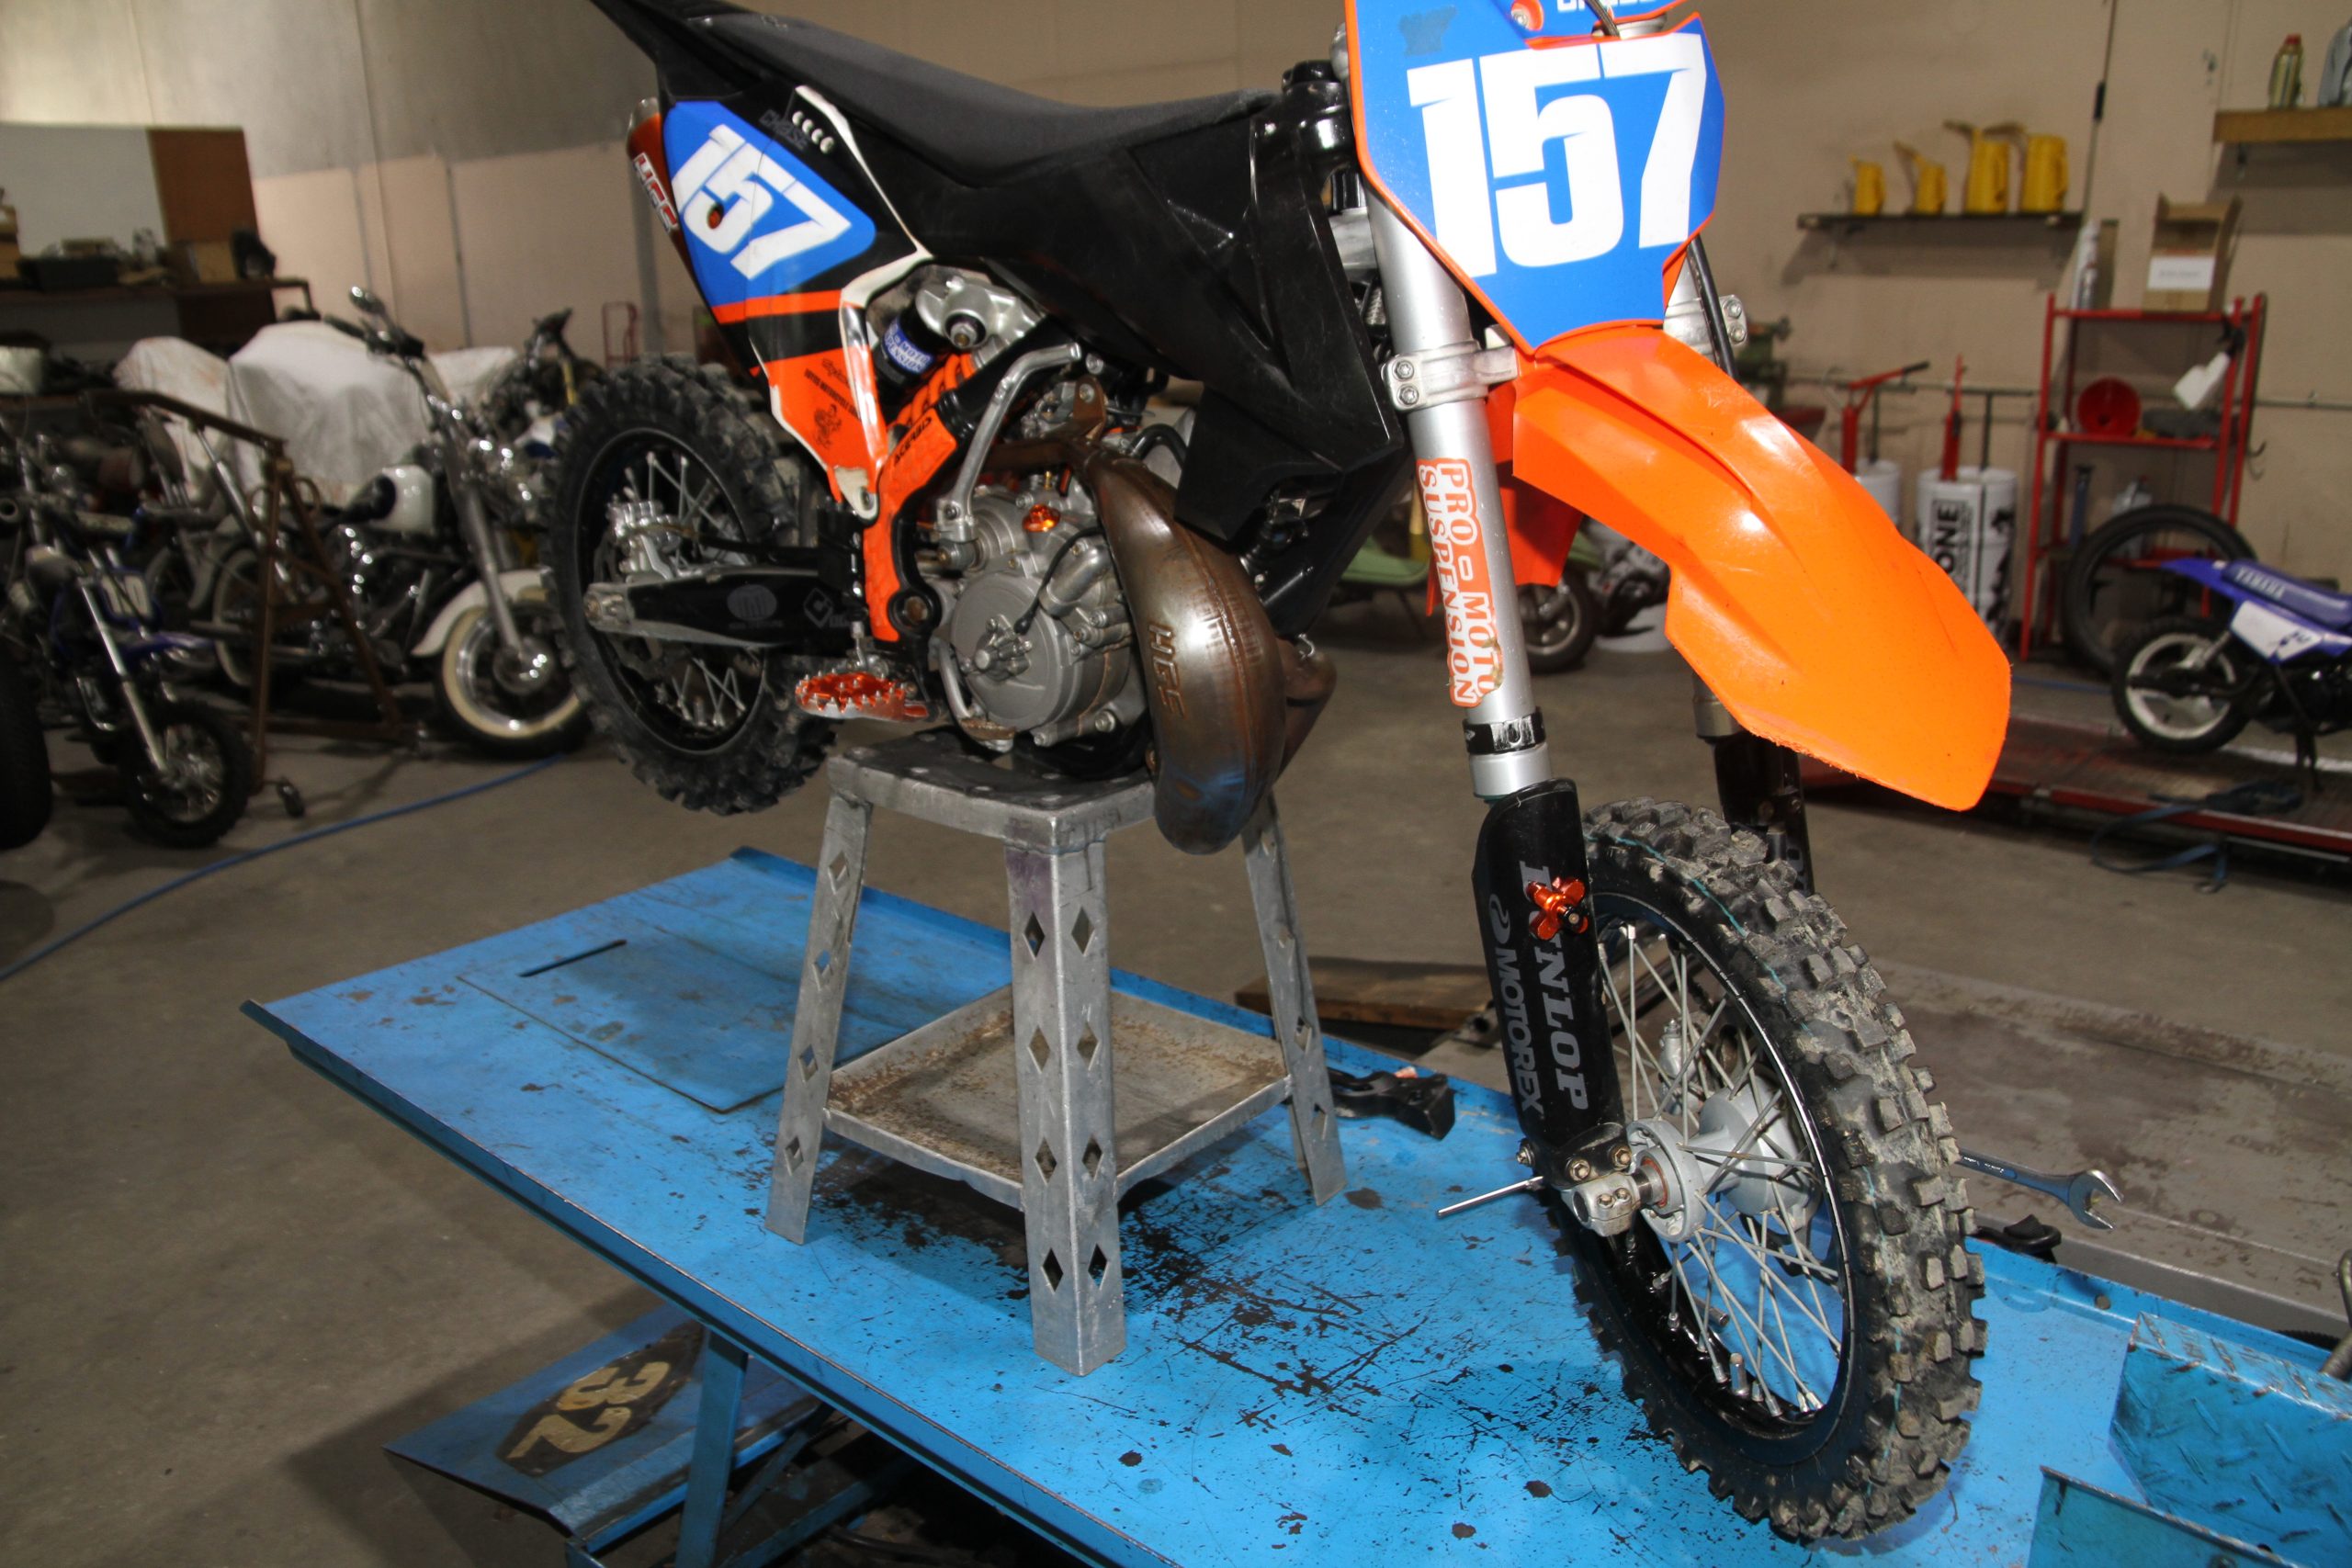
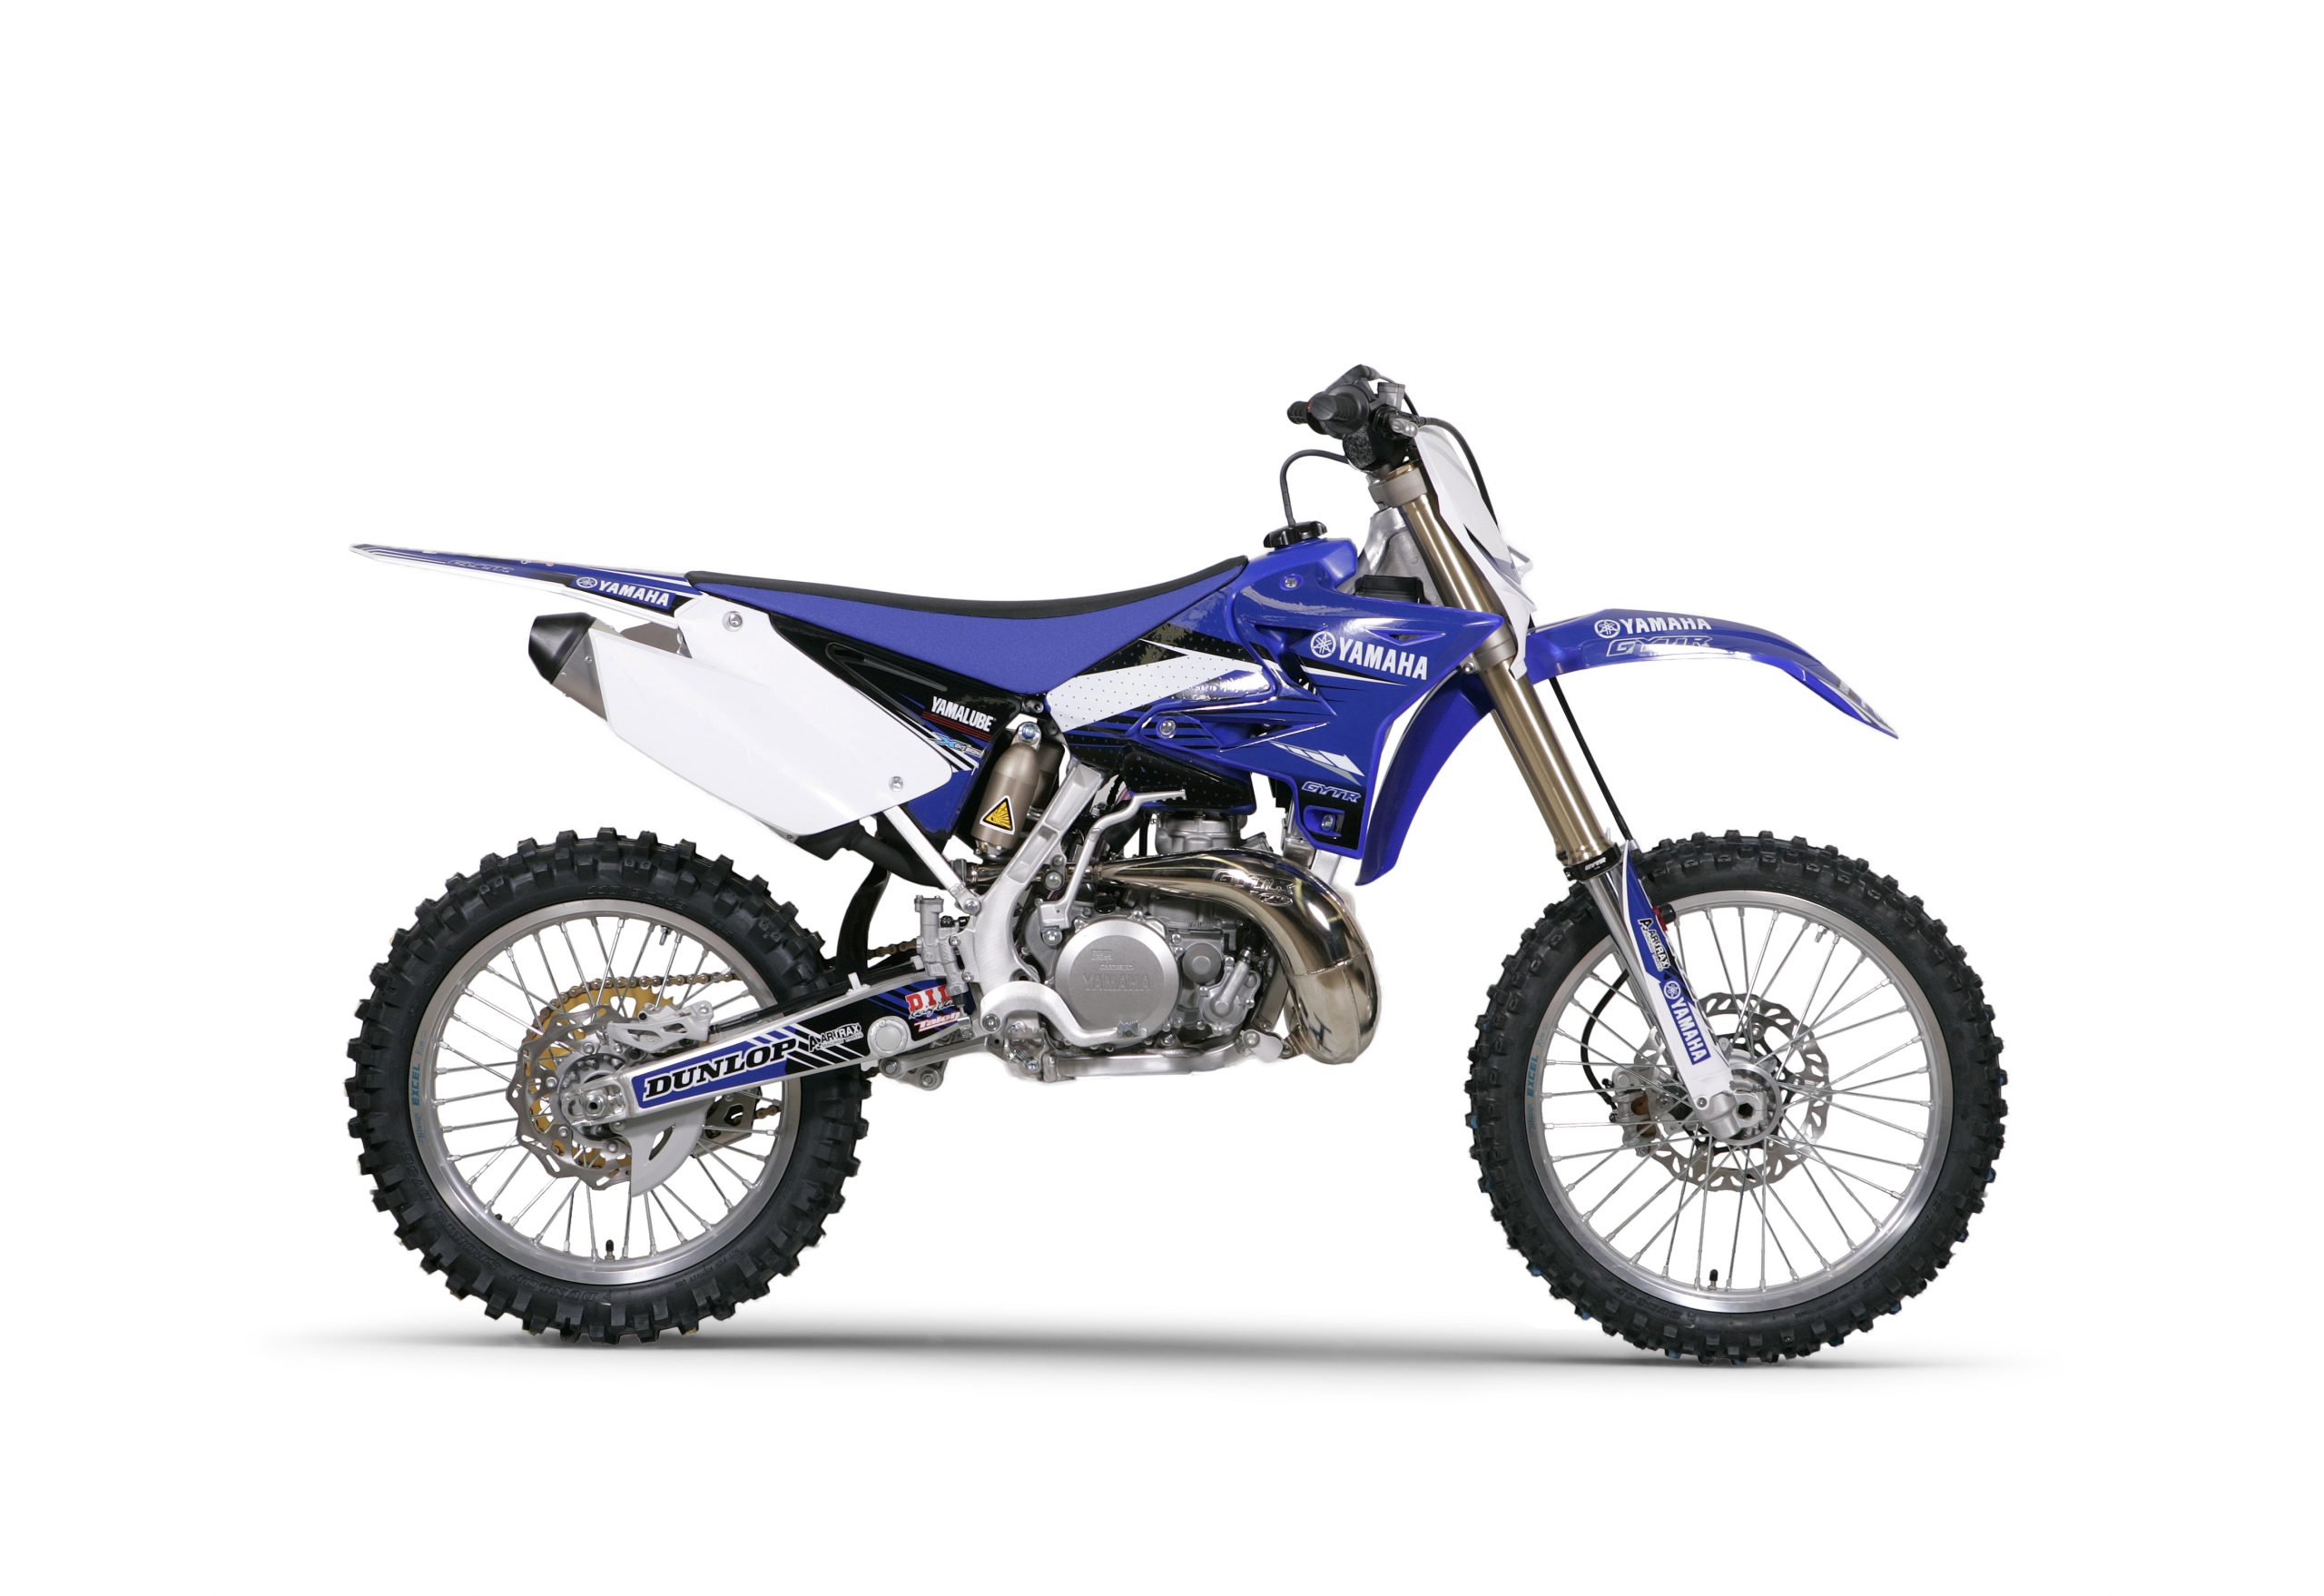
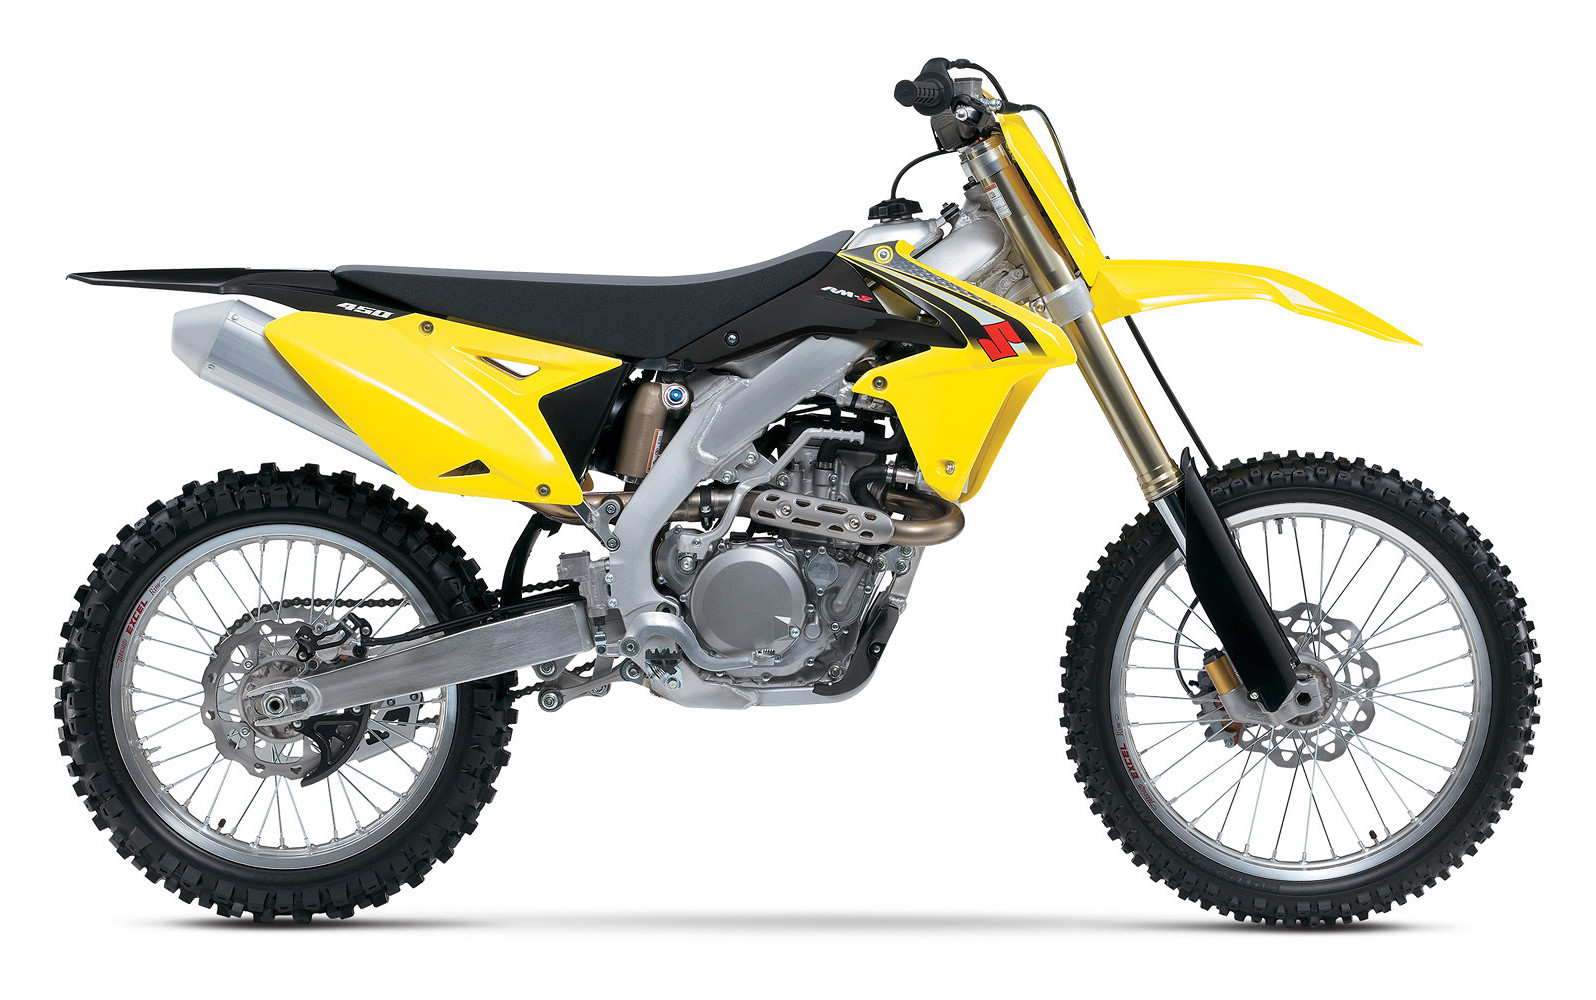
All motorcycles have levers in some form or another such as brake or clutch levers. They can come in different shapes and sizes with different adjusters but one thing that is very similar is how to set them up and position them on the handlebar. There are some people out there that ride very well with very unorthodox lever positions but the point of this is to give you a base point to start from, so you can get your levers into a position that work the most effective way and teach you how to adjust them to get yourself comfortable.
#1 A SOLID FOUNDATION
Firstly place your bike on a solid centre stand so you can sit on the bike without it falling over.
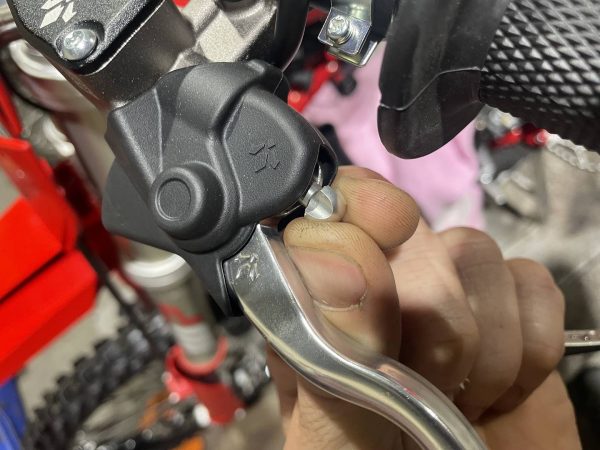
#2 FINGERS IN PLACE
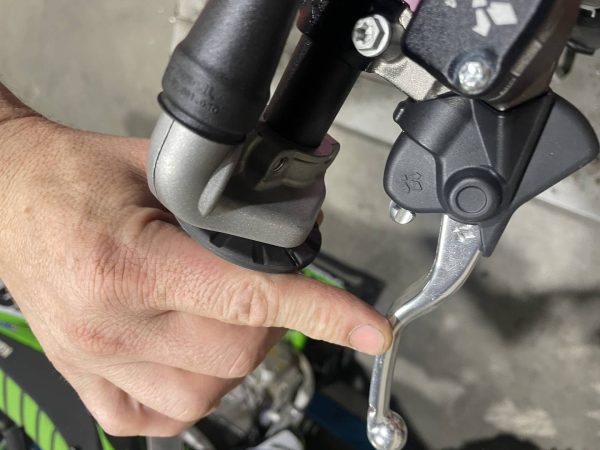
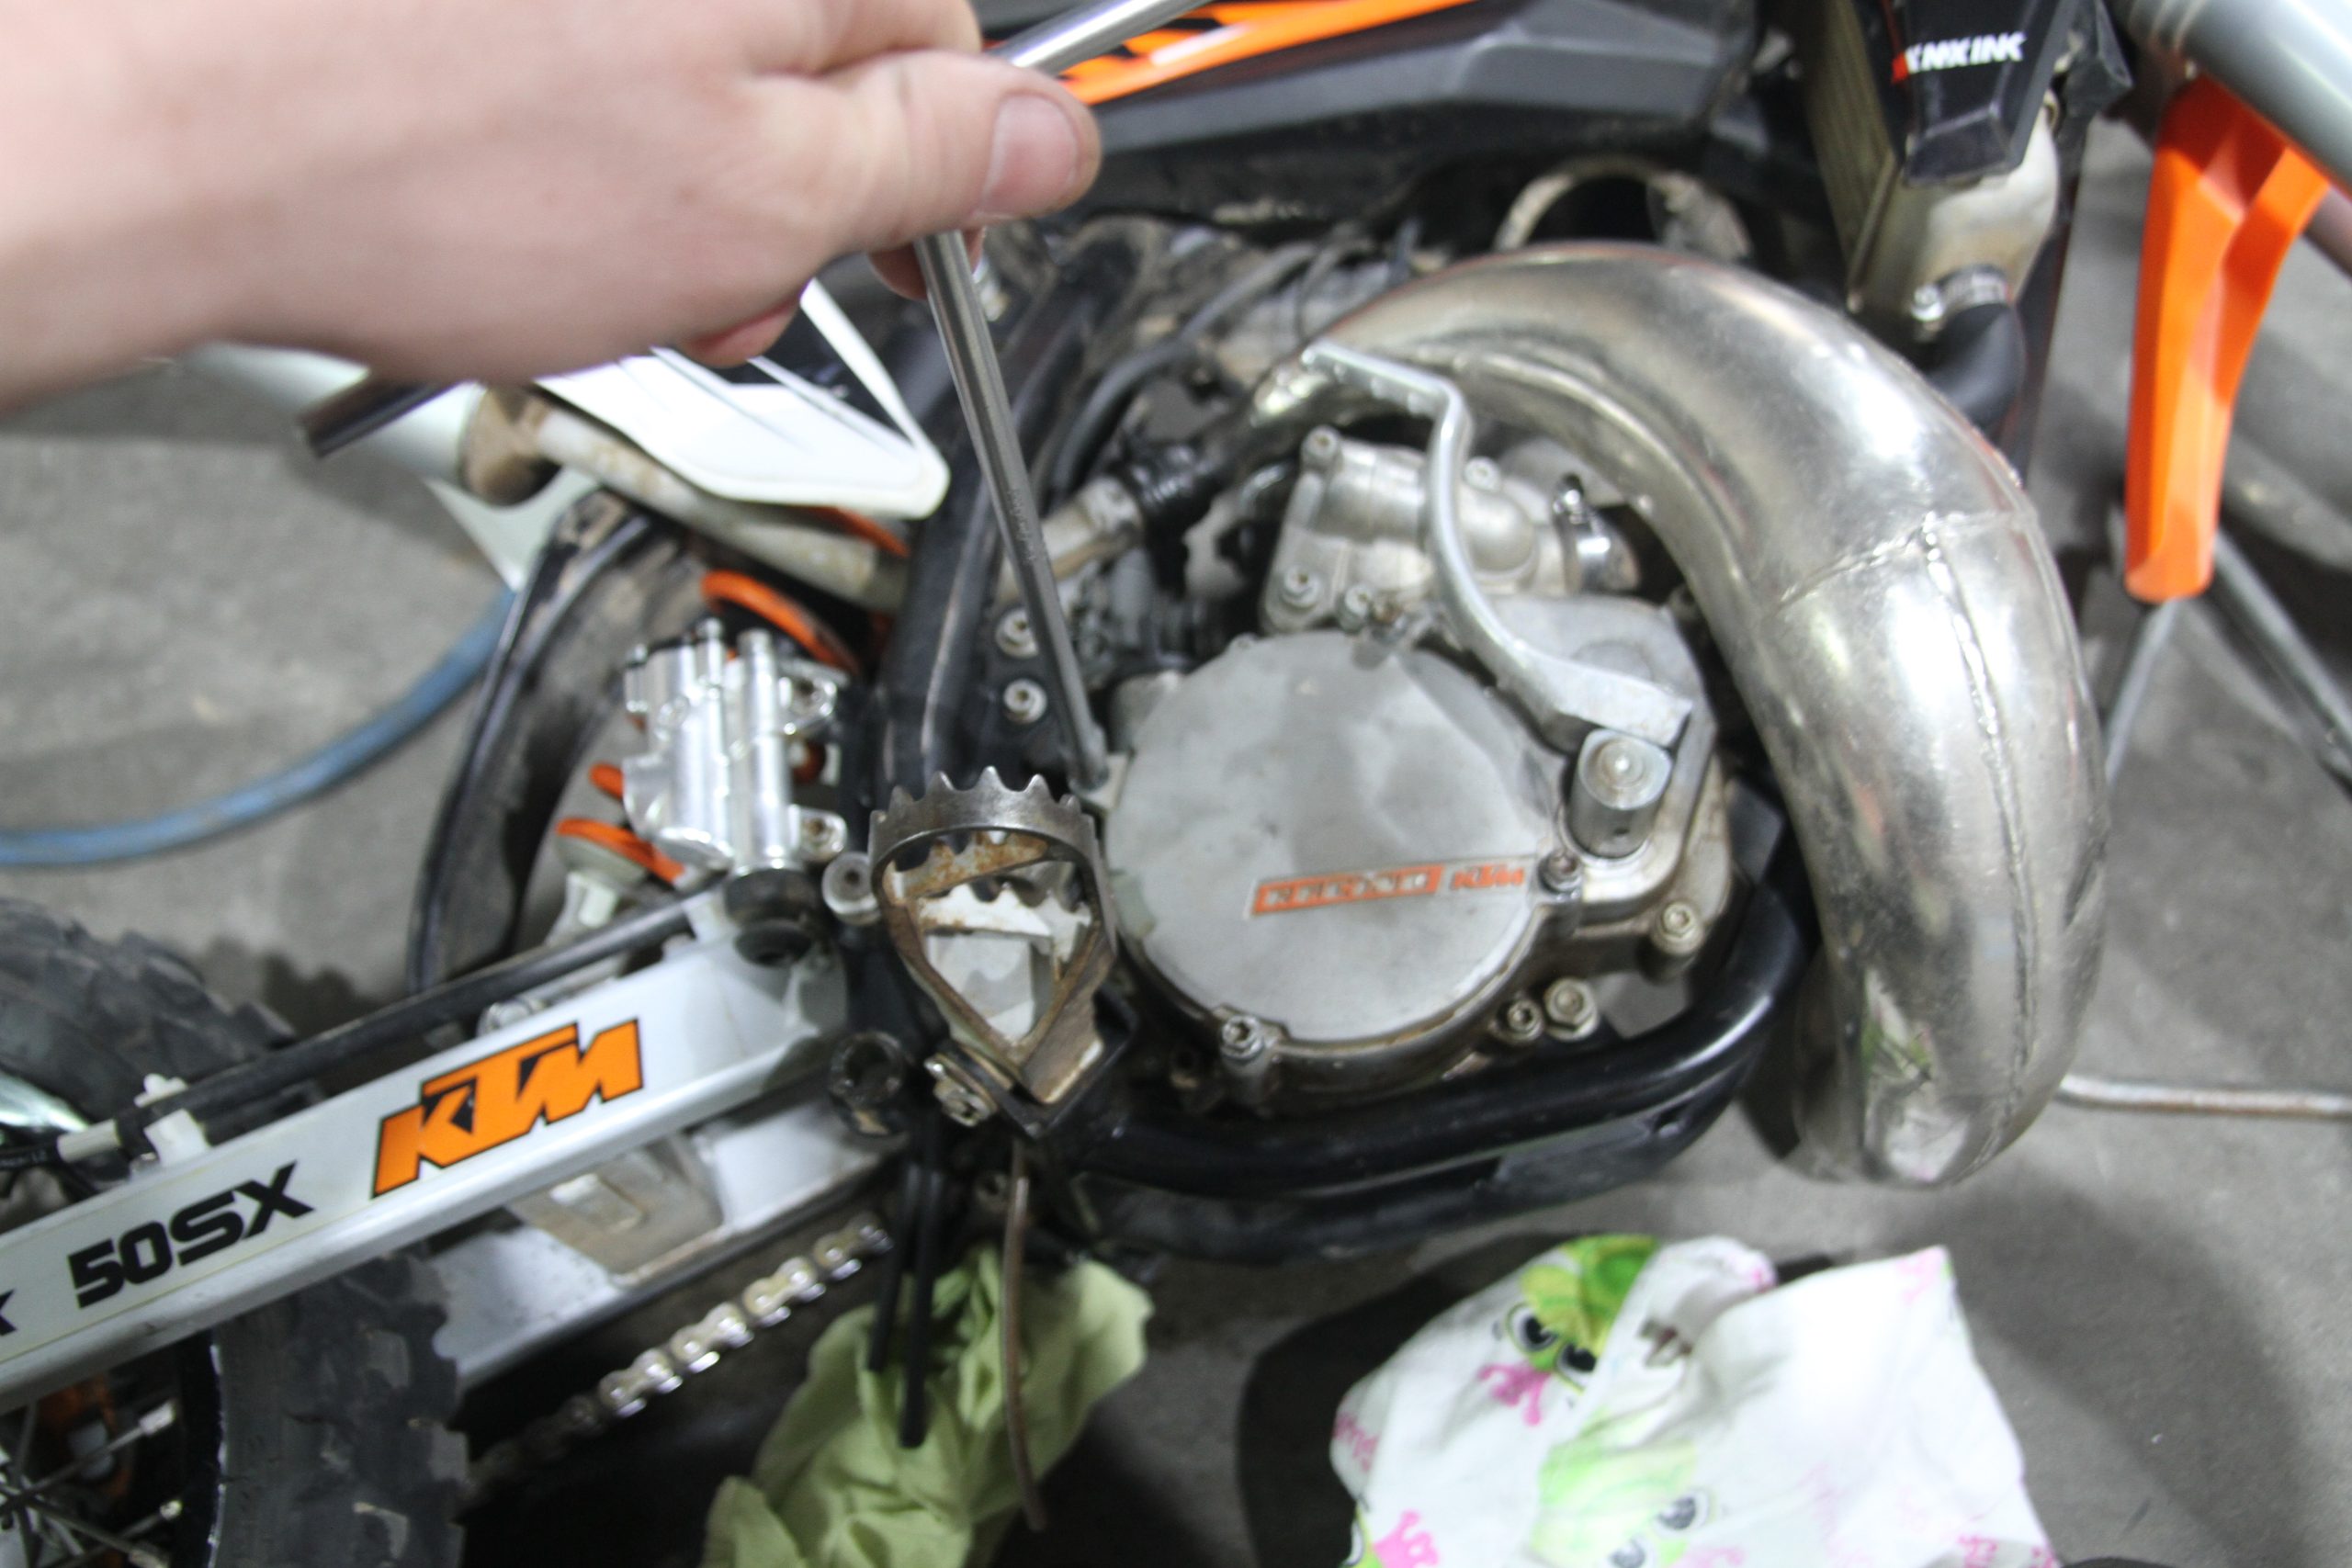
Place you hand on the grip with your hand hard up against the base of the grip. Then stick out your first finger. The bend or dog leg in the lever should line up with this finger. If it does not then loosen the bolts clamping the lever to the handlebar and slide the perch either back or forth until this lines up correctly.
#3 AND REPEAT
Once you have done this with one lever, go ahead and then repeat the process with your other lever. Sometimes you will need to move the kill switch or start buttons on the handlebars to make enough room for your levers to fit into the correct place.
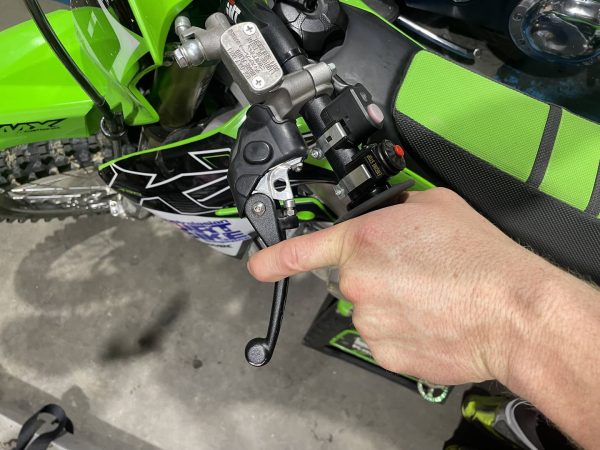
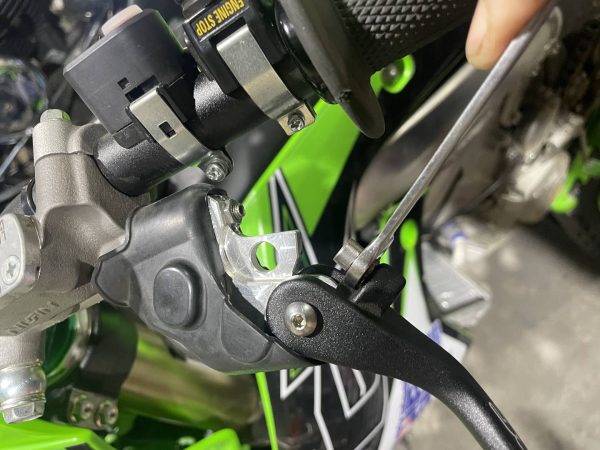
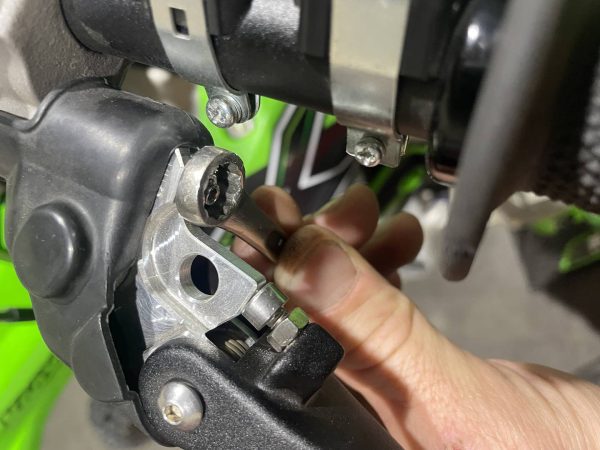
#4 FINE ADJUSTMENT
Now locate the adjuster on the lever. These are most often a small knob you are able to turn by hand but sometimes they can also be a bolt and a lock nut. Turn this adjuster to adjust the lever in or out until the lever lines up directly under the first knuckle of your first finger with your hand on the grip hard up against the base of the grip.
#5 LOCK IT UP
One you have the lever in the correct position, go ahead and tighten any lock nuts and then repeat the process on the opposite lever until both are adjusted correctly.
#6 FINAL TIGHTEN
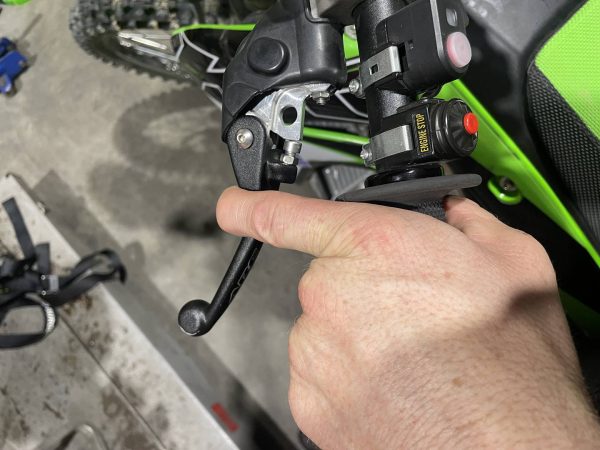
Lastly you want to sit on the bike and slightly loosen the perches so the levers can be moved up or down by hand with a little force. The rule on this one is a little looser but you want to move the levers up or down until they are in a position where you can draw a straight line from your elbow right through your wrist to your fingers on the levers while you stand in the attack position on the motorcycle. Once you have the levers in this position tighten the all the bolts.
#7 PERSONAL PREFERENCE
This is a great guide to setting up a comfortable starting position for your levers. These lever positions work well for the majority of people but occasionally we do come across someone with an unorthodox style that prefer their levers pointing in the air or right down at the ground. Start with this guide and then move your levers up or down until you find a position most comfortable for you.
Do’s
- Make sure all lock nuts and perch bolts are tight.
- If any lever pivots are tight and crunchy then clean and lube them at the same time.
Don’ts
- Over tighten or strip any adjuster or perch bolts.
- Position the lever so they hit anything like switches or the throttle housing when the lever is pulled in.
Tools:
T-bars, spanners
Warning:
If your levers are adjusted incorrectly then this can lead to the brakes or clutch sticking on and causing a severe crash. Always leave at least 1-2mm of freeplay in the levers to prevent this from happening.
Tips To Prevent Broken Levers
#1
Wrap electrical tap or thread tape around the handlebar and then bolt the lever perch over the top of the tape and tighten into position. This way when you crash the lever will move on the handlebar instead of snapping.
#2
Leave the perch bolts in the lever loose enough so that if the lever gets hit the perch will move on the bar instead of breaking the lever but tight enough that the lever won’t move while riding. If you decide to go for this trick then put Loctite on the perch bolts to prevent them from coming completely loose and falling out.
Copy appeared in ADB issue #522