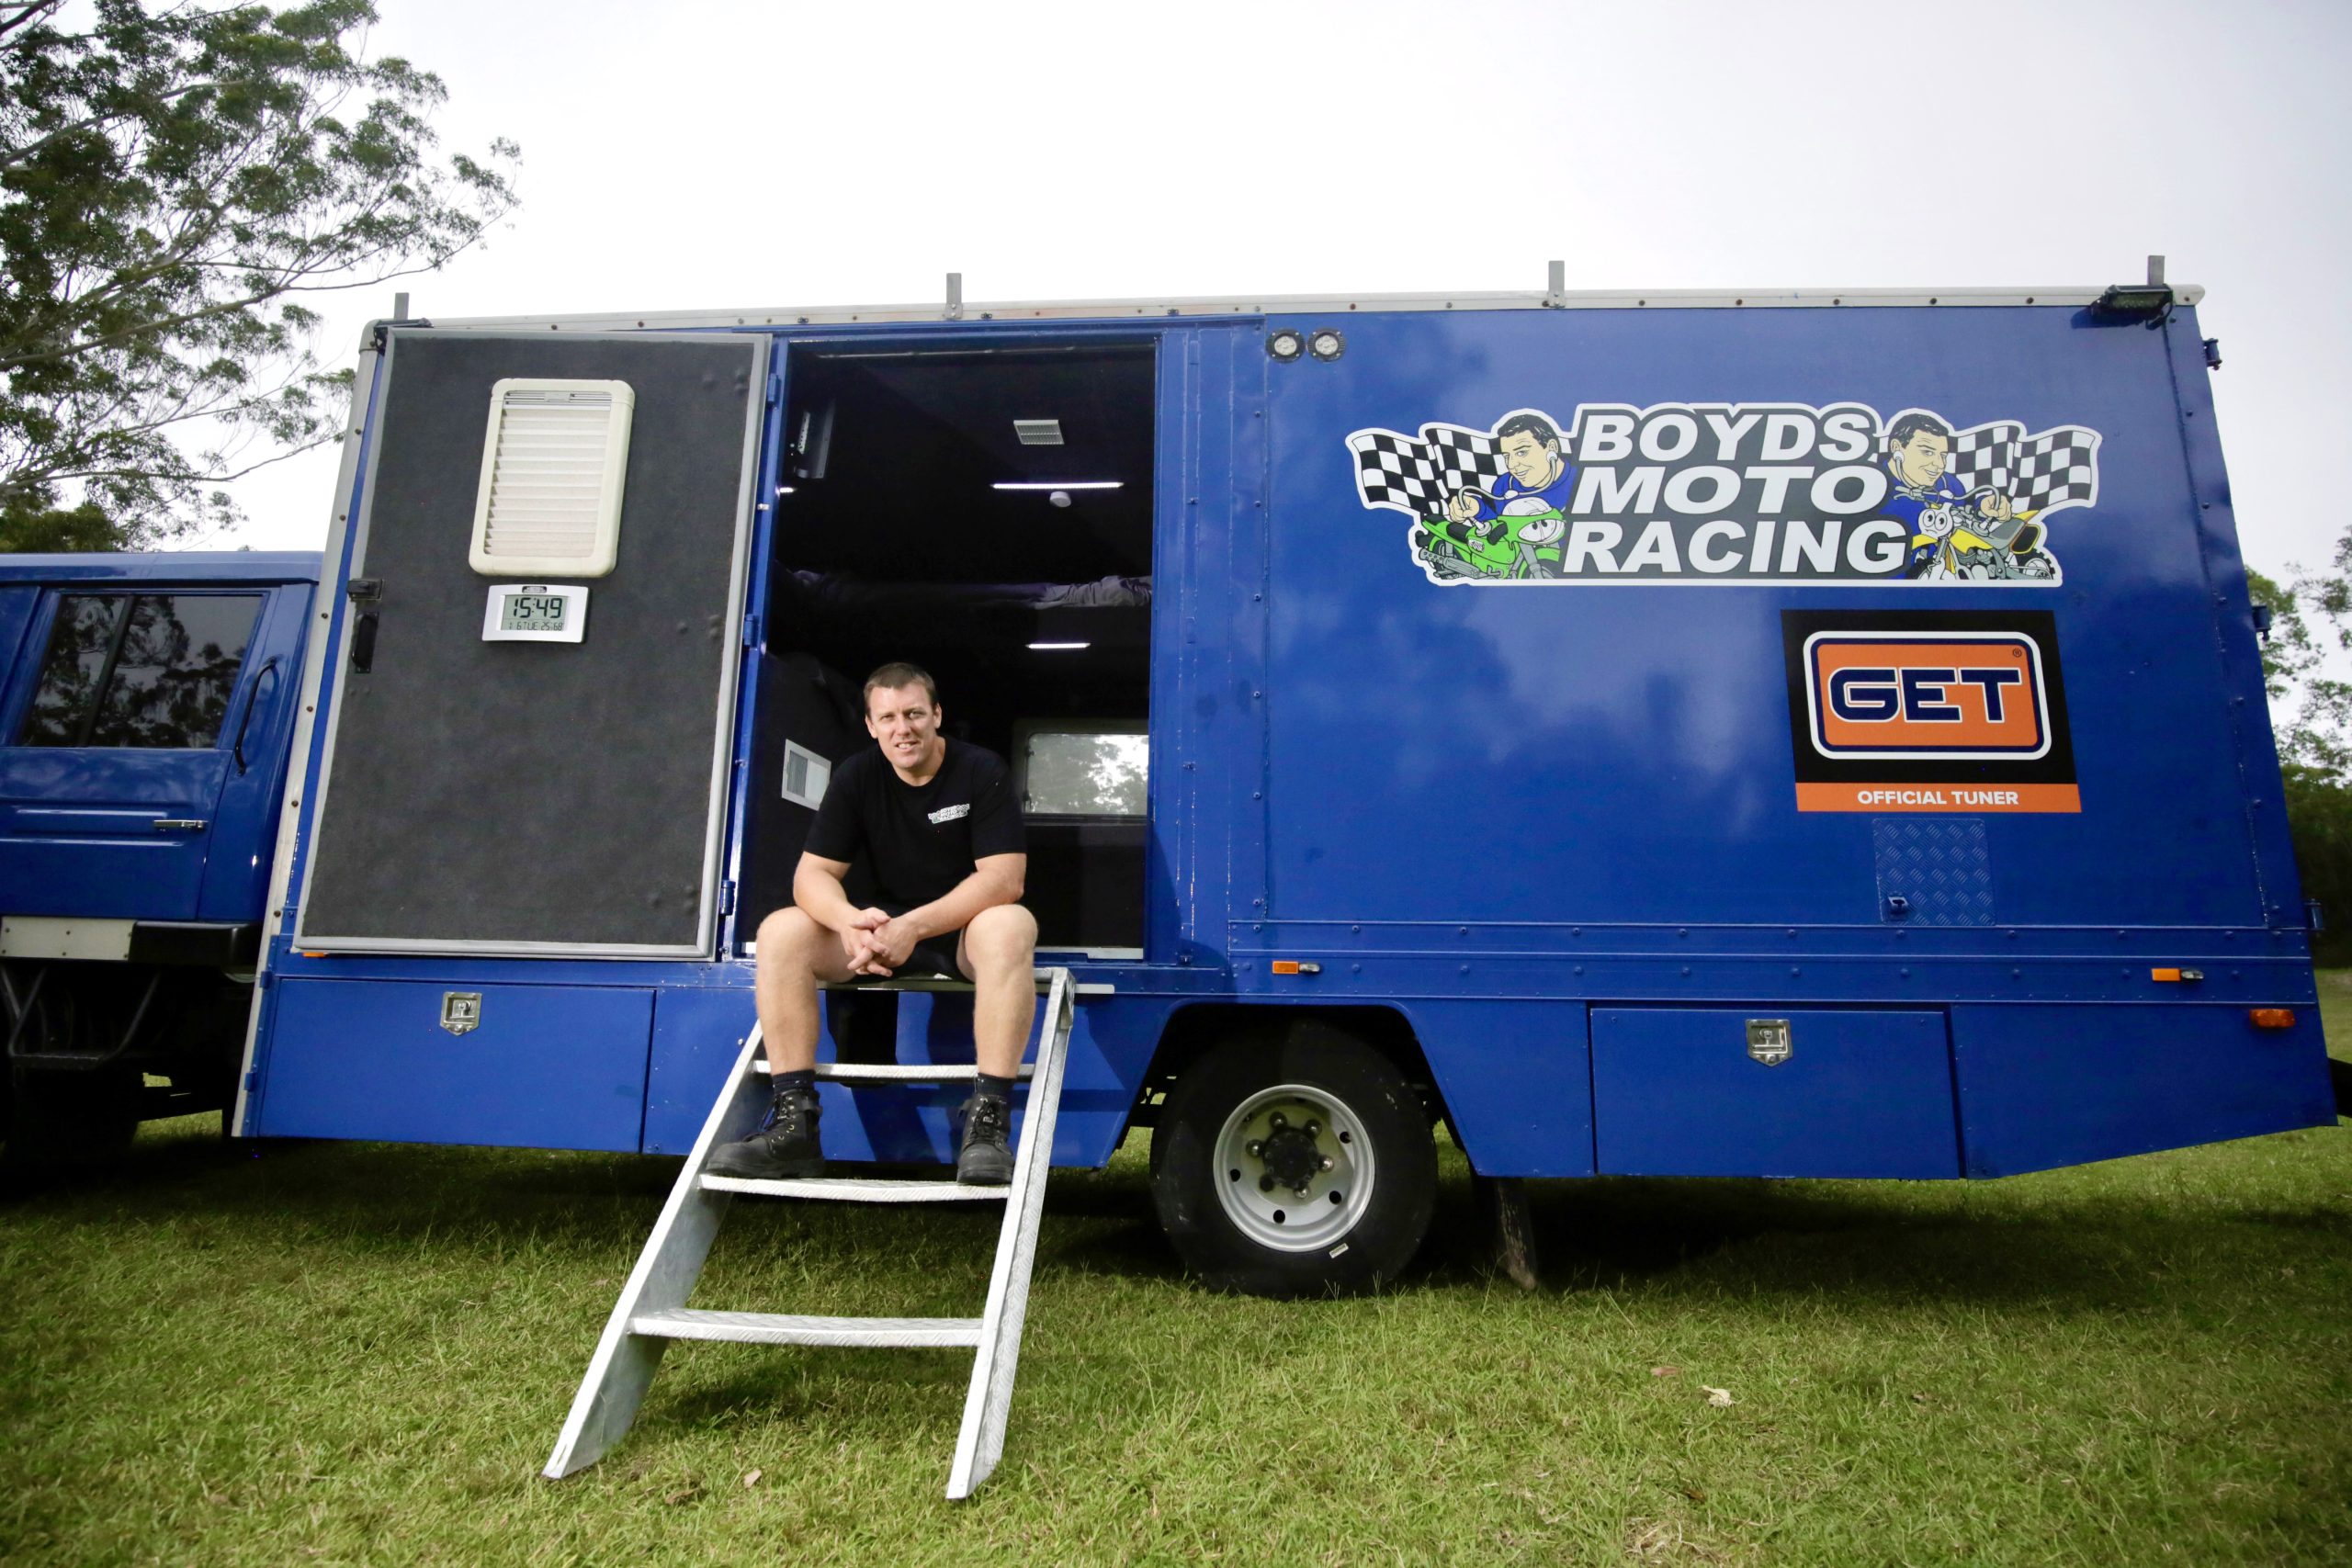
I’VE DONE SOME QUESTIONABLE THINGS in the name of dirt bikes over the years, but starting my own race team to give some young, up-and-coming kids a shot at making something of themselves is probably right up there. I love doing it and I love giving the riders an opportunity, but financially it’s certainly not something my accountant would recommend.
The reality of running a privateer race team is that sponsorship only goes so far. By the time you’ve got bikes, parts, tyres, fuel, entry fees and everything else required to go racing, there’s plenty coming out and not nearly as much coming back in. So when it came time to sort out a proper race transporter, going out and dropping $150,000-$200,000 on a flash new truck simply wasn’t an option.
But I still wanted us to look professional. If we were going to turn up to races as a proper team, I wanted something that looked like it belonged in the paddock. It needed to transport the bikes, carry tools and spares, give us somewhere to work and provide accommodation when we were away. Basically, I wanted as much of the factory race-team experience as I could get on a privateer budget. My target was to do the whole thing for less than $60,000.
WHY A TRUCK?
Once you start travelling to races with multiple bikes, riders and everything required to keep them running, you quickly realise how much crap you actually carry. It’s not just the motorcycles. There are spare wheels, tyres, tools, parts, fuel, riding gear, generators, food and everything else that somehow accumulates over a race weekend.
I could have gone with a ute or van and trailer, but I wanted everything contained in one vehicle. A trailer means another registration, another thing to store and a bloody long combination when you’re trying to squeeze into a tight pit area.
The truck also gave me the ability to completely separate the workshop from the living quarters. Anyone who has slept beside muddy dirt bikes, fuel drums and wet riding gear knows why that’s a pretty attractive proposition. At the track, I wanted to be able to park the thing, open it up and effectively be ready to go.
START WITH THE RIGHT TRUCK
The most important part of the entire project was finding the right base vehicle. Get that wrong and everything you build afterwards is compromised.
There was no point finding a $50,000 truck and then pretending I could complete the conversion for another ten grand. I needed something mechanically decent, with the right dimensions and payload, but cheap enough that there was still money left to actually turn it into what I wanted.
Payload was a big consideration. A couple of dirt bikes don’t weigh much individually, but once you start loading multiple bikes, tools, spare parts, water, fuel, cabinetry, batteries and people, the weight adds up bloody quickly.
That’s where starting with a proper commercial Pantec truck made sense. I had a decent amount of weight to play with and wasn’t trying to squeeze everything into a platform that was already close to its limit before we even started.
BUILDING THE DIRTY END
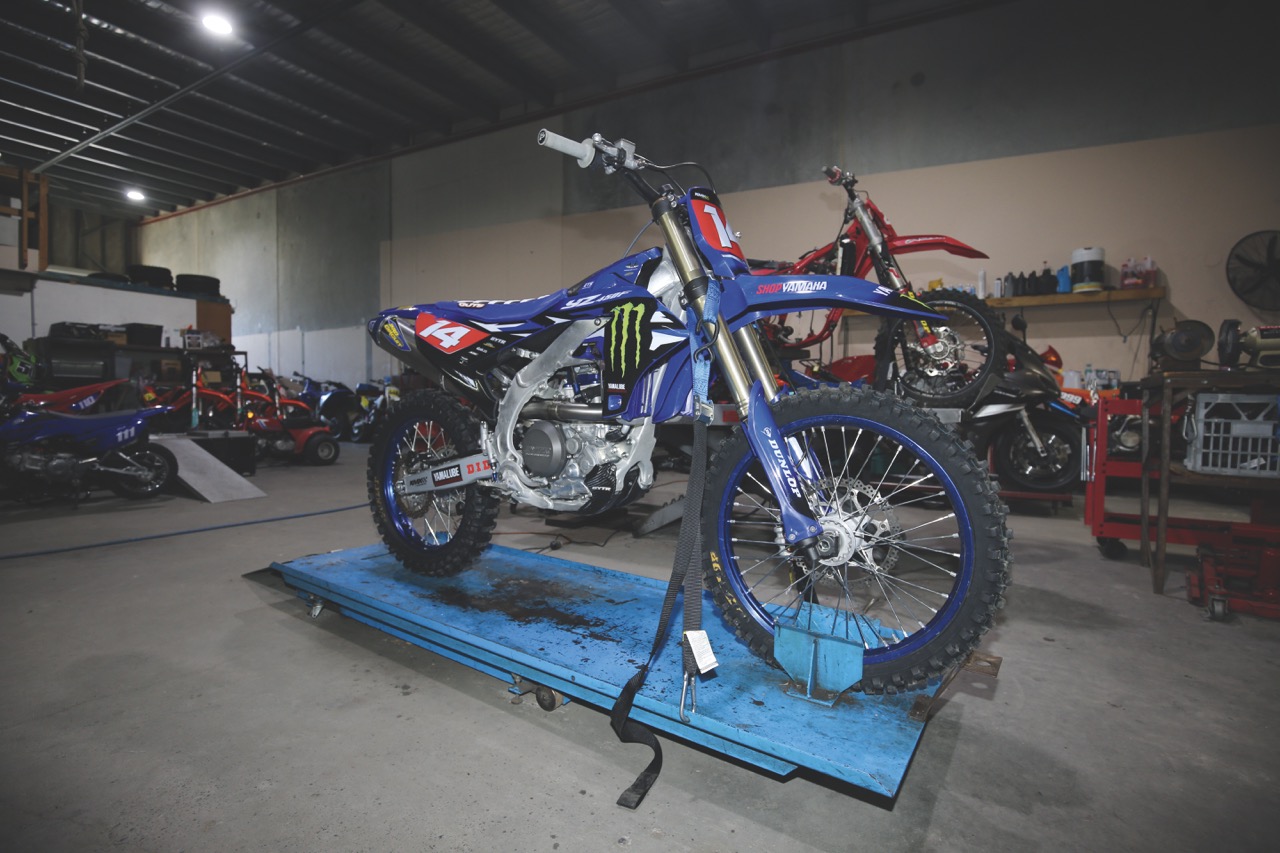
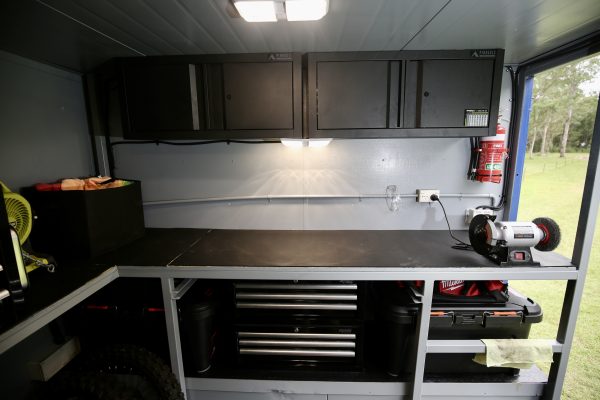
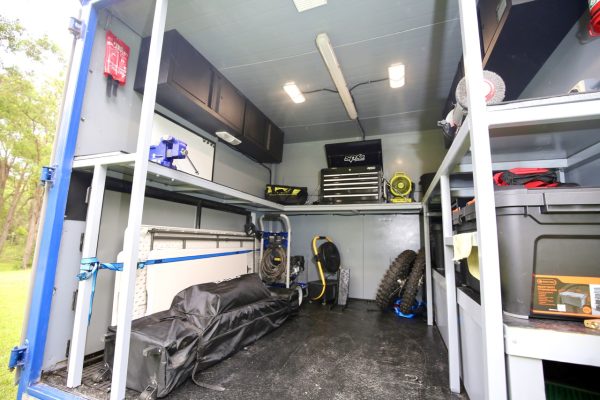
The rear of the truck was always going to be the most important part for me. I work on bikes every day through Boyd’s Moto Surgery and I’ve spent enough time running race teams to know what I want around me when I’m working. Storage needs to be accessible, tools need to have a proper place and I don’t want to unload half the truck because somebody needs one particular part.
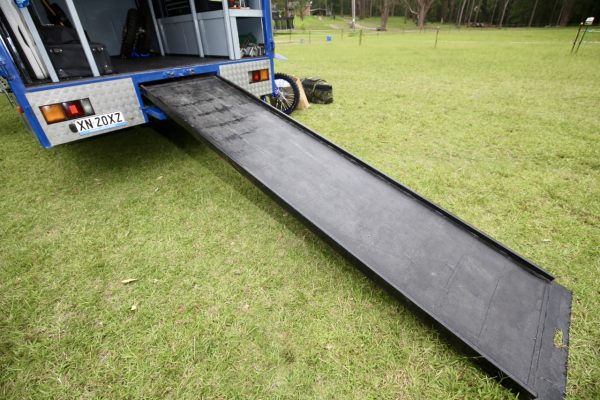
The rear was therefore built around the motorcycles first. We needed to be able to load several bikes securely while still carrying the tools, riding gear, spare wheels and parts required for a race weekend.
The other benefit is keeping all the dirty stuff down one end. Bikes come back covered in mud, boots are filthy and tools end up covered in oil and grease. I’d much rather keep all of that in the workshop than have it spread throughout the living area.
HOME AT THE TRACK
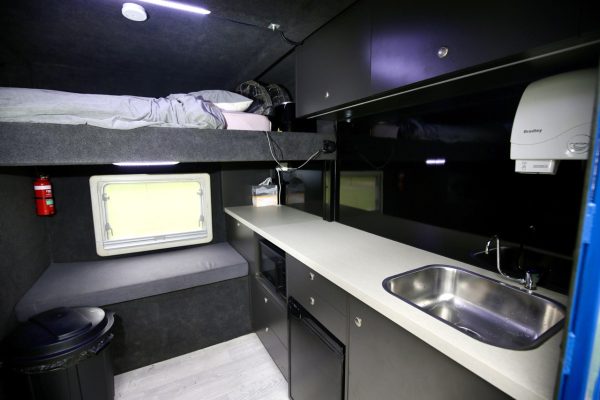
At the other end, I wanted enough comfort that spending multiple nights at an event wasn’t miserable. I wasn’t trying to build a luxury apartment. The objective was somewhere we could eat, sleep and escape the weather without spending an hour setting up camp every time we arrived at a track.
I kept coming back to what we actually needed. It had to be comfortable and functional, but every dollar I spent making the truck unnecessarily fancy was another dollar I couldn’t spend on the race team.
DO IT YOURSELF
Doing as much of the work as possible myself was a massive part of keeping the project below $60K. If you pay somebody to design, fabricate and install every component of a truck conversion, the labour bill alone can become enormous. Having a mechanical background obviously helped me because I was comfortable working through problems and fabricating things rather than buying a solution every time we hit an obstacle.
There are obviously areas where you need to know your limitations. Electrical systems, gas, structural modifications and compliance aren’t places to have a crack if you’ve got no idea what you’re doing. But there’s still a huge amount you can do yourself.
I treated the truck in much the same way I’d approach building a race bike. Work out where spending money actually makes a difference, buy the right parts in those areas and then fabricate or adapt the rest.
WHERE THE $60K GOES
Sixty grand obviously isn’t pocket change, but race transporters can cost multiples of that without trying too hard. Even a new dual-cab ute can sail beyond $60K these days and you still haven’t added a canopy, trailer or somewhere to sleep.
Buying the truck at the right price was critical. Doing plenty of the work myself saved a fortune. Reusing or adapting things where possible helped again, and I tried not to fall into the trap of buying the most expensive version of everything just because it existed.
Of course, there are downsides. It’s still a bloody truck. You have to think about where you’re going to park it and you’re certainly not ducking through every shopping centre car park without checking the height first. Tight streets and small pit areas require a bit more planning than they would in a ute.
There’s also registration, servicing, tyres and general truck maintenance to consider. Building something cheaply doesn’t magically make the ongoing costs disappear.
WORTH THE HEADACHE?
Starting a privateer race team probably wasn’t the wisest way I’ve ever found to spend money. I’m doing it because I want to give some young riders a genuine opportunity and hopefully help them progress to something bigger.
At the moment, it costs me more than we’re bringing in through sponsorship, which made the race-truck budget even more important. I couldn’t justify spending six figures on transport when that money could be going into bikes and racing.
What I’ve ended up with does almost everything I wanted. It carries the bikes, gives me a proper mobile workshop, accommodates us at the track and, importantly, looks professional enough that when the team rolls into an event we don’t look like we’ve just borrowed somebody’s furniture-removal truck for the weekend.
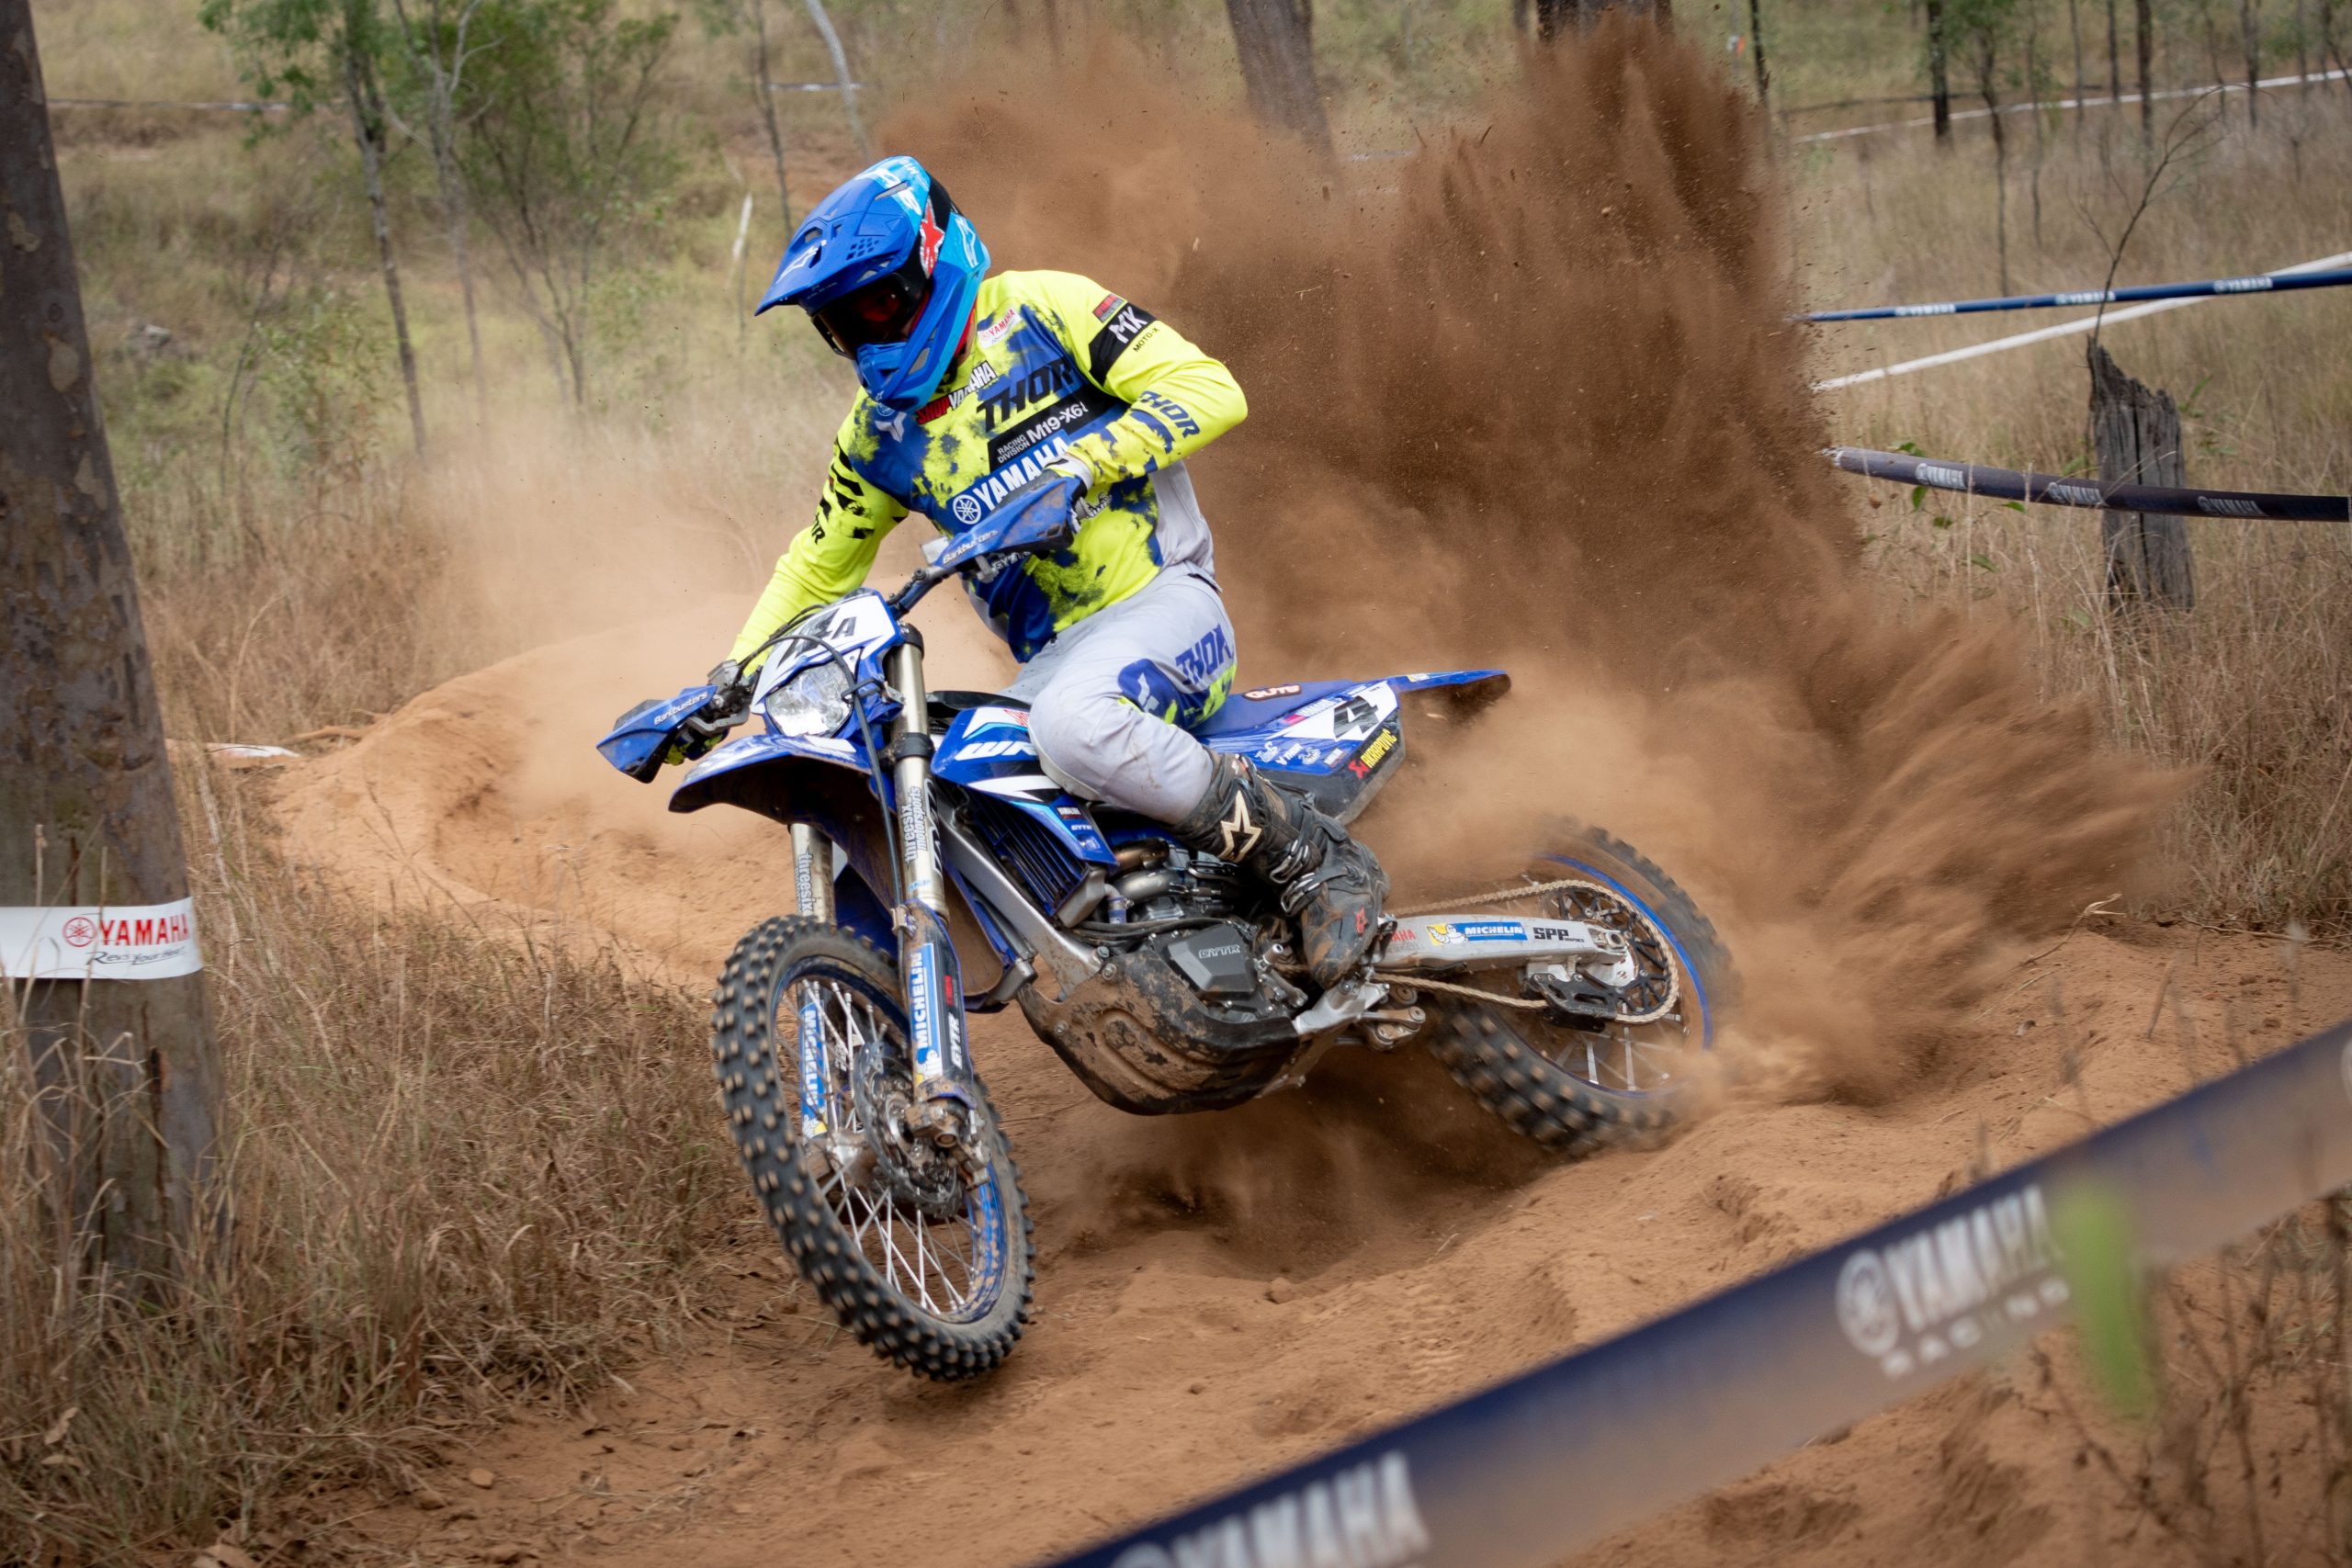
And while the race truck has made life easier in the pits, the whole reason I built the bloody thing was to give our riders the best chance possible – and Riley Burgess proved this year that the effort is paying off. Riley put together a cracking MX3 campaign to finish second in the 2026 ProMX MX3 Championship, giving our little privateer operation a massive result against some seriously well-backed competition. For me, that’s what makes all the late nights, money and headaches worthwhile. We might not have the budget of the factory teams, but watching a young bloke like Riley fight at the front of a national championship proves you can still give these kids the equipment, environment and support to show everyone what they can do.
What is it?
The truck is a 1995 Mitsubishi Fighter that actually began its life as the factory KTM truck before it got passed around a few teams and was once even a Honda racing truck. When I got it the engine, turbo and all the brakes, tyres and suspension had been rebuilt which was a great cost saving for us. The biggest financial cost for us was actually cutting the rust out of the cab and repainting it. The cab had dozens of half attempted repair jobs that had accumulated into a disaster and required some real TLC to get sorted.
The next big thing was the kitchen. We built all the beds and living quarters ourselves but had all the cabinetry made an fitted to give it a little bit more of a professional look. We also added a sink, a shower and 12 volt and 240v power so we can run all sorts of appliances of solar or the generator.
Now that we have a season under our belt I can say we have actually done really well with our setup. We did add an outdoor diesel heater to warm up under the awning and we also added a big screen tv on the side of the truck so we can watch the races live from back in the truck. New for the supercross season we are actually adding a trailer to give us more room for bikes and equipment.
Adding a towbar to a truck has been a learning curve as towing behind a truck requires a pintle hook instead of the 50mm ball and the towbar needs to be fully engineered to be legal. We also need to abide by heights and length limits but once navigating all that I am happy to say our pit presence will be even bigger and greater going forward.
FACTORY ON A BUDGET
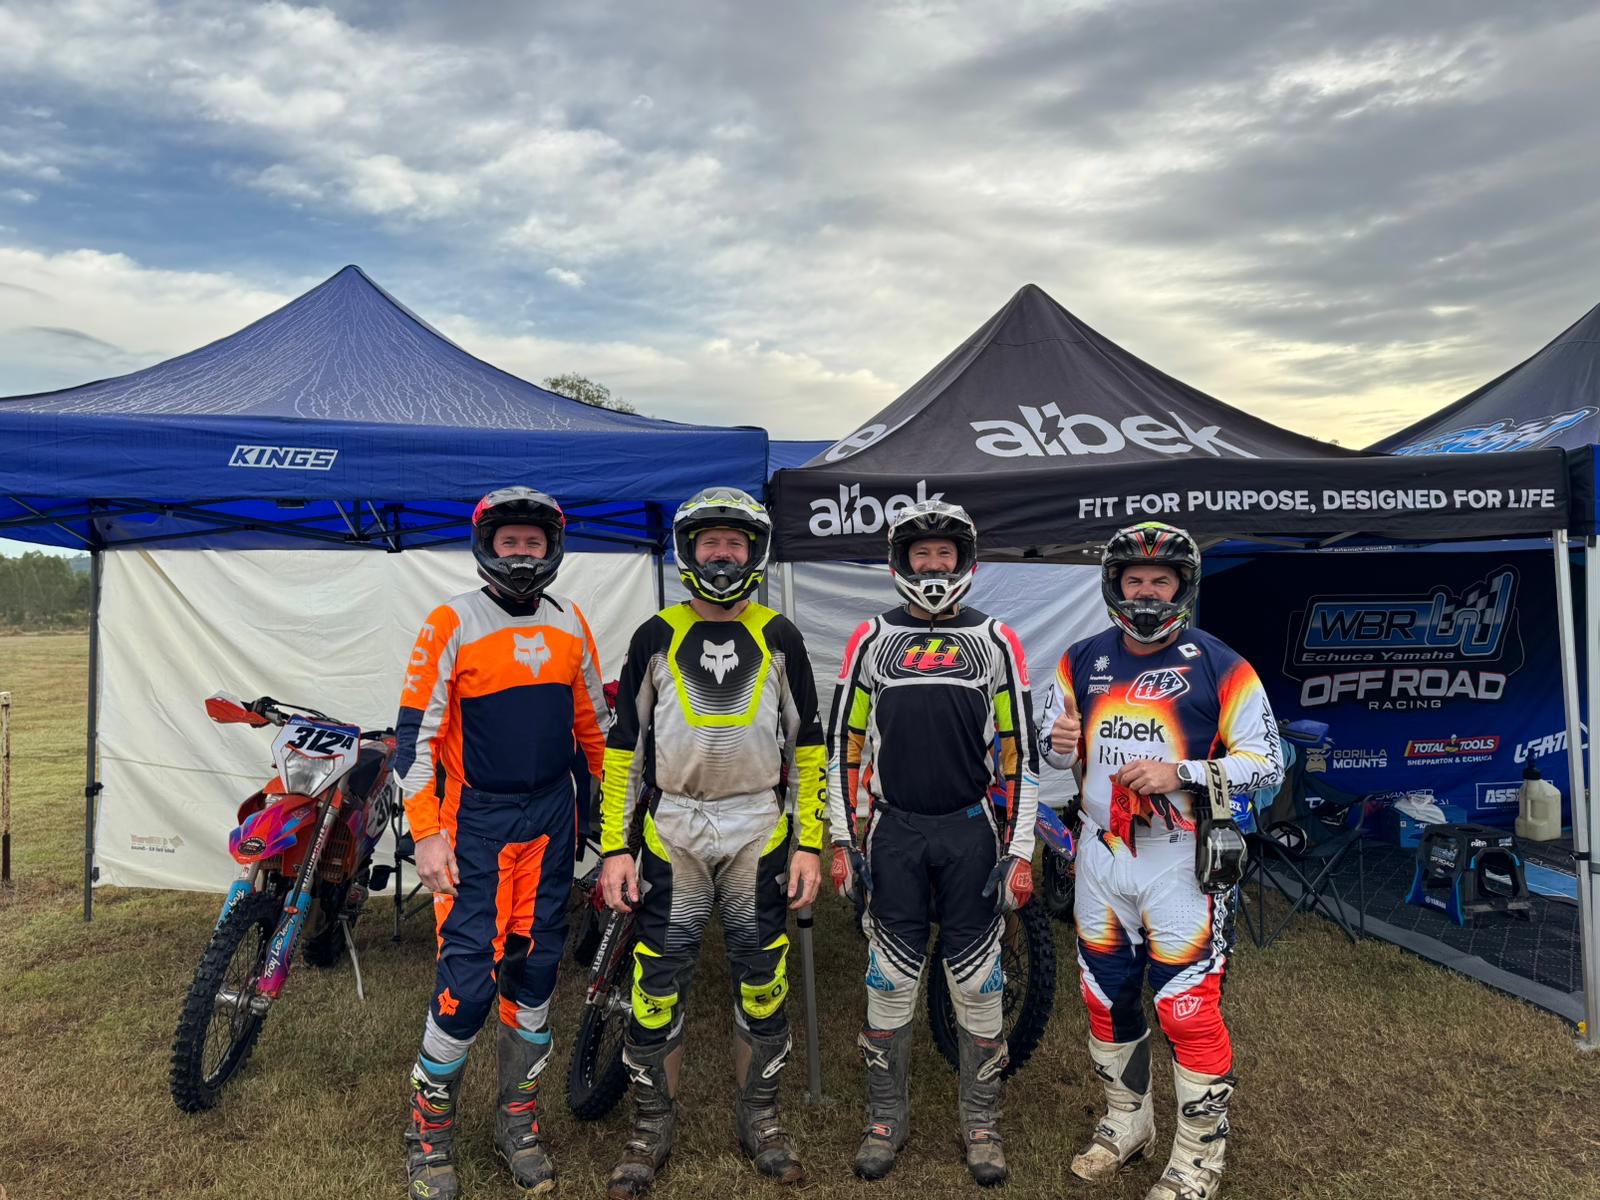
Looking factory was important to me, even if it sounds a little superficial. We’re trying to run a proper race team and give young riders an opportunity. When we pull into the paddock, I want the whole setup to look professional for the riders and for the companies supporting us.