Tuning power valves is common place in todays’ two-stroke world. Once upon a time they were set by the manufacturer and we had no way of easily adjusting them without disassembling the engine and modifying the governor. Now most manufacturers give us the ability to change the springs on the power valve to adjust the power curve or they give us an adjuster to adjust the tension on the power valve spring like I explain here in this Rieju Power Valve How To. Some manufacturers give us both options at the same.
The Rieju which happens to be identical to the old Gas Gas EC300 has an adjuster hidden under a cap in the side of the engine that is relatively unknown. So let me show you were it is and how to adjust it.

#1REMOVE THE CAP
Firstly you will need to remove the power valve cap covering the adjuster screw. To do this you need to take a 27mm socket and remove the cap completely.

#2 CLEANLINESS IS NEXT TO GODLINESS
It is common for there to be some oil behind this cap so take a clean rag and clean it up so you can get direct access to the adjuster screw.

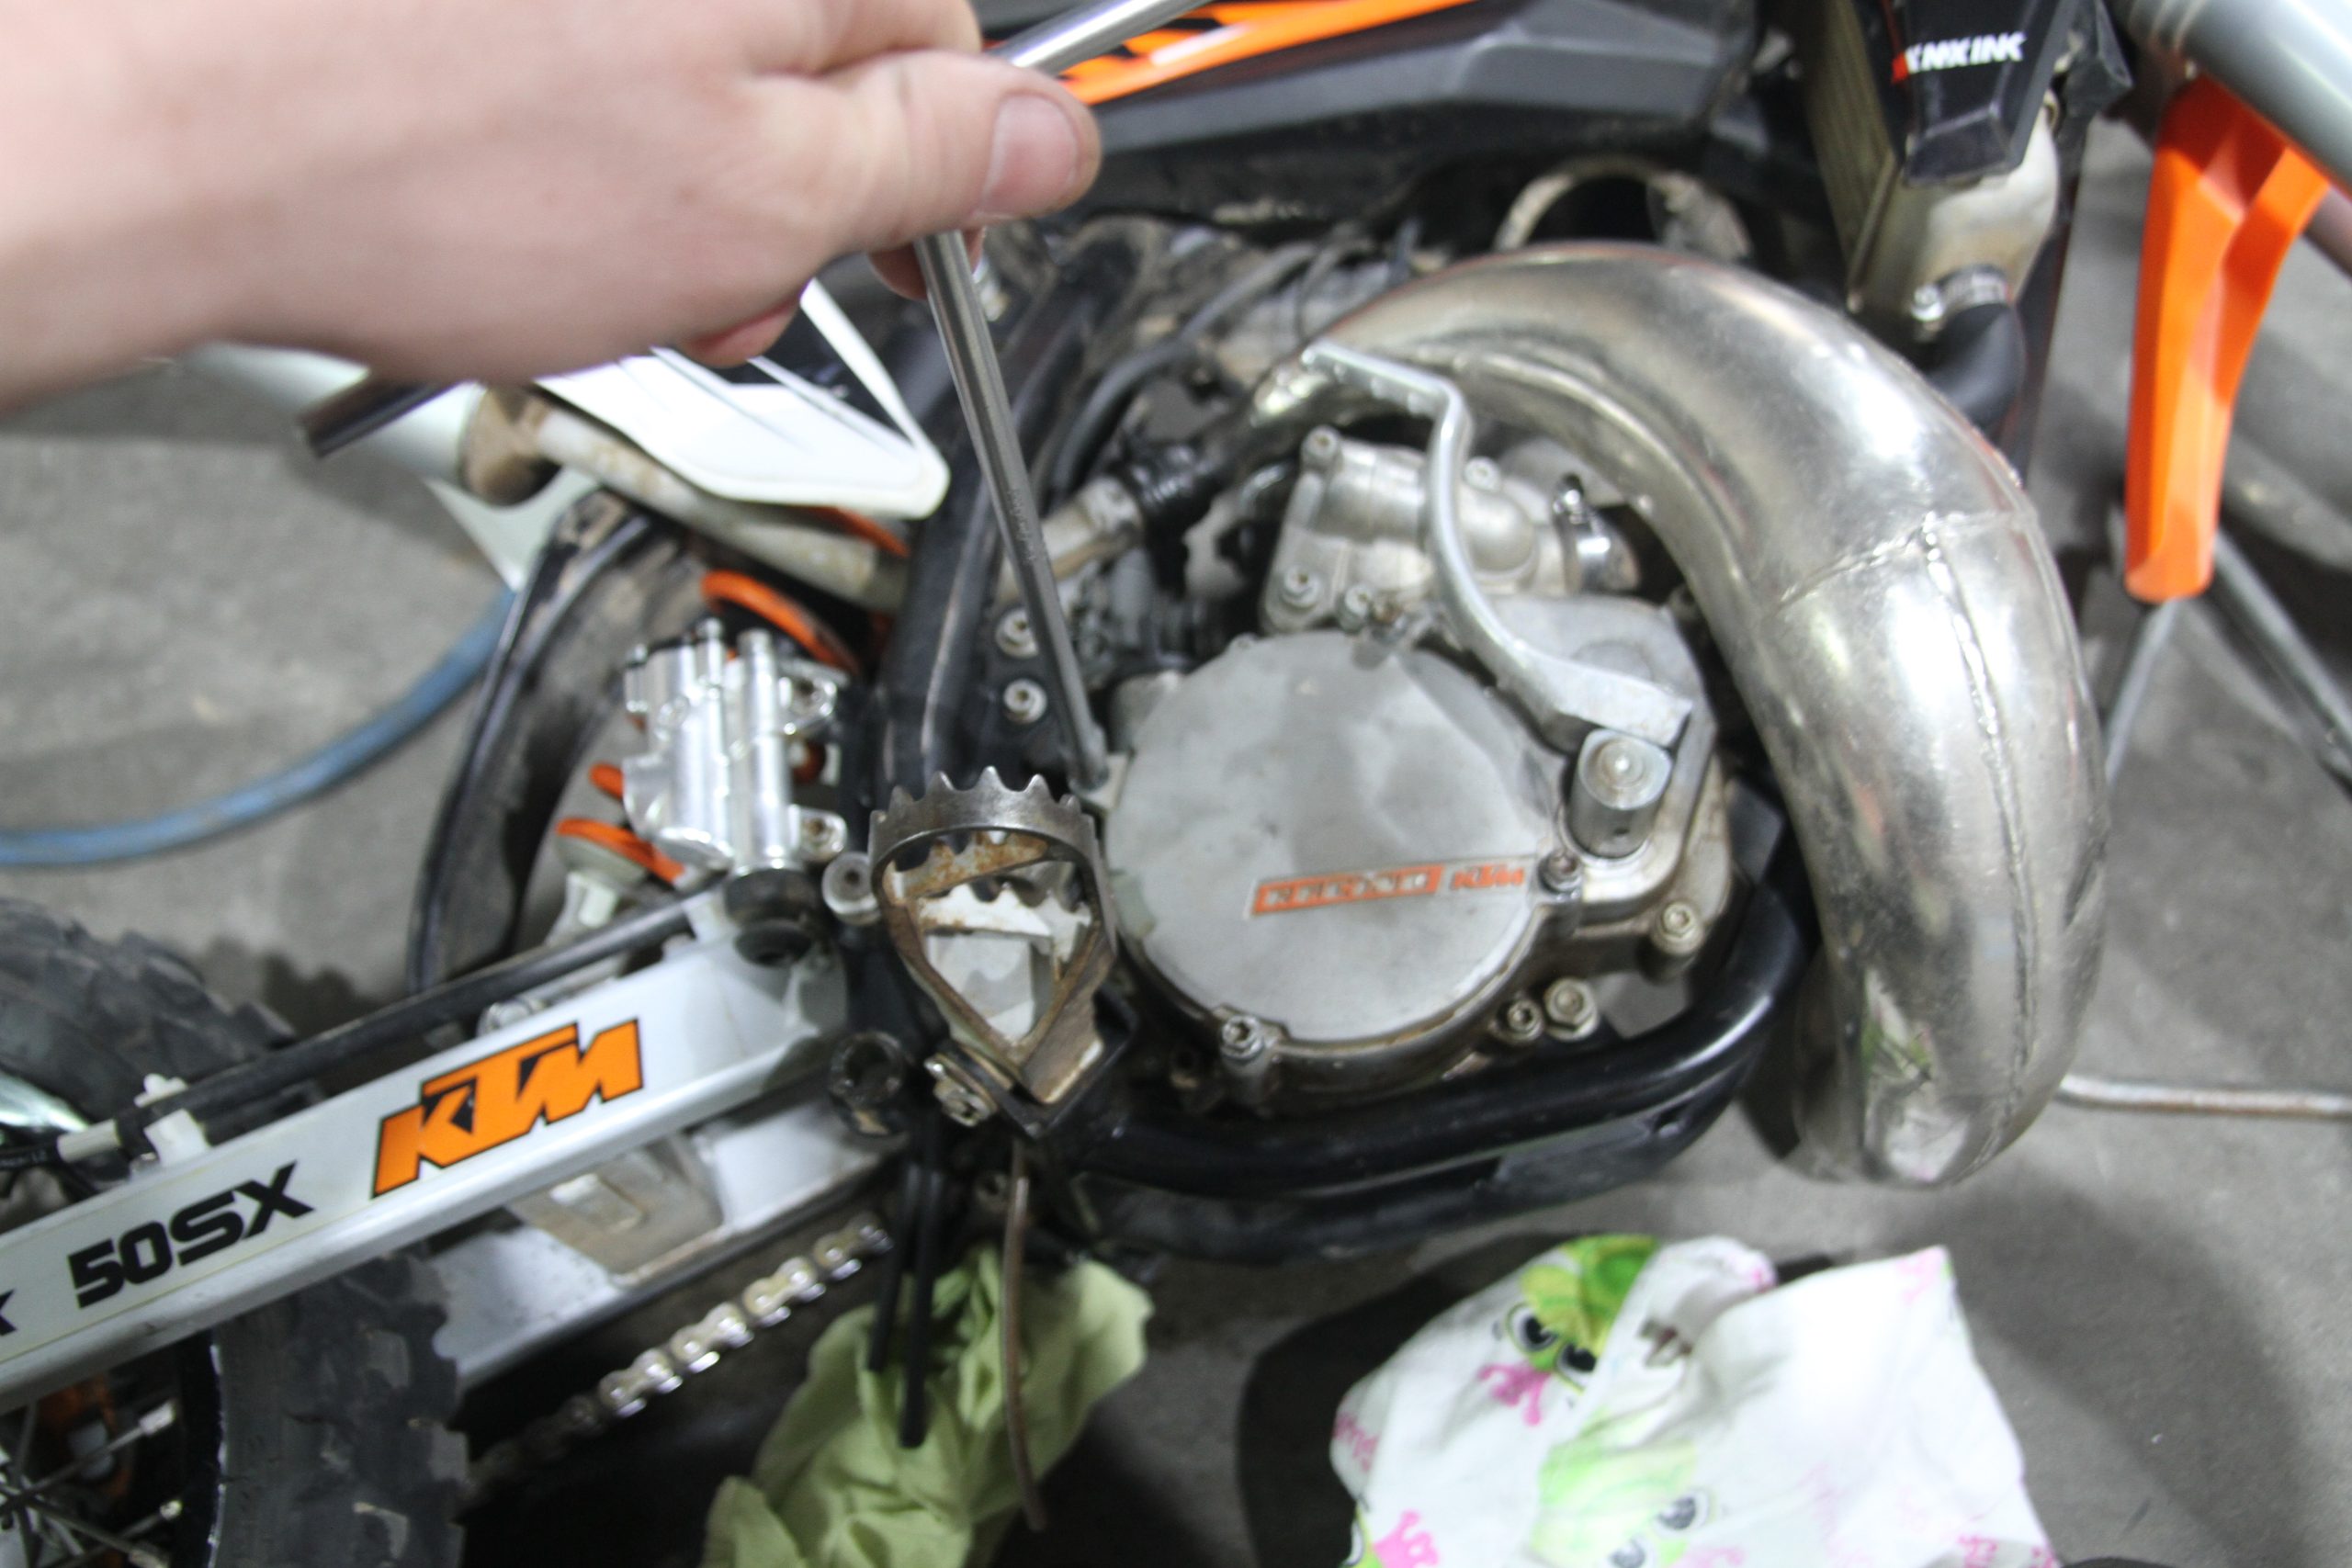
#3 LOCKNUT AND ADJUSTER
There is an adjuster screw in the centre which you will need to hold with a 2.5mm Allen key. Around the outside is a lock nut which you will need to hold with a 6mm deep socket.

#4 LOOSEN THE LOCK NUT
I find the best way to loosen the lock nut is to hold the base of the socket with a pair of tight vice grips and then with the Allen key inserted through the centre of the socket, hold the Allen key still and turn the lock nut anti-clockwise to loosen the lock nut.

#5 ADJUST THE SPRING
Now with the lock nut loosened you can turn the centre Allen key adjuster bolt either in or out to either add or subtract tension to the power valve spring.

#6 RETIGHTEN THE LOCKNUT
Now with the adjuster bolt set, it is time to tighten back up the lock nut. Again hold the centre adjuster bolt in place while you tighten the lock nut using the socket.

#7 SEAL IT UP
With your power valve adjuster set and tight you can now go ahead and refit he power valve cap. Make sure the aluminium sealing washer is still in place and then tighten the cap snuggly back into place.
DO’S
- Clean up any spilled oil from the power valve cap.
- Always tighten the adjuster lock nut.
- Replace the aluminium cap washer if damaged or worn.
DON’TS
- Over tighten the adjuster lock nut as they can strip easily.
- Over tighten the power valve cap as they can strip or crack.
- Forget to fit the aluminium power valve cap washer before fitting the power valve cap as it will create an oil leak.
TOOLS:
27mm socket, ratchet, Allen key, T-bars, deep sockets, vice grips, rags
//starburst//
WARNING:
If these threads are stripped or left loose then the power valve function can be hindered and the bike may lack performance.
//sidebar//
ADJUSTMENT
When adjusting your power valve turn the adjuster screw all the way clockwise until it stops. Then back the adjuster screw out anticlockwise and count the turns. This number of turns is your power valve setting. Our recommended settings start from one turn right through to 3.5 turns with each half turn being its own individual setting. Any less than half a turn and the change is so minimal it can barely be felt.
The lower the number of turns, the more tension on the power valve spring. This means the power valve will open later in the RPM and cause a harsher power hit. The larger the number of turns the less tension on the power valve spring and the earlier or lower in the RPM the power valve will open creating a smoother power curve and a less aggressive power surge when the power valve opens.
To summarise, turn the power valve adjuster screw in for more aggressive power and out for smoother less aggressive power.