The 2024 Yamaha YZ450F comes fitted from standard with a cable clutch but Yamaha offers a GYTR hydraulic clutch kit that bolts straight in. This is not your old style hydraulic clutch kit conversions where they still use the cable clutch actuator arm but instead utilises a full slave cylinder that bolts into the side of the engine like it is supposed to be there from the factory floor. Makes you wonder, doesn’t it?
#1REMOVE THE LEVER
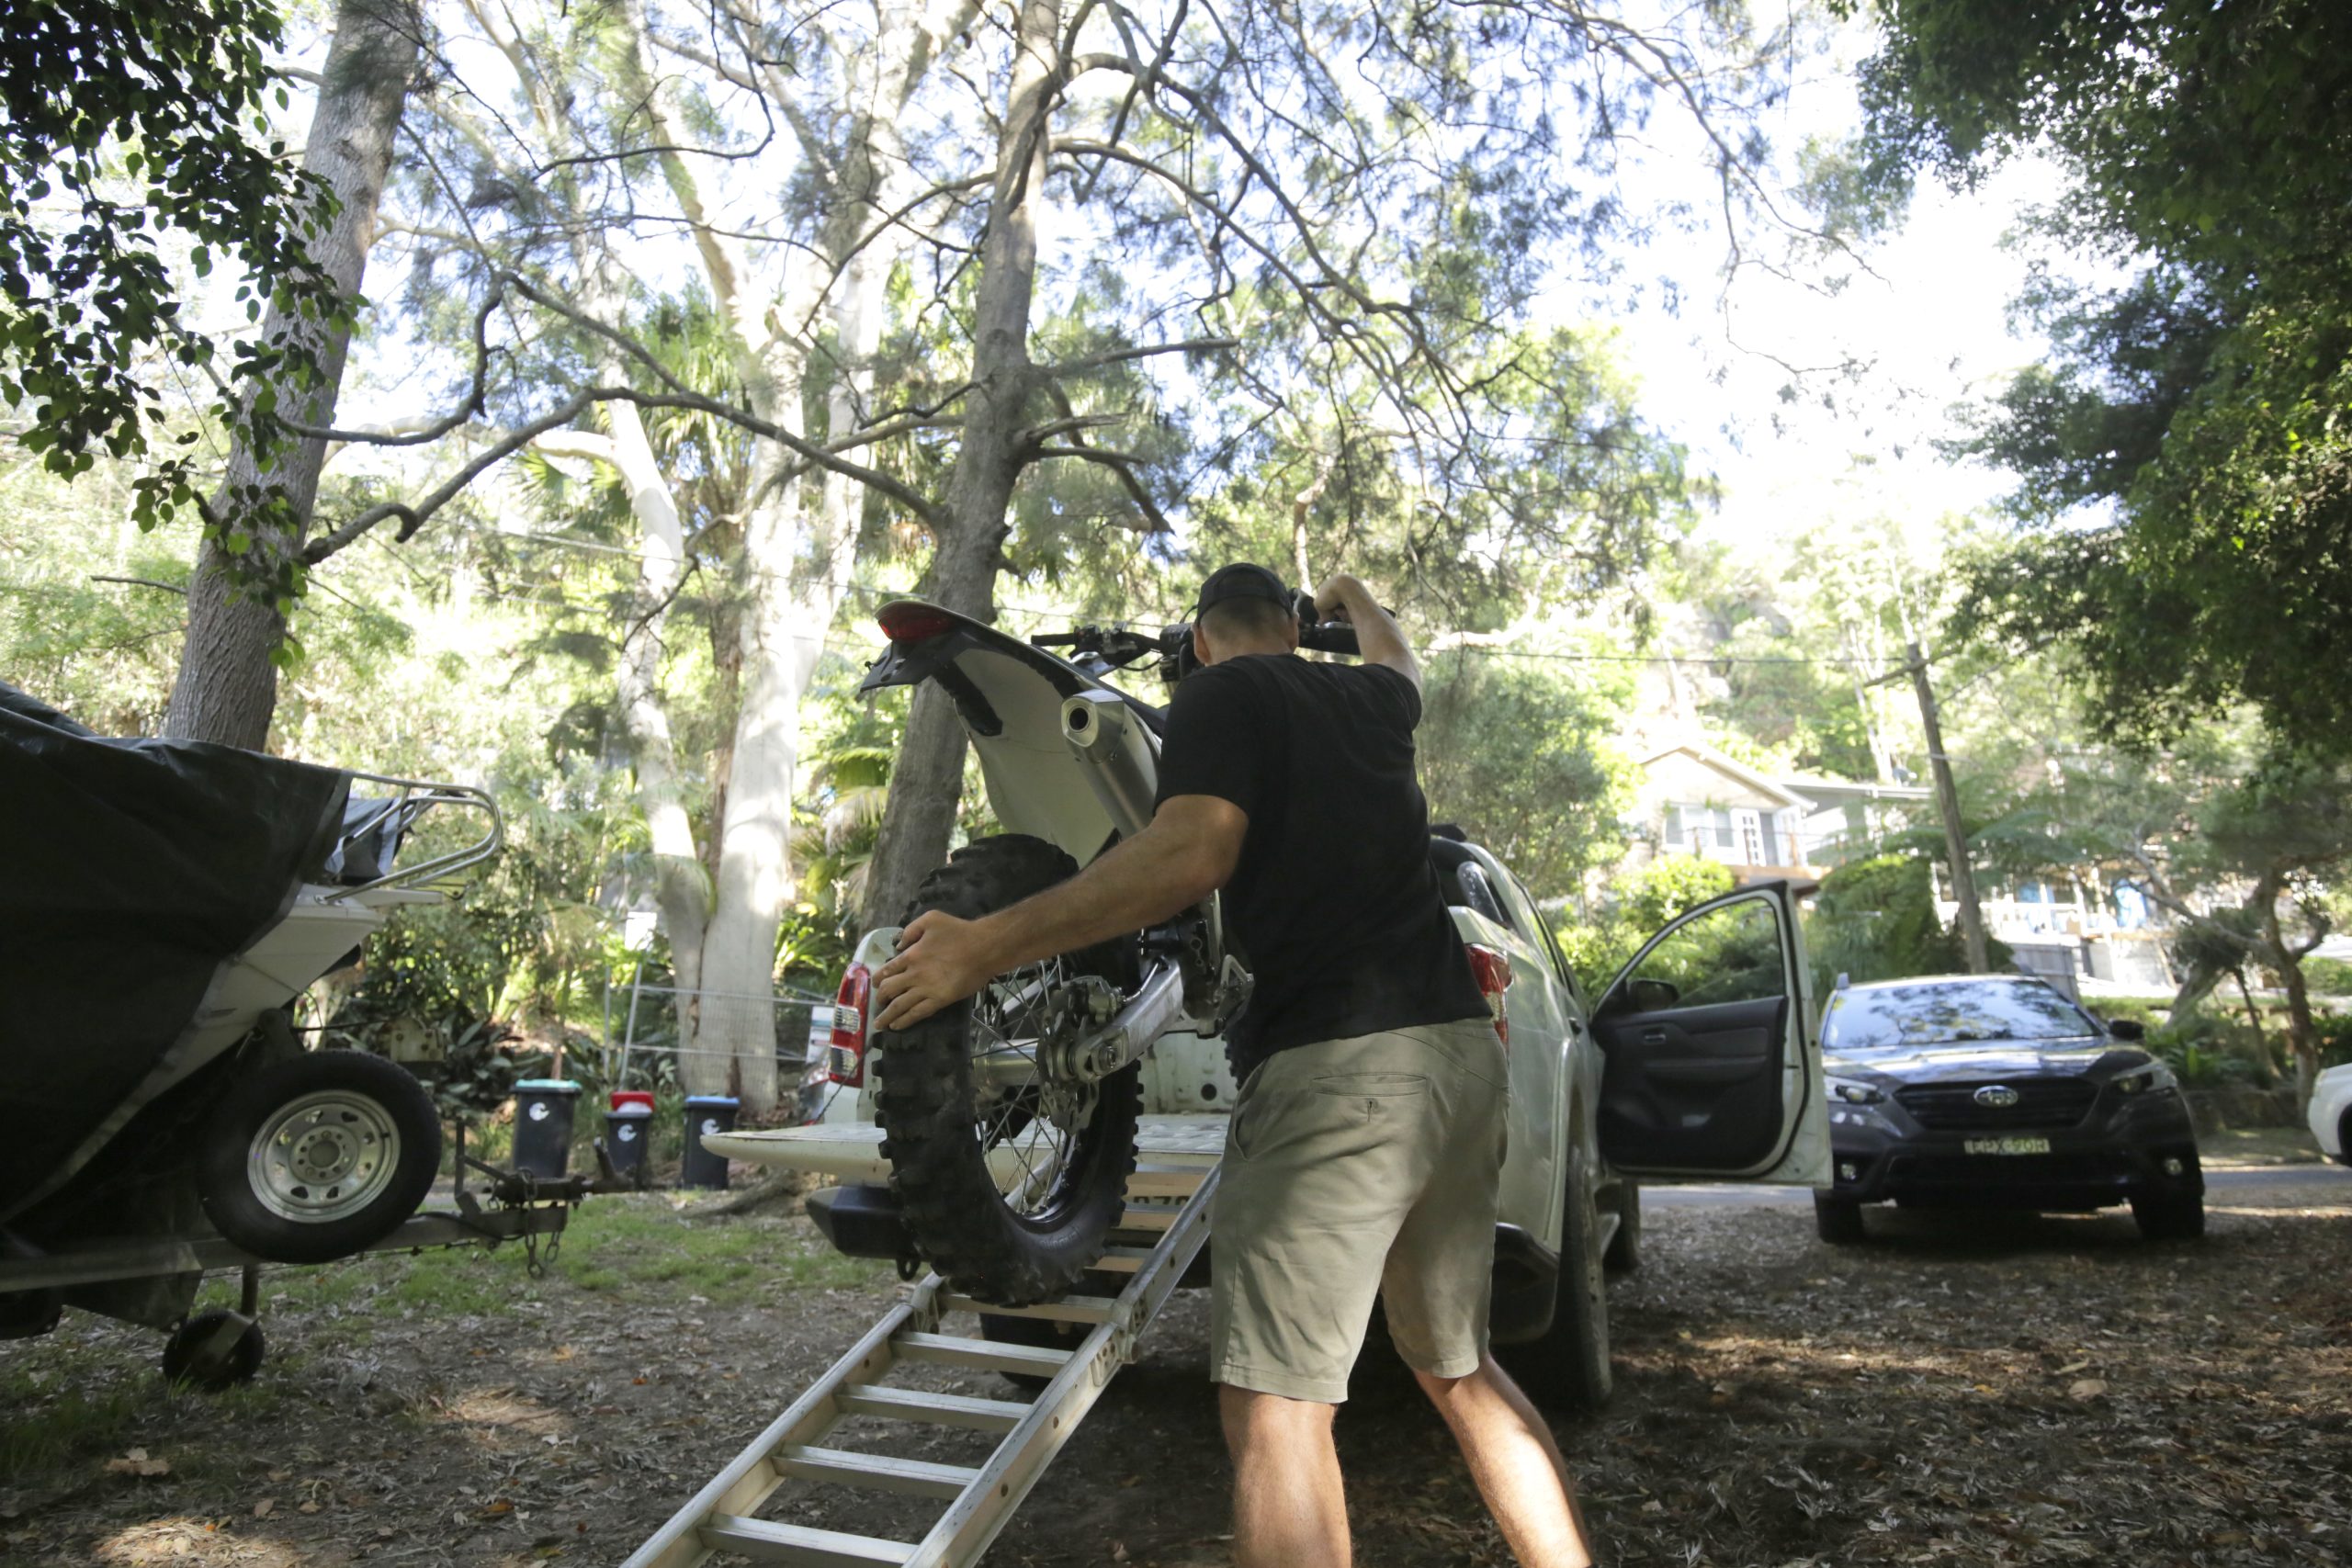
Start by putting the motorcycle up on a bike lift or sit it steadily on a centre-stand. Then you will start by removing the cable operated lever from the handle bar. To do this, unbolt the two mounting bolts in the clutch perch and remove the entire lever assembly.

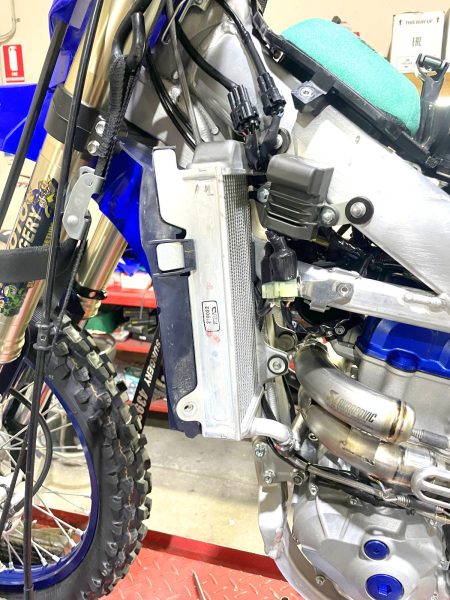
#2 THEN THE RADIATOR
Now you need to remove the left side radiator guard and loosen the radiator mounts so you can remove the cable from behind the radiator mounts.

#3 AND THE CABLE
Now remove the cable fixing bracket from the stator cover and remove the cable from the actuator arm. You can now remove the old cable and set it aside. You will also need to now replace the bolts back into the stator cover that were fixing the cable.
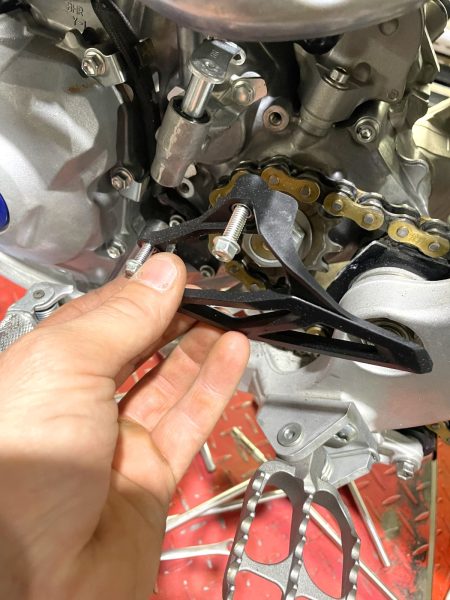
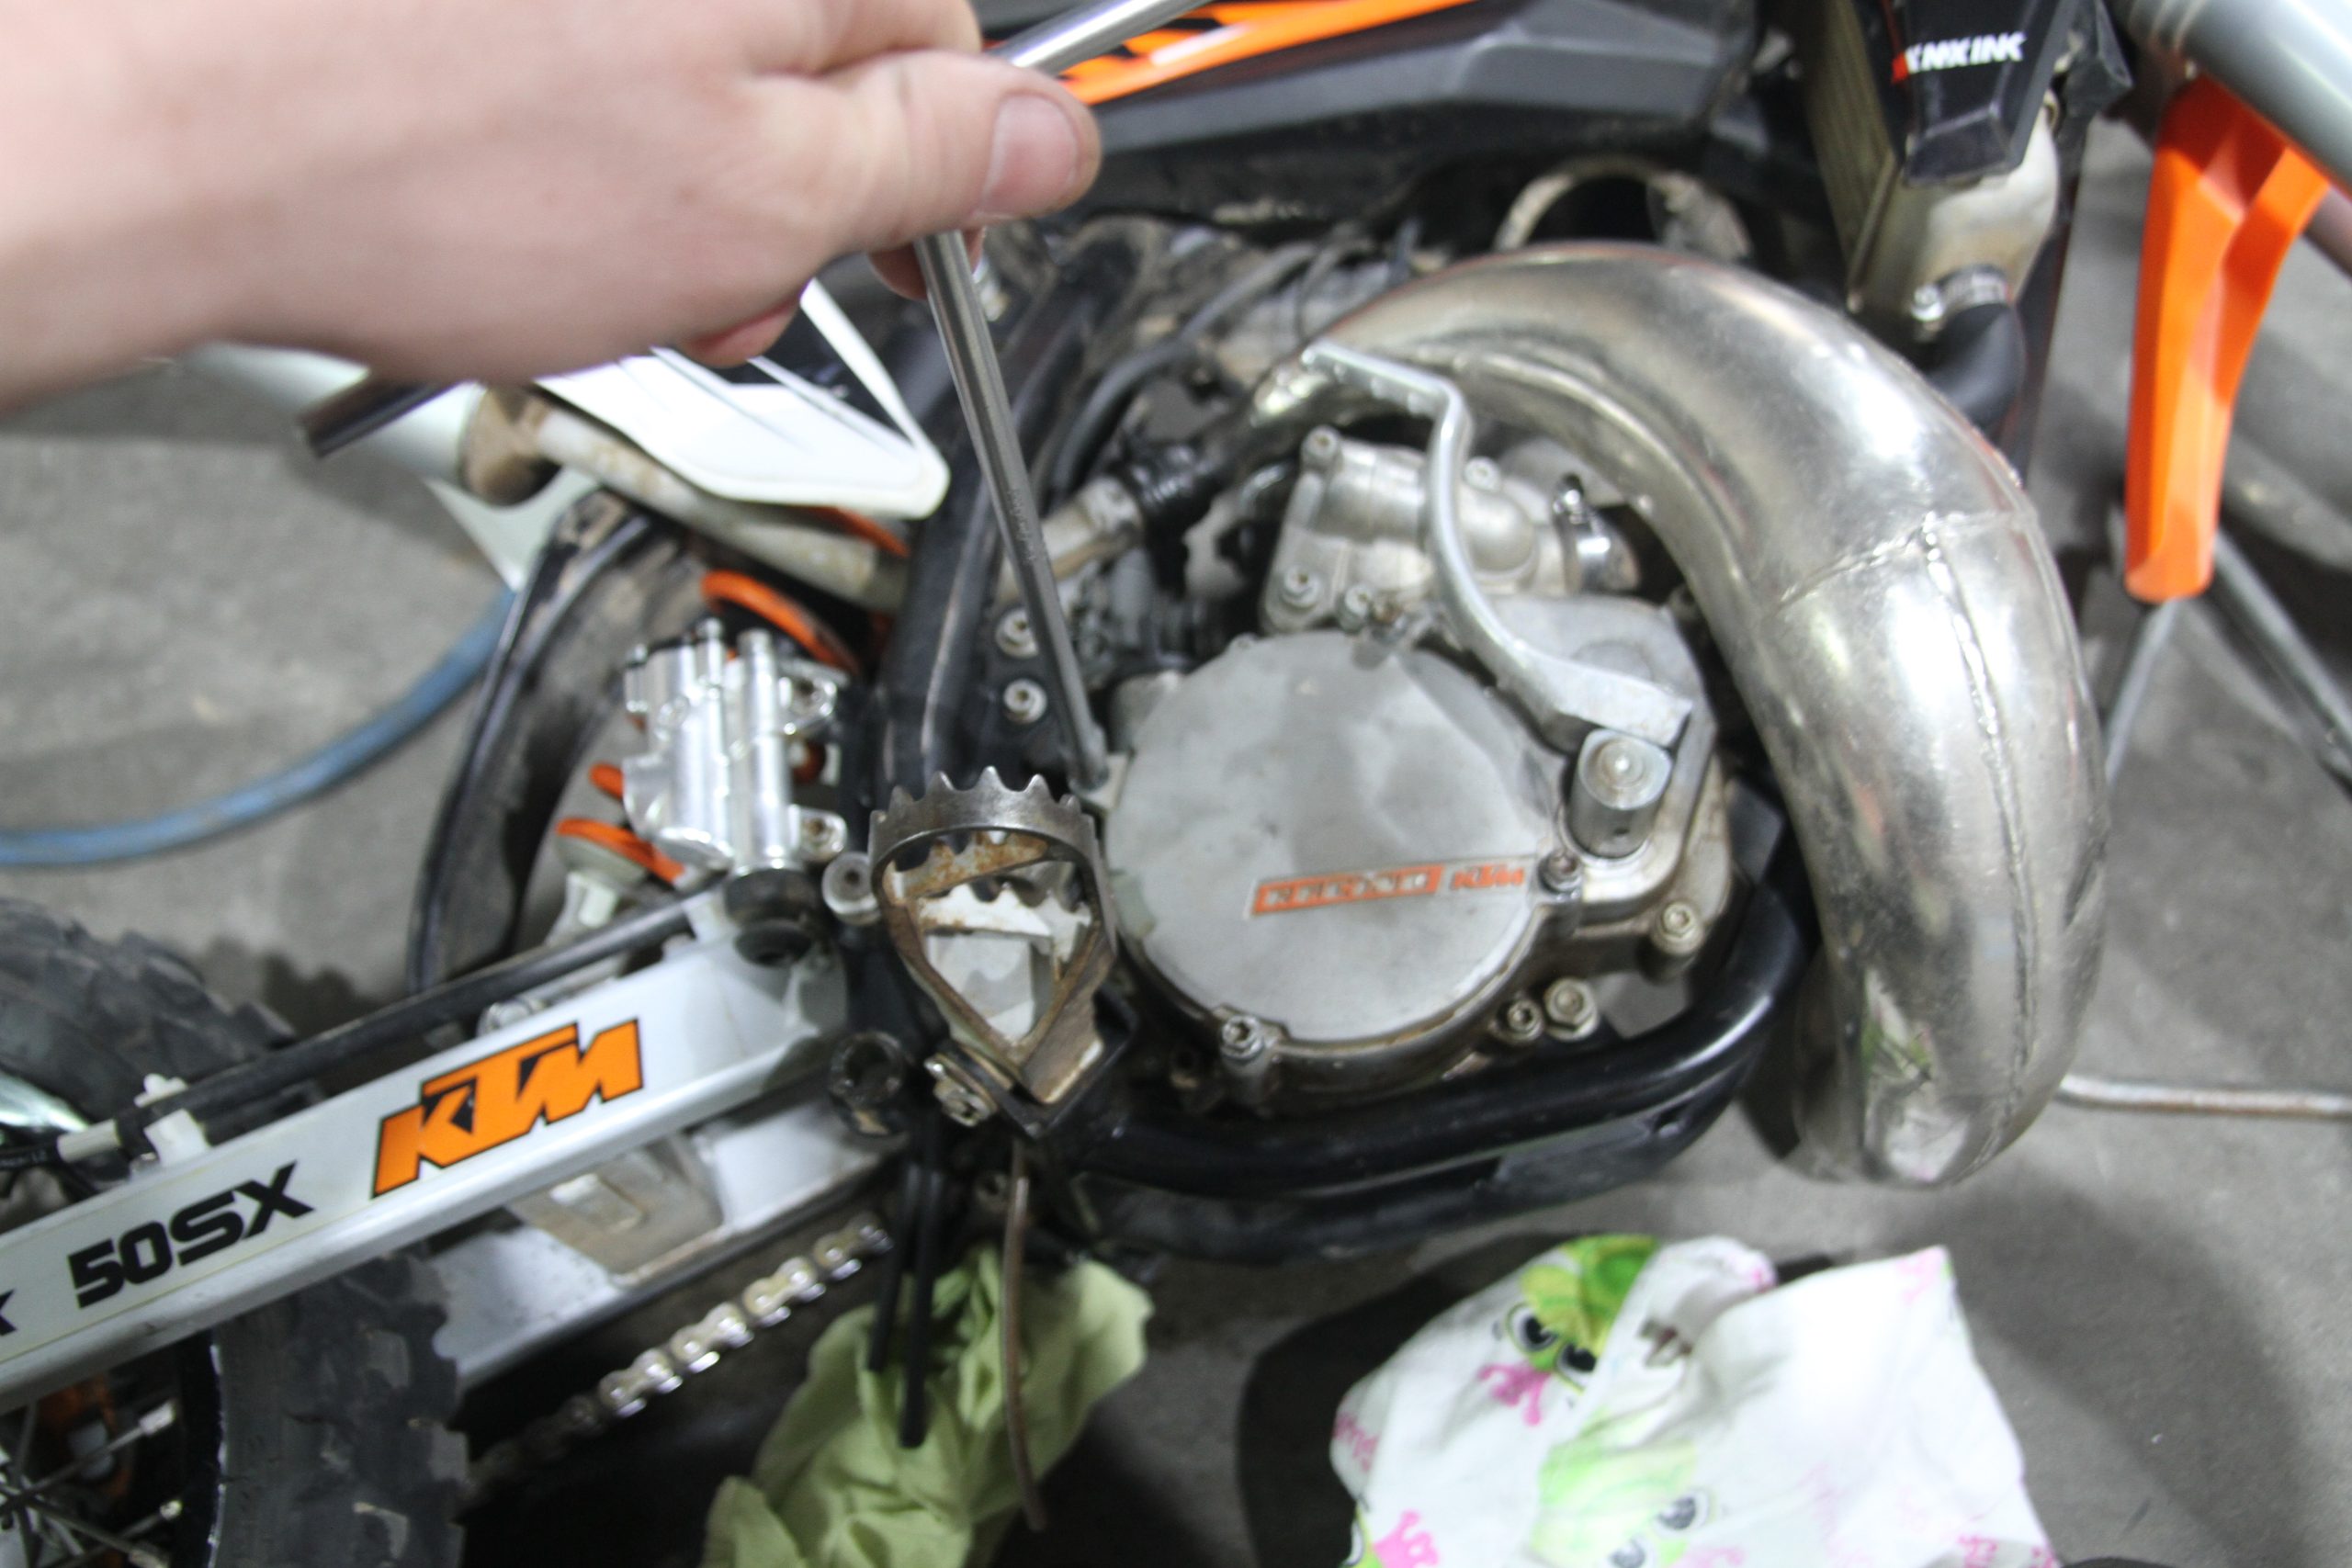
#4 SPROCKET GETS NAKED
Next remove the front sprocket cover and remove the two bolts securing the cable clutch actuator.
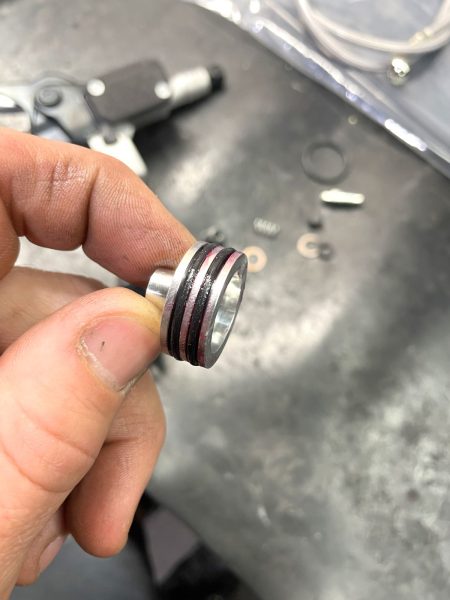
#5 SLAVE LABOUR
Assemble the hydraulic clutch slave cylinder with the rubber seals and grease them with a good rubber grease.
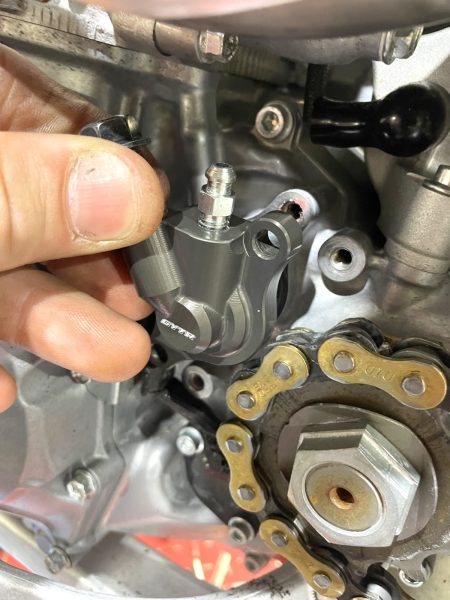
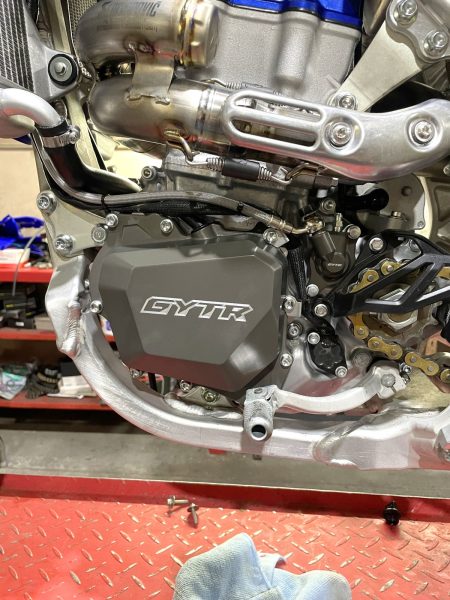
#6 BOLT IT UP
Now using Loctite bolt the hydraulic clutch slave cylinder into the engine and then refit the sprocket cover using Loctite.
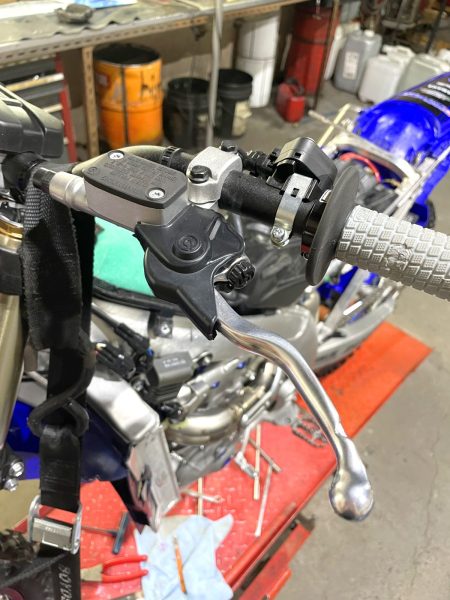
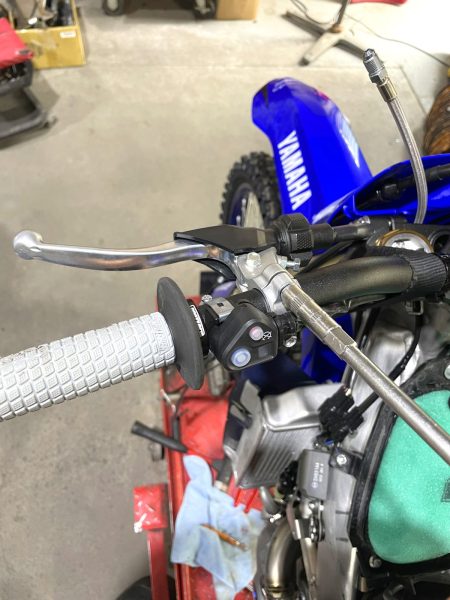
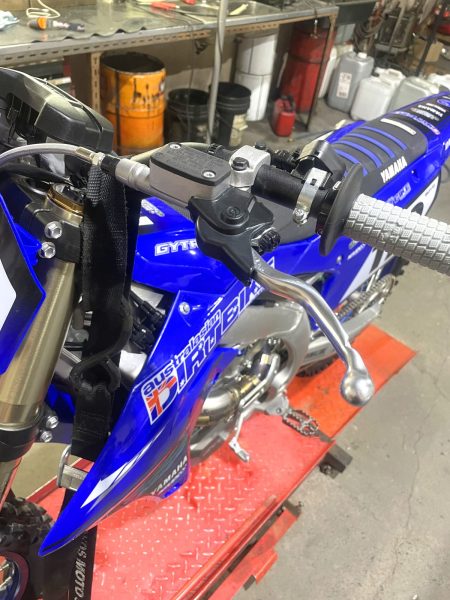
#7 PERCH ON THE ‘BARS
Fix the new hydraulic clutch perch and lever to the handlebars and tighten into position.
#8 RUN THE LINE
Run the new hydraulic line in the same route as the old clutch cable and then fix at both ends using a banjo bolt and new copper sealing washers.
#9 TIGHTEN RADIATOR
Now that the hydraulic system is fitted you can retighten the radiator mounts and fix the radiator shroud and guard back into place.
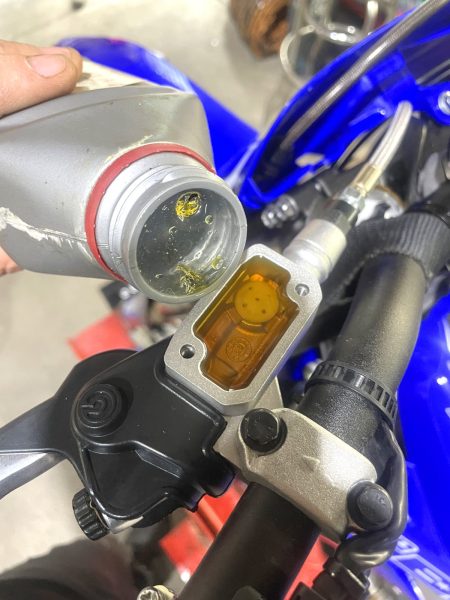
#10 FILL ‘ER UP
Fill the master cylinder with brake fluid and then connect a clear tube to the bleed nipple on the slave cylinder and run it into a clear bottle.
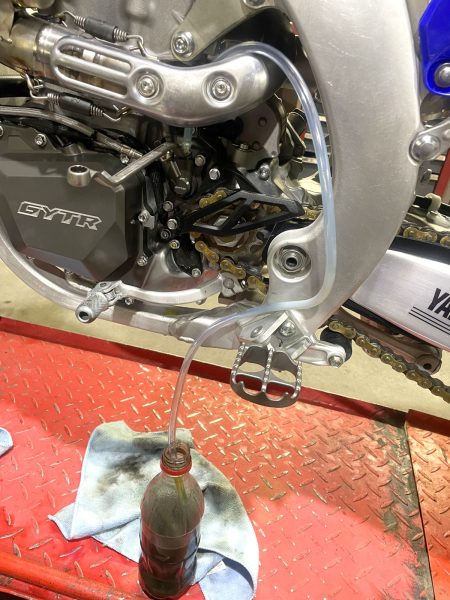
#11 LITTLE BLEEDER
Loosen the bleed nipple in the slave cylinder and allow the fluid to run through. As gravity draws the fluid through you will need to continuously fill the slave cylinder. If this process is to slow for you then you can pump the fluid through or usE a brake bleeding tool.
#12 ALL OVER BAR THE SHOUTING
Once the hydraulic system is filled with new fluid and bleed from all air bubbles you can tighten the bleed nipple and fit the master cylinder cap into place. Then clean up any split fluid with soapy water and take your new hydraulic clutch for a spin.
DO’S
- Always use new brake fluid.
- Always use recommended brake fluid.
- Always clean up spilt brake fluid.
DON’TS
- Over tighten any banjo bolts.
- Crush or pinch the hydraulic line anywhere.
- Allow the hydraulic line to touch any hot parts of the engine like the exhaust.
TOOLS:
T-bars, spanners, brake fluid, drain bottle and hose
WARNING:
If fitted incorrectly or not bleed correctly then you could cause harm to yourself or the hydraulic system.
HYDRAULIC OR CABLE?
This one comes down to personal preference. I personally grew up on bikes with cable clutches and didn’t ride any bikes with a hydraulic clutch until later in my life so a hydraulic clutch was a foreign feeling to me. Some riders say they have a more direct feeling with the clutch through a cable whereas others like the option of never having to adjust the free play in the clutch cable when using a hydraulic clutch. I feel I got used to hydraulic clutches and now actually prefer them. I like the hydraulic clutch on the YZ and believe it should be a standard part from production but word on the track is Eli Tomac has tested it and doesn’t like it and will not run it.