When we got our hands on this 1998 Suzuki RMX250 it was in rough shape. The bodywork looked like it had been dragged through a rock garden and the engine sounded like a baked bean tin full of rocks.
The poor RMX appeared to have spent the majority of its life living with a bonafide bush mechanic and trailriding bunny. The exhaust system was bent every which way and the cylinder base gasket was stuck down with grease.
The poor air filter looked like it hadn’t seen foam cleaner or fresh oil since Noah cleared out the ark and the swingarm had been fitted with incorrect spacers which had warped the frame. The brief I got on the phone from the Editor before the bike was delivered was “it goes so it can’t be too bad”.

What a misleading statement that turned out to be. It might as well have been sitting on the ocean floor for a few weeks because we replaced, repaired, cleaned or restored every component on the motorcycle. There is not a single part that I have not had my hands on.
If you’ve been following along then you would have already seen the pull down (ADB #488), where we listed what kind of greased-up hell we got ourselves into. The rebuild was last month (ADB #489) and now we’re showing off the finished product.
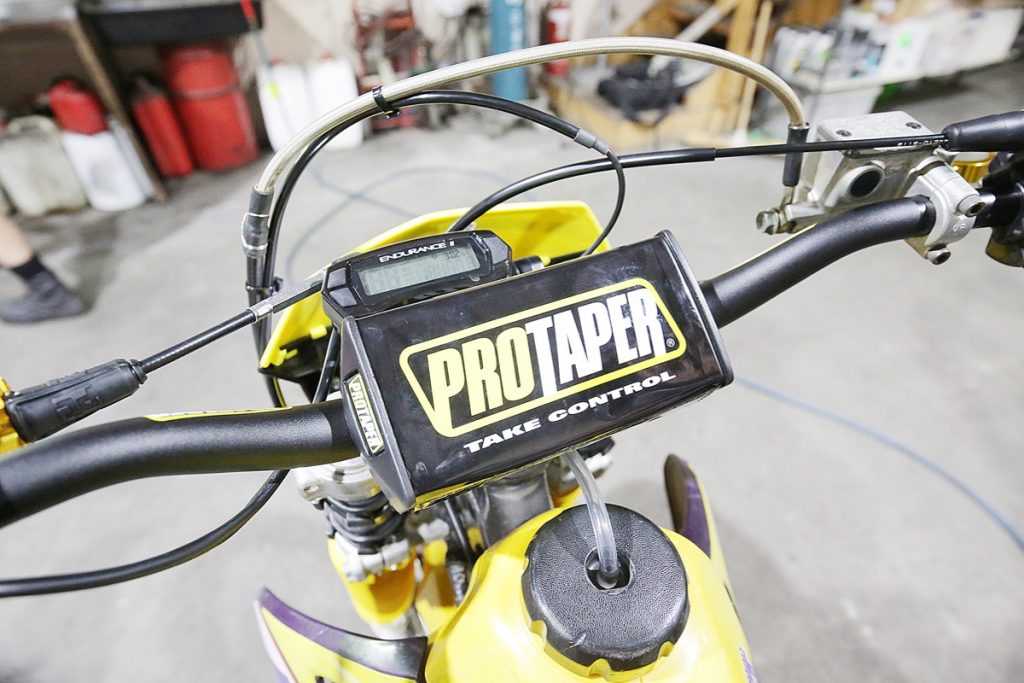
DIAMOND
I am proud of how the RMX turned out. It’s my diamond, because it was formed under pressure. I had a timeline that ended up being blown out as we under-estimated the workload. Rather than adjusting the timeline we still tried to get the thing done as quickly as we could to satisfy all the readers sending us letters and messages begging for an update.
I thoroughly enjoyed doing the job even though, at times, I was pulling my hair out and cursing. The goal was to build a bike that was in perfect mechanical order. We wanted it to be reliable and wanted no issues once it left my workshop. We also wanted a bike that we were happy to ride and not wrap in cotton wool.
You can read Part 1 of our Suzuki RMX250 rebuild HERE
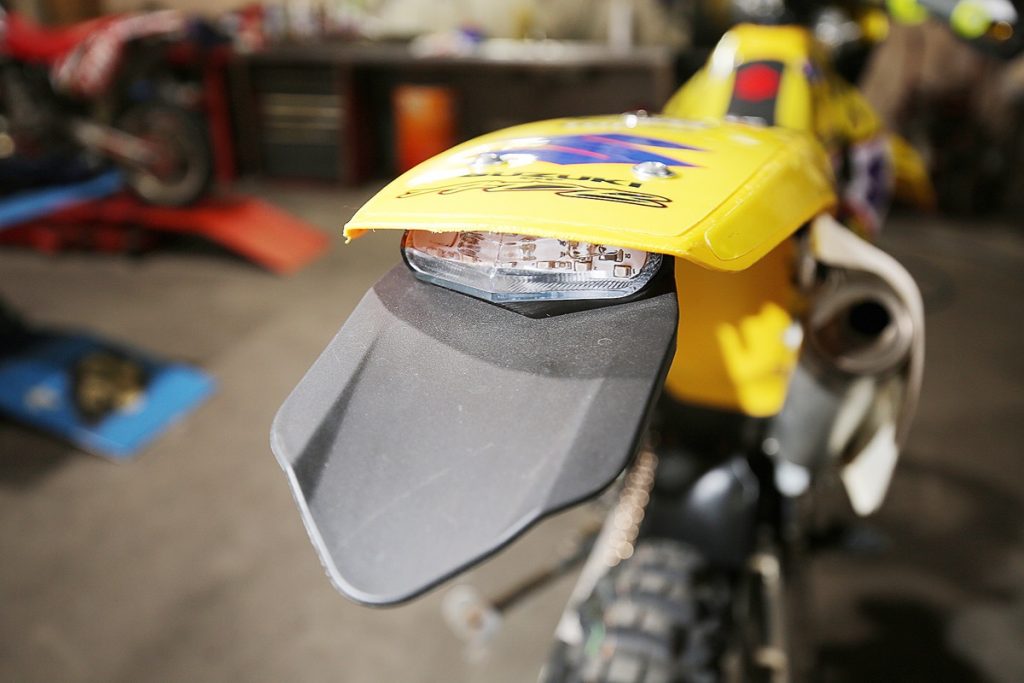
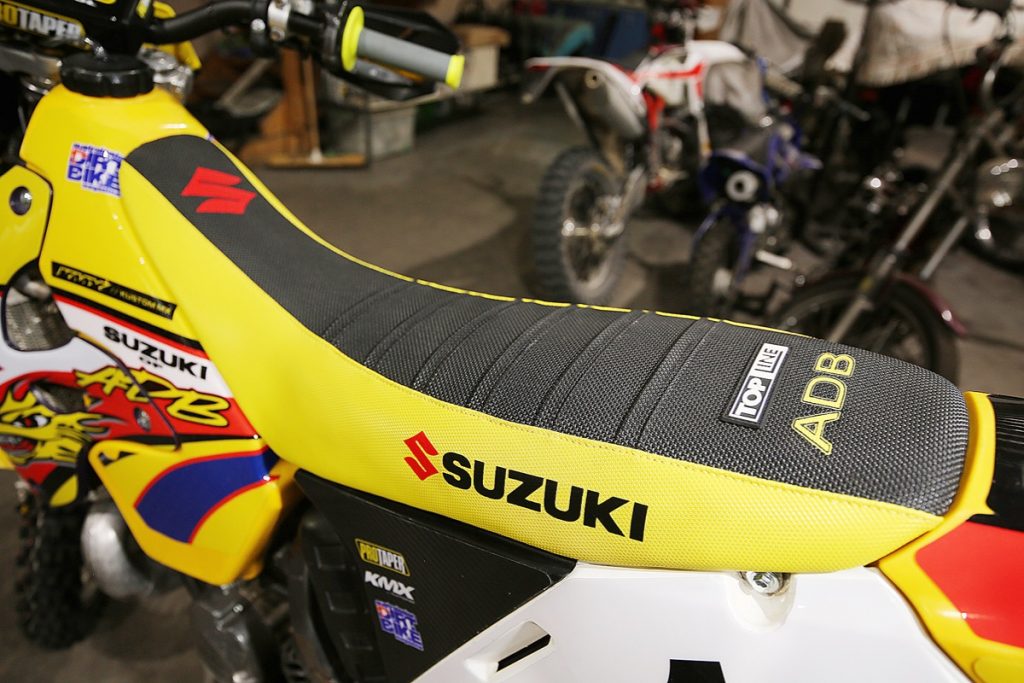
For this reason we decided to leave the paint and plastics. Instead, we had Topline Upholstery fix the stock seat and fitted a graphics kit by Kustom MX to make it look fresh without replacing the plastics. The bike rides well and is mechanically sound, which is exactly what we were looking for.

WHAT WOULD I CHANGE?
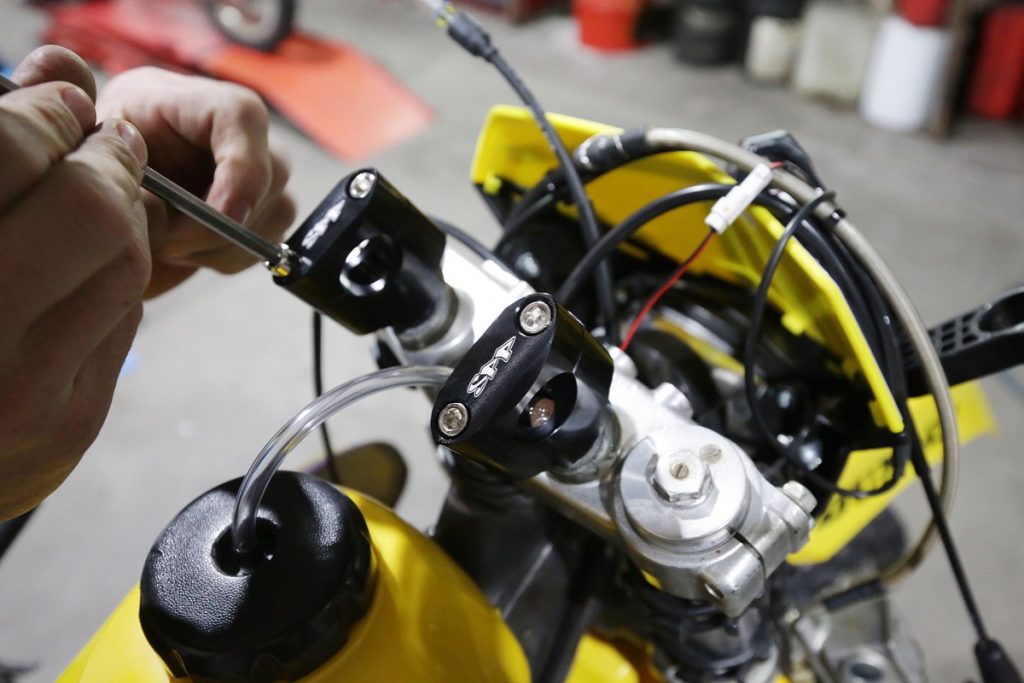
Now the rebuild is done I do feel disappointed that we didn’t powdercoat the frame and replace the plastics. I would also have liked to bead blast the alloy parts so they looked new. If we went down that road then the bike would actually not only be mechanically “brand new” but also look it.
From a distance, and with some “mood” lighting, the RMX looks flawless but up close you can see scratches and stained alloy that could have been cleaned up if we put some extra time into it. In saying all this, if we restored the RMX back to showroom condition then it would have most likely never left my workshop as everybody would have been too scared to damage it, or maybe not, eh Alex?
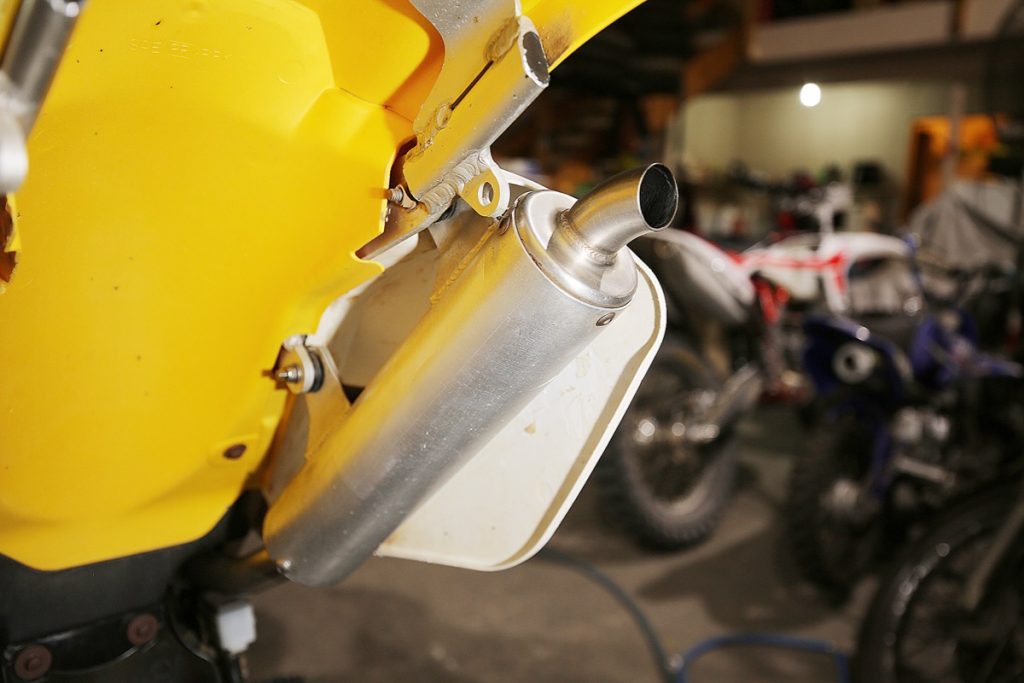
I also would have liked to replace the Pro Circuit pipe, rather than repair it, but we checked that out and they are not available. I would also have liked to replace the bent brake pedal and worn kickstarter but these weren’t available either. I would have preferred to upgrade the suspension while rebuilding it as the standard gear is very soft and I liked the idea of a Lectron carburettor but these are all things we can look at trying down the track.
The radiators I would have liked to replace but the OEM price on these is a little scary, so I chose to straighten them. The engine is strong and went together perfectly but a crack in the exhaust manifold on the cylinder did bother me. It looked like another repair job by the midnight cowboy and, to seal the exhaust, I had to fit extra-large O-rings as the standard ones were too thin.
You can read Part 2 of our Suzuki RMX250 rebuild HERE
The best advice I can give anyone doing a build like this would be to take it slowly and do it in sections. For instance, do the fork first, then the shock. When your Jobseeker payments kick in, pull the engine out and rebuild it. Lastly, replace all the bearings before ripping into the cosmetics (easy bit last). If you try to do everything at once you could become overwhelmed, not only by the cost but also the workload.
It’s also much easier to hide how much you are spending on your bike from the interior minister if you spread it over 12 months rather than splashing $10,000 in a few weeks. Do the major repairs first so that you can still ride and enjoy the bike and are not just slaving away on it until the early hours of the morning.
Once the RMX was all back together, I filled the tank with a slightly rich mixture so the engine could run-in with a little extra oil. I warmed the bike up and let it cool down on the stand in the workshop to check for leaks. Then I ran it around the car park and up and down the street to get the jetting right and to make sure it was running correctly. While doing this I noticed a small coolant leak from one of the hoses which turned out to be a pinhole. These things happen so it’s important to check before heading into the bush.
PICK UP DAY
This day was probably my least favourite of the build. I knew the time was coming and I knew the bike was not mine to keep but when you put as much effort into a build as this one you become attached. Letting it go into someone else’s care was tough.
It cost nearly $5500 (see next page) not counting my labour but that meant I’d built a bike that I knew would be reliable. I didn’t want comebacks and I wanted the guys to know they could have confidence in it. The part I’m dreading is potentially seeing it one day all banged up, but what are the chances of that? It will be ridden often, treated well and appreciated, right? It will be used for just what we intended and, from what I hear, might even make an appearance at an organised trailride or two.
Tax Invoice 1998 Suzuki RMX250 Parts
[table id=RMXParts /]