The MY24 model KTM enduros are brand new. So does that mean you need to learn a new method for changing the oil on your four-stroke? Luckily the answer is no. The process is almost identical to the previous two generation bikes. For new KTM owners or those looking for a few tips on how to make the process easier and your engine last longer read how I suggest you do a 2024 KTM 450 EXC-F oil change.
According to the owner’s manual you are meant to change the oil after just 1 hour. Then service the bike every 15 hours (note the prior model owner’s manual recommends servicing every 10 hours for race conditions, otherwise 15 hours). Personally I’m used to servicing my bikes every 7-10 hours and will stick to this schedule, but it’s your bike, you decide. This first oil change was done at three hours after an easy riding weekend running the bike in.
1 GET ORGANISED.
Start with a clean bike and clean the drain bolts and filler cap with contact cleaner.
Tools needed are; 13mm & 8mm T-bar or sockets, external circlip pliers for the oil filter, contact cleaner (RP7 or Motorex Joker Spray etc), latex gloves, oil drain can, rag and ideally an enviro mat. To replace the oil you’ll need; an oil measuring jug with funnel, oil filter and premium quality oil. Motorex Crosspower SAE 10W/50 is recommended in the manual.

2 TAKE OFF THE BASH PLATE
This is the only part that will seem unfamiliar compared to the previous bikes because there are now four bolts to take off, two at the base near the footpegs, and two high up under the header pipe.

3 STAND AND DELIVER
Place the bike on the bike stand with the rear wheel off the ground and start the engine. This is one of the most important steps. Allow the bike to come up to temperature so that when you drain the oil, it all exits the bike. Hot oil flows well.
You should go up through the gears and rev range slowly as the bike warms up. This helps collect all the particles within the engine to drain out with the old oil. Handy tip; this is also the perfect time to properly clean the chain with a brush and cleaner or RP7.
Then take the bike off the stand. Place the enviro mat and oil drain can underneath the bike to catch the oil plus any spillage.

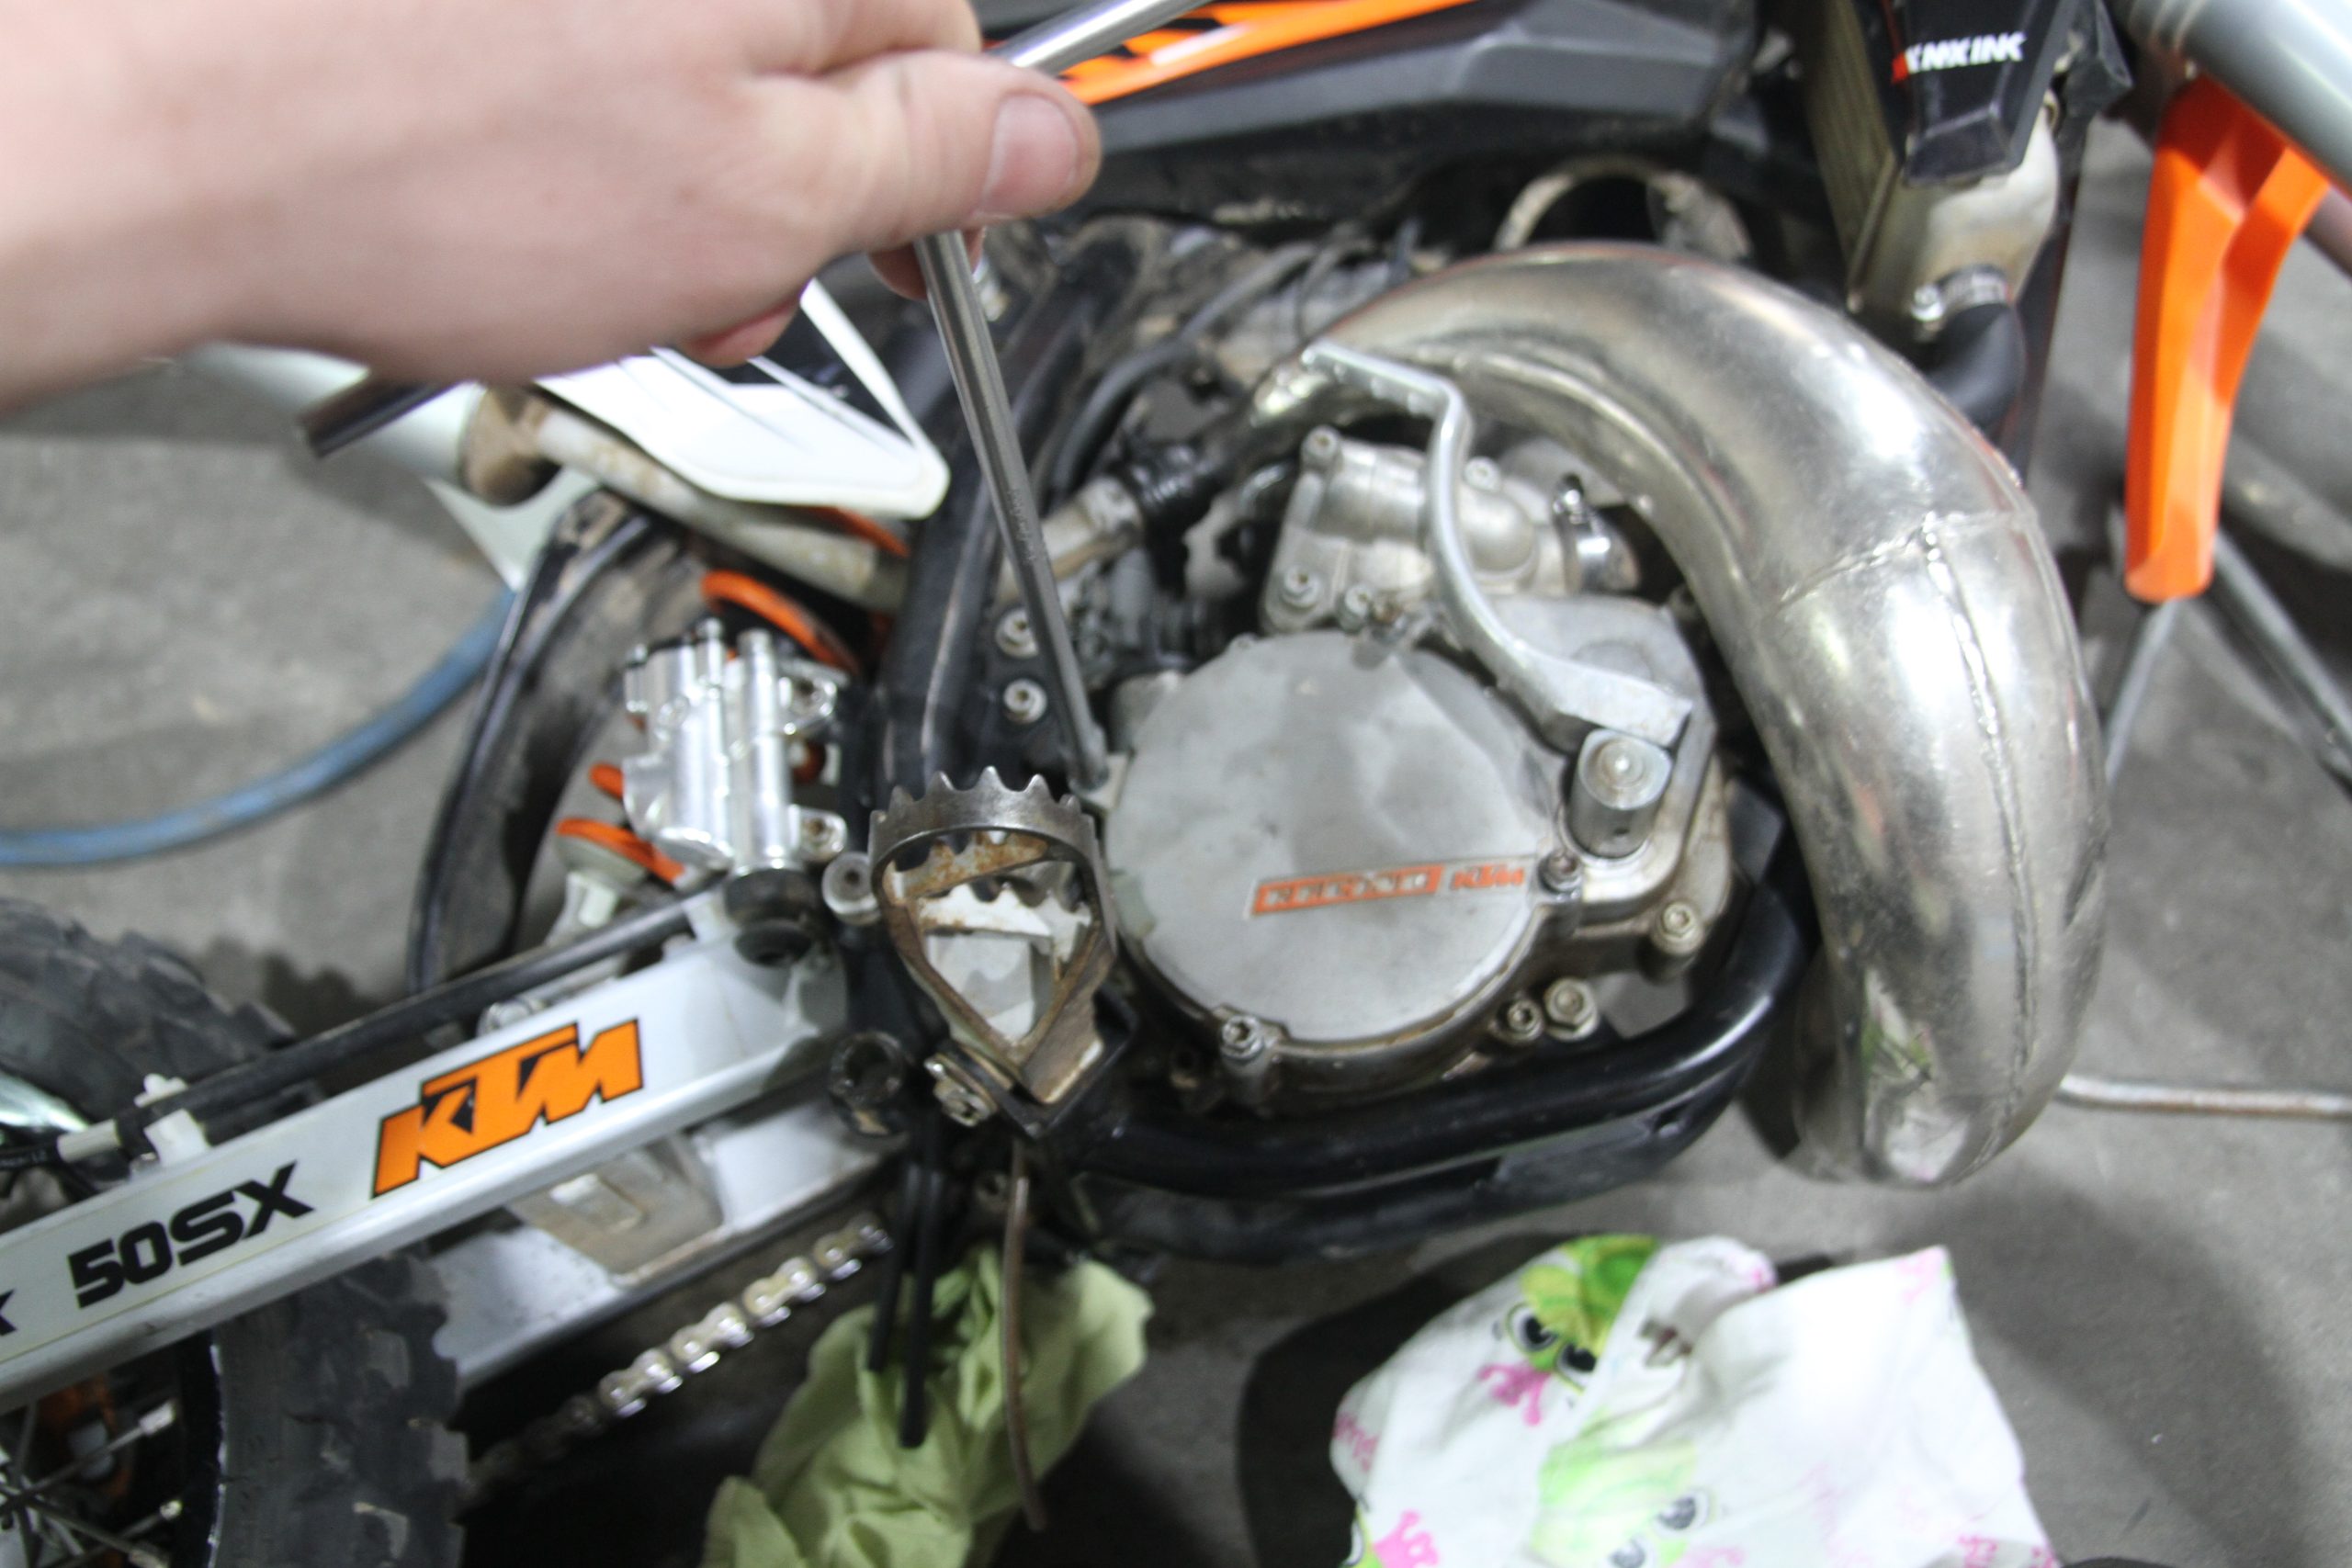
4 DRAINING THE OIL
Remove the magnetic oil drain plug. You may notice small metal shavings attached which is the job of the magnet. Clean it with contact cleaner. Remove the second drain plug to the left which has the oil screen and clean it with contact cleaner.
Remove the drain screw underneath the engine. It’s nice to see for the ‘24 models the quality of this screw plug has improved, as it feels stronger and is easier to remove. On my 2017 FE450 after 20 oil changes it rounded off, I think this one should last longer.

5 IN WITH THE GOOD STUFF
Tip the bike on its right side and with your 8mm T-bar remove the oil filter cover. Then use the external circlip pliers extract the oil filter. Next top up the cavity to about a third full with fresh oil. Put a new oil filter in, rubber side down making sure the rubber seal is oiled.

6 REPLACE THE COVER
Don’t over torque the bolts on the oil filter cover, then insert all three drain bolts. The torque specs are stamped next to each bolt. Remove the oil filler cap and carefully check for dirt. It often builds up around the cap sealand I needed to gently brush dirt away with my finger from the engine or it would have dropped into the engine, contaminating it. Then spray the cap with contact cleaner.
Add 1.2 litres of premium four-stroke oil. I use an 800ml measuring cup and do 800ml followed by 400ml each time then at the very end add a little extra oil after it’s properly settled and the sight glass is accurate. I have been using Motorex 10W/60 until recently and am now trialling another premium brand 10W/60 which I bought in a 20L container. This will last me 100 hours of ride time.

7 THE FINAL STRETCH
Refit the bash plate, put the bike back on the bike stand on level ground and wait for the oil to settle, then inspect the sight glass. The oil should be in the middle of the red circle. You can see in my photograph it’s close to perfect. The oil took hours to fully settle, and initially looked as if I’d overfilled it. Lastly don’t forget to admire your bike and the work done…shed time’s always good time.
This might read like a lot of steps but it’s easy once you’ve done it a couple of times. Personally I’ll be investing in a torque wrench next. This new model makes life easier by stamping in the torque spec for each bolt, a nice touch to a bike that is personified by nice engineering touches.