With the whole world slowly turning hydraulic it is the perfect time to learn how to bleed and replace the fluid in your hydraulic clutch. So our Tech Ed Mat Boyd talks you through how to bleed a hydraulic clutch.
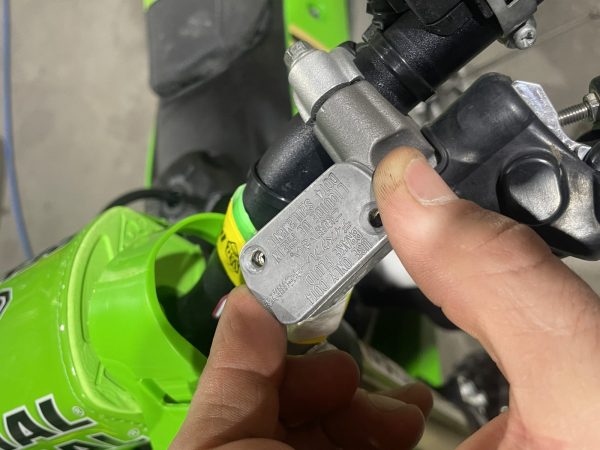
#1PREPARATION
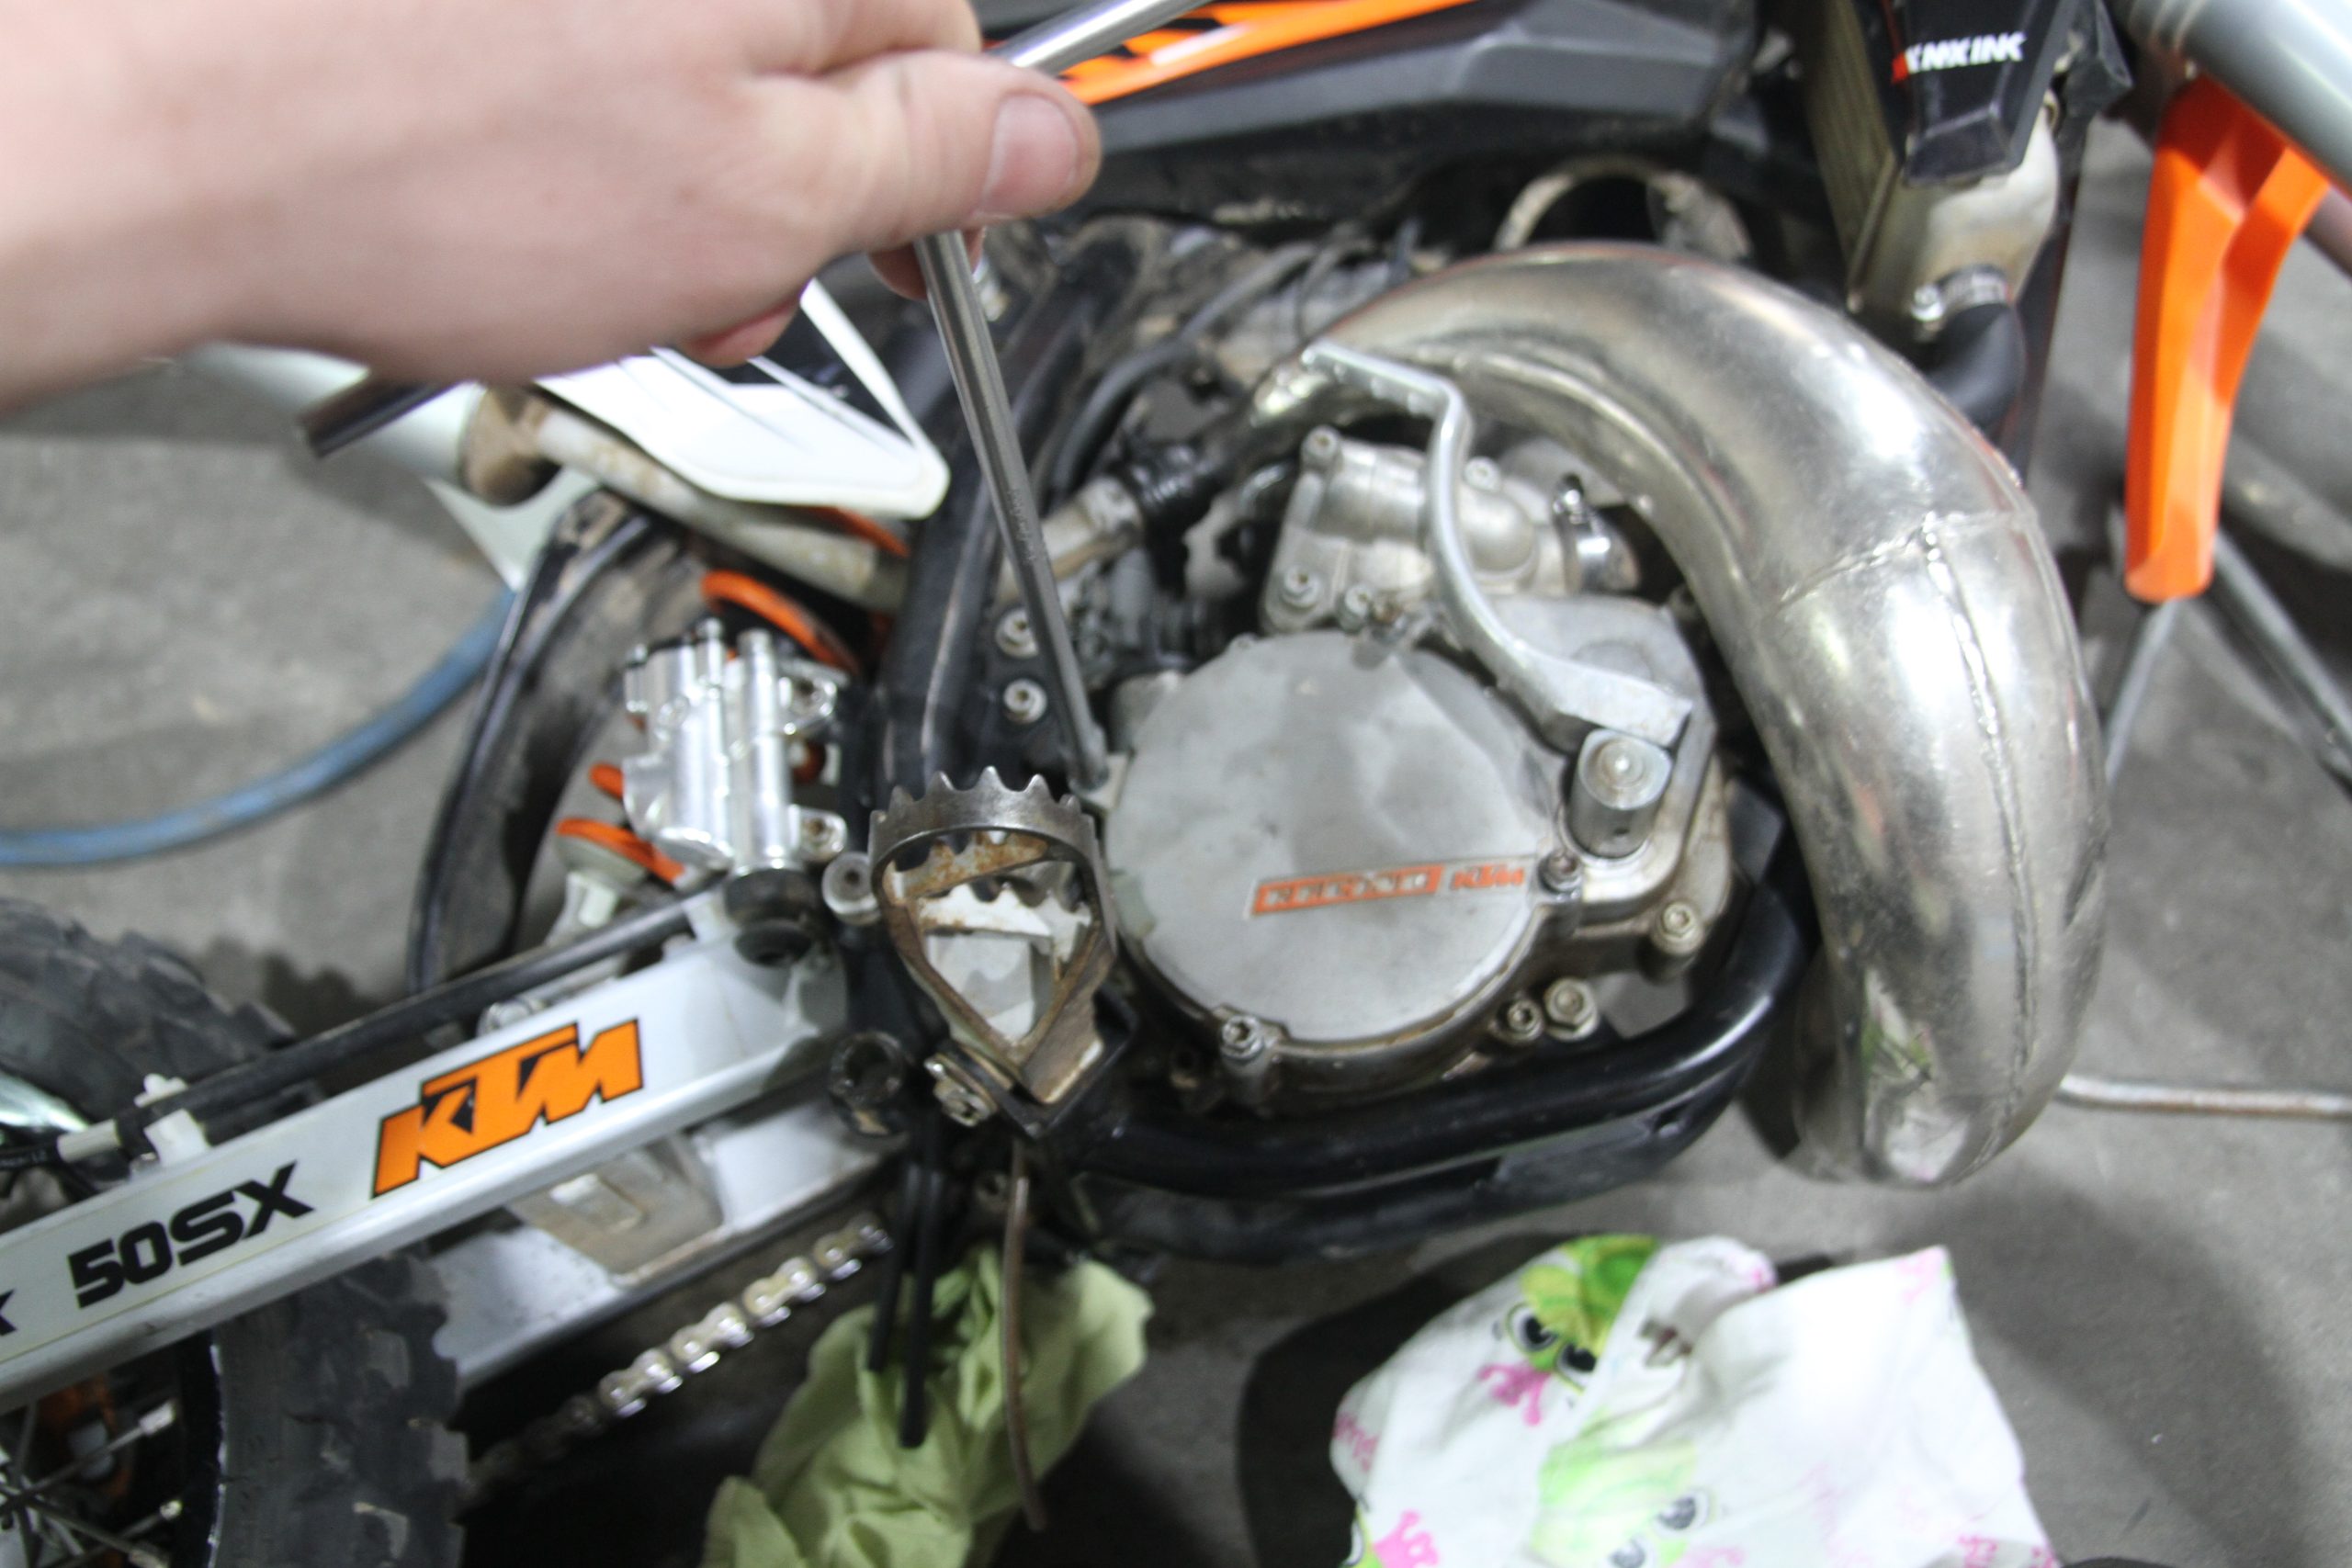
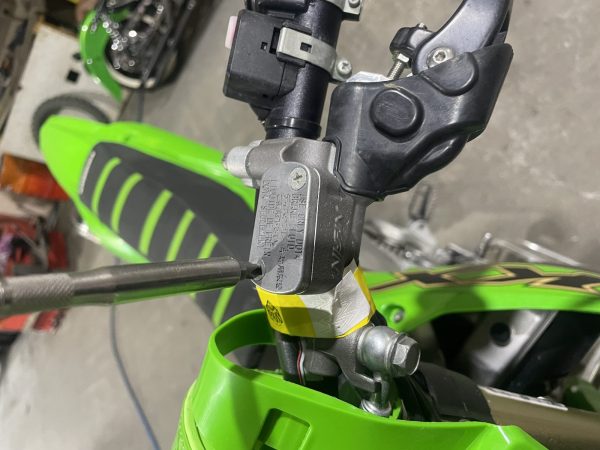
Place the bike on a sturdy stand and make sure the reservoir, master cylinder and slave cylinder are all clean and free from any dirt or water. Then remove the screws from the reservoir cap on the handlebars.
#2 CAP OFF
Remove the reservoir cap and set it aside somewhere out of the way on a clean and dry cloth.
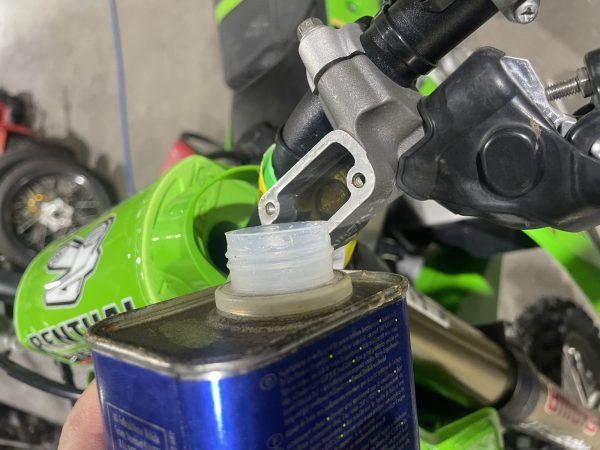
#3 TOP IT OFF
Top up the reservoir with new clean fluid until it is completely full.
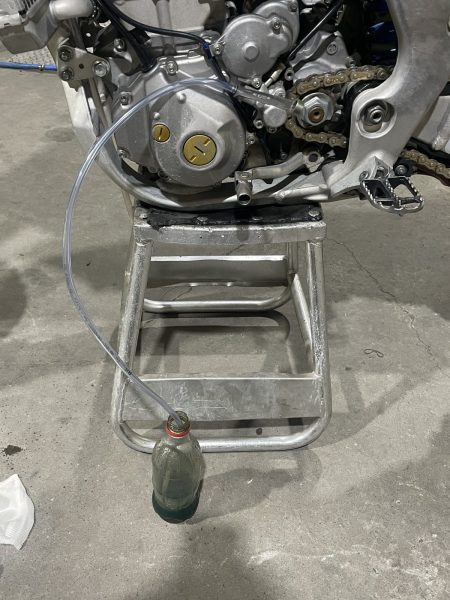
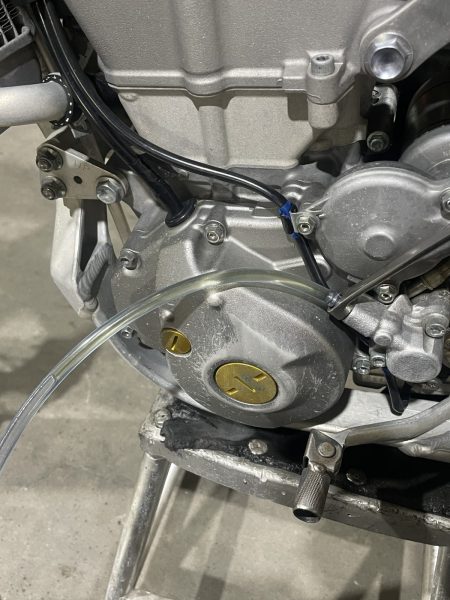
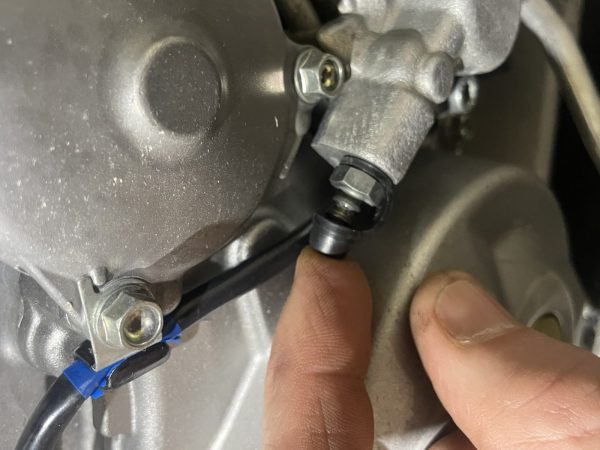
#4 ATTACH A BLEED HOSE
Remove the rubber boot from the bleed nipple and attach a clear rubber hose to the nipple. Then run this hose down to a clear bottle on the ground.
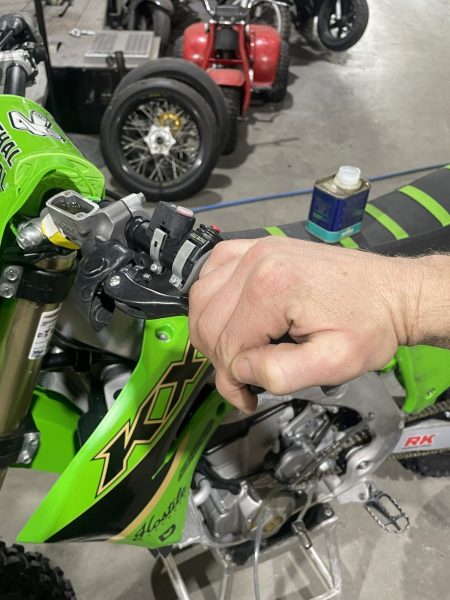
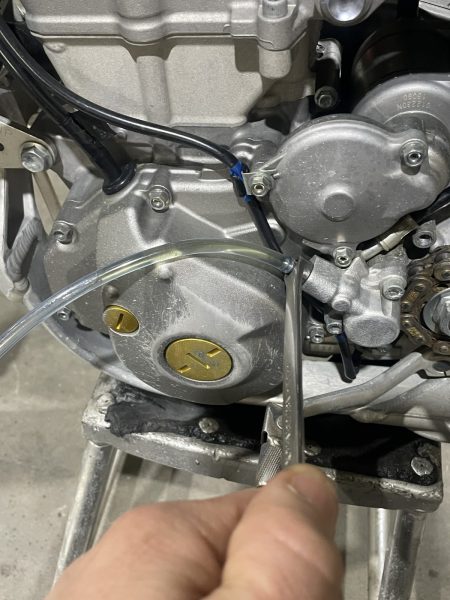
#5 START BLEEDING
Pull the clutch lever in and then loosen the bleed nipple. You should see fluid escape out through the clear rubber tube once the nipple is loosened.
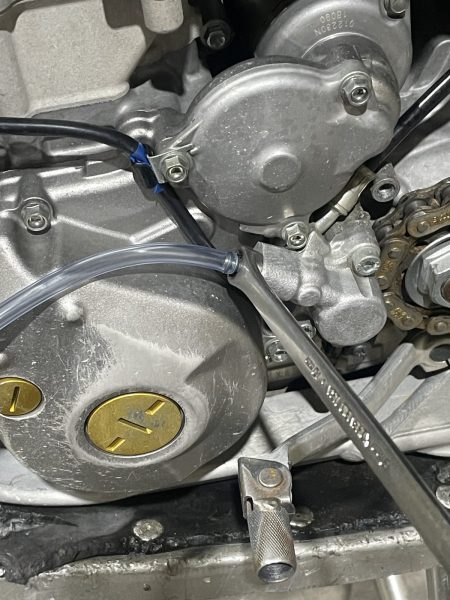
#6 PUMP NEW FLUID THROUGH
Continue pumping the clutch lever in and out slowly by hand. This will push the fluid in the reservoir through the system. Be sure to keep an eye on the reservoir as you will need to top it up before it runs dry or you will introduce air into the system.
#7 ALL CLEAR
Continue pumping clean fluid through the system until the fluid coming though the clear tube is clean and free from any bubbles.
#8 TIGHTEN IT UP
Then tighten the bleed nipple and top the reservoir up so the fluid level is at the top of the site glass in the reservoir or up to the full marking.
#9 SEAL IT UP
Now clean the reservoir cap and refit it back into place.
#10 ALL DONE
Remove the clear plastic tube, clean up any fluid with brake cleaner and refit the protector cap back over the bleed nipple.
For the full story, check out issue #530 of ADB.