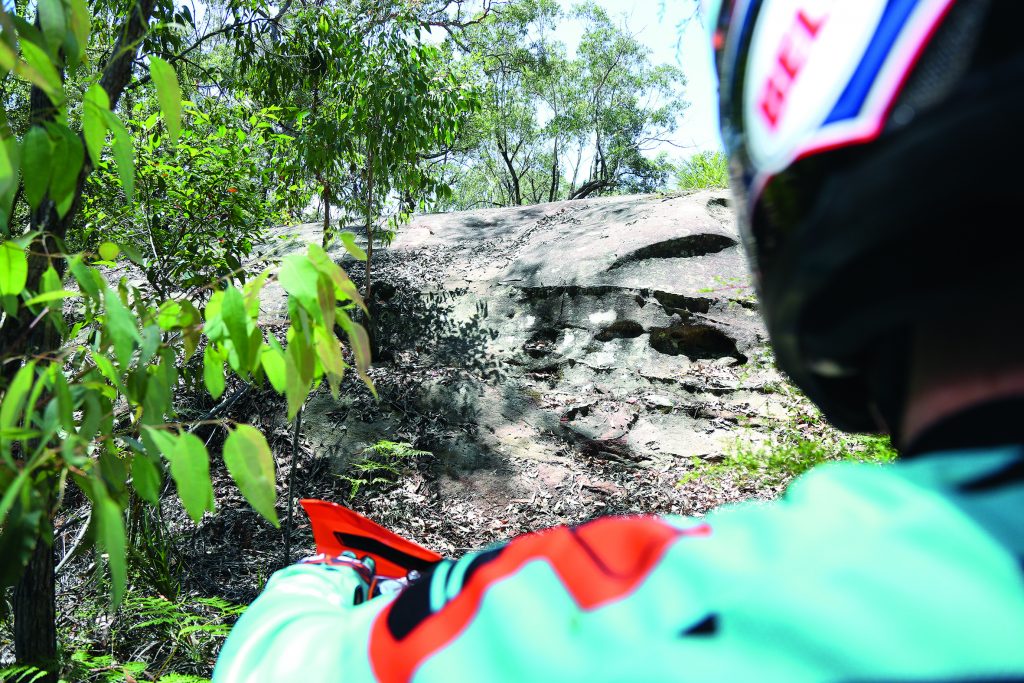
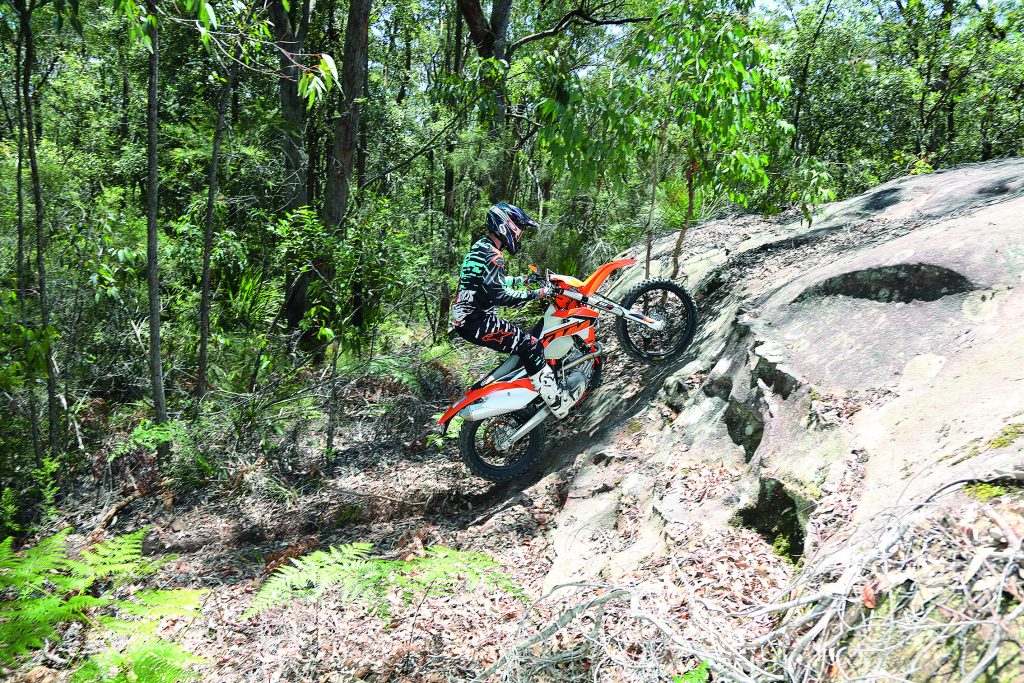
Step 1:
As you can see, I have a pretty good view of the rock and quite a clear run at it. The right hand side is quite steep, so I decide to go for the left. Its very important to make sure that once you commit to your line, to ease the throttle on rather than just give it a fistful. You want momentum but it needs to be smooth. I am in 2nd gear and I reckon throughout this sequence, I am only at quarter throttle.
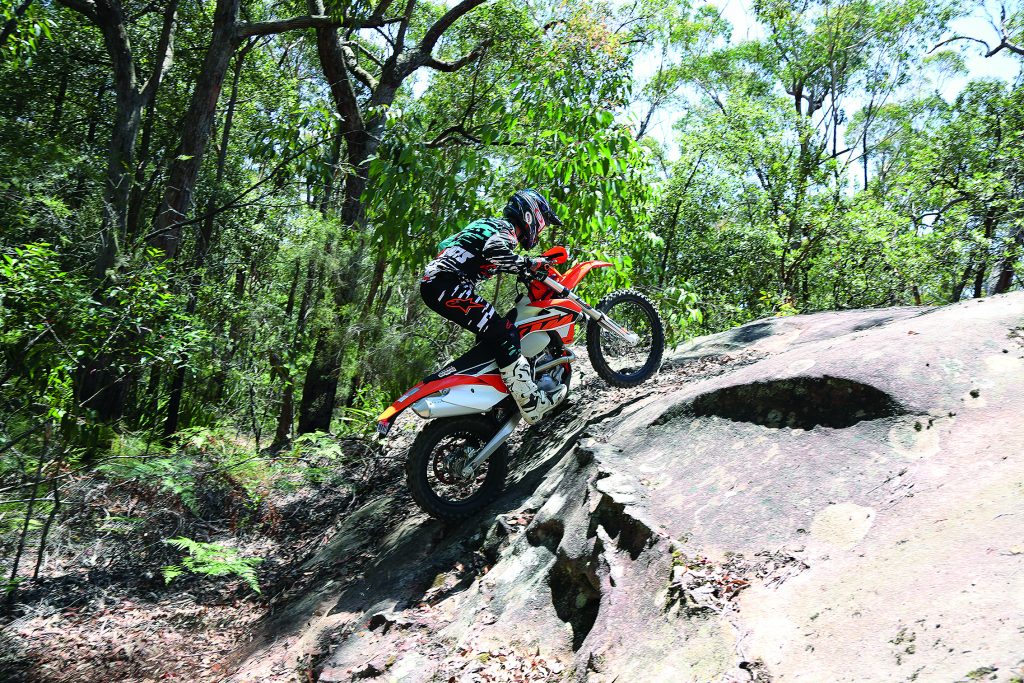
Step 2:
Build a constant drive and make sure you’re fully committed to the hill. I’m standing almost central over the bike and just rolling the throttle on. Its important to maintain constant drive leading up to this, especially if the rock is slick. Being off-balance and abrupt with your throttle makes it quite difficult to maintain a straight drive before the rock.
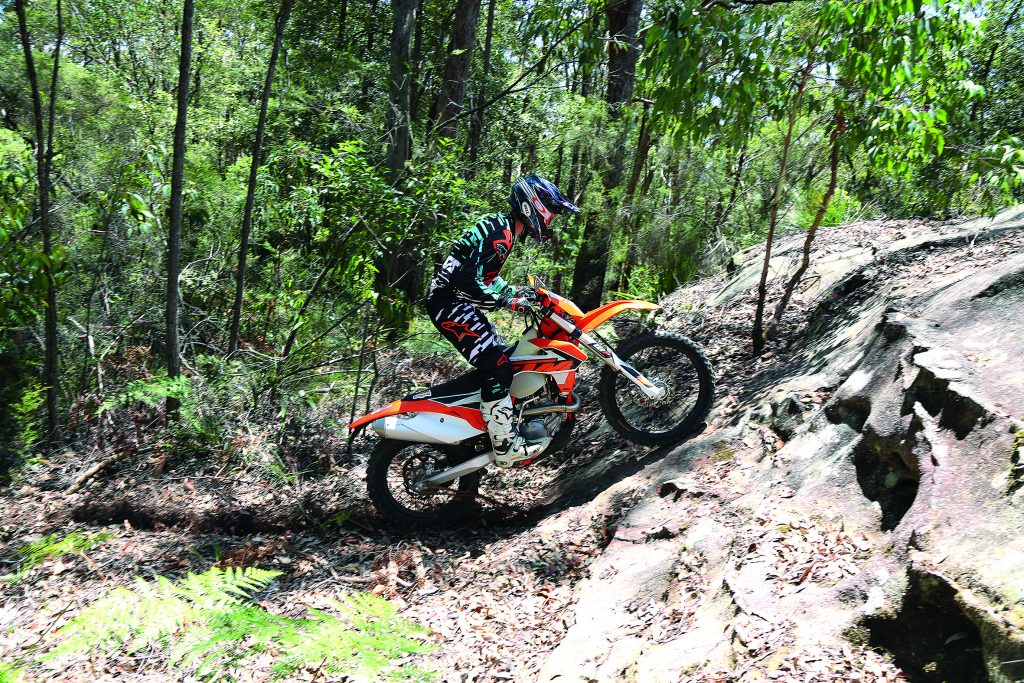
Step 3:
I’ve hit the rock and the rear-end is starting to compress. I am still easy on the throttle and I am about to start transferring my body forward to ensure I don’t loop out. It is about now that the momentum you built up before the rock really becomes noticeable. This particular rock is quite dry and grippy so that is a positive.
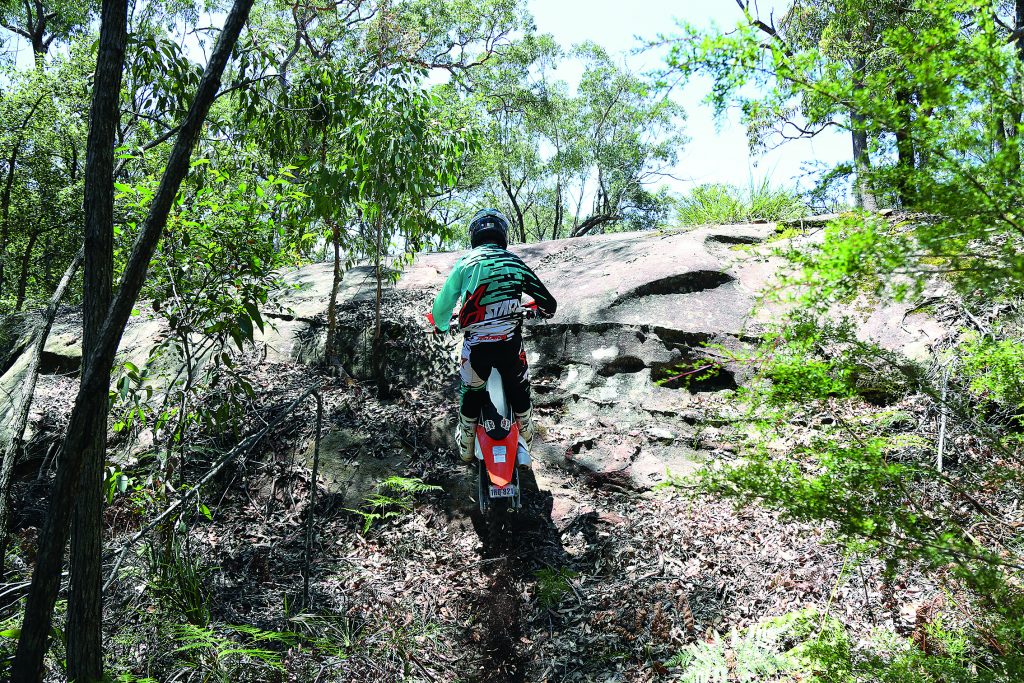
Step 4:
I am up and onto the rock now. My balance is good, my drive is good and as I mentioned in the previous point, this rock is quite grippy. I have been easy and constant with the throttle at all times leading up to this stage which means the rear tyre actually will bite in and grip the rock. If you notice the front wheel starting to lift a little, begin to move forward on the bike.
Step 5:
I am almost there and the front wheel is well and truly off the ground. You can see all the knobs on the rear tyre which means it is not spinning fast, its biting into the rock. I have transferred my weight right over the front of the bike now and I am ready to drop the front wheel. It is important to not panic when the front does lift. Don’t completely shut the throttle off and lose momentum. Be smooth with your throttle and clutch.
Step 6:
Once you have reached the part where you are ready to ride away, still be mindful of you throttle and clutch. Don’t get too whiskey with it. Make sure you are well and truly past the worst of the pinch.
That scary face
- If you come flying around a corner and come across one of these, don’t hesitate or look for the chicken run around the rock. That will make you look like a swapper and your mates will make fun of you for years to come.
- Need more of a challenge or want to show off? Try the trials technique known as the splat or splatter. Position a log or rock a metre from the base of the rock face you’re about to climb and use it as a launch pad to propel you to the top of the rock face.
- Confidence is key with this obstacle. The actual act of climbing the rock is not that hard but it’s imperative you are full of confidence when you attack it otherwise you’ll want to dab the foot and that can only end in tears. Keep your feet on the pegs!
DO’S:
- It is all about the early balance and momentum.
- Constant throttle. Smooth clutch action. Listen to your motor
- Be aware of your surroundings. Make sure the dirt or rock is grippy. Ensure you pick the best line picking.
DONTS:
- Rev your bike to the moon and then hit it.
- Panic. If your drive to start with isn’t good, stop and try again.
- Lean back. You’ll loop out fast. Ensure you’re over the front at all times.