While this might seem a simple task that can be performed by most people with their eyes closed, to someone not so tech savvy it can actually be a confronting job that, if not done correctly, could end very painfully or expensively.
1 HOIST IT UP
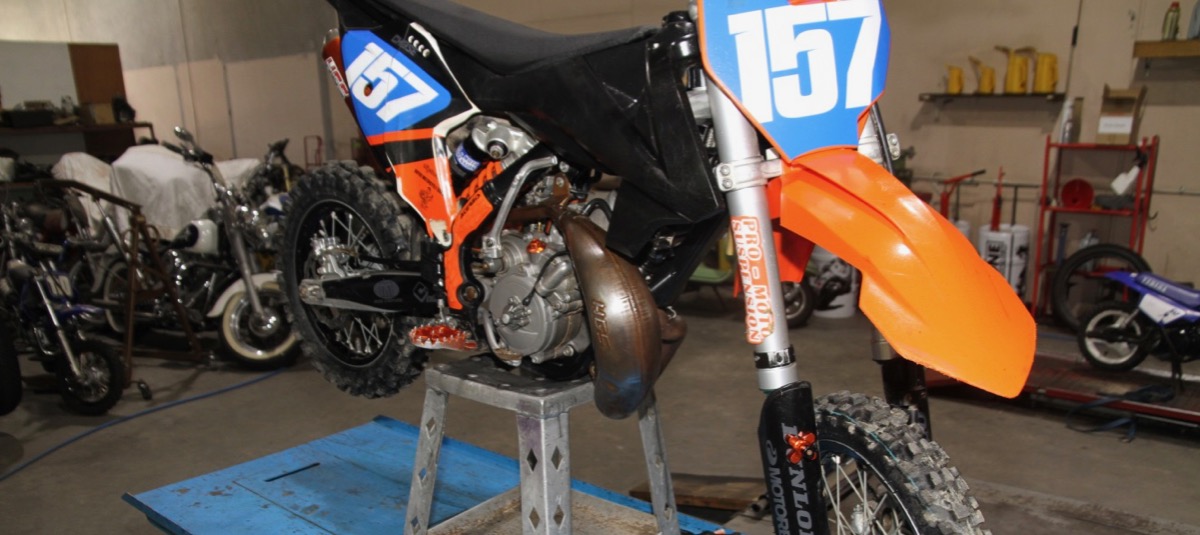
Put the bike up on a pitstand so the front wheel is off the ground. Put some weight on the back of the seat if necessary. If you have a bike hoist then use it so you aren’t bending down and working on the ground.
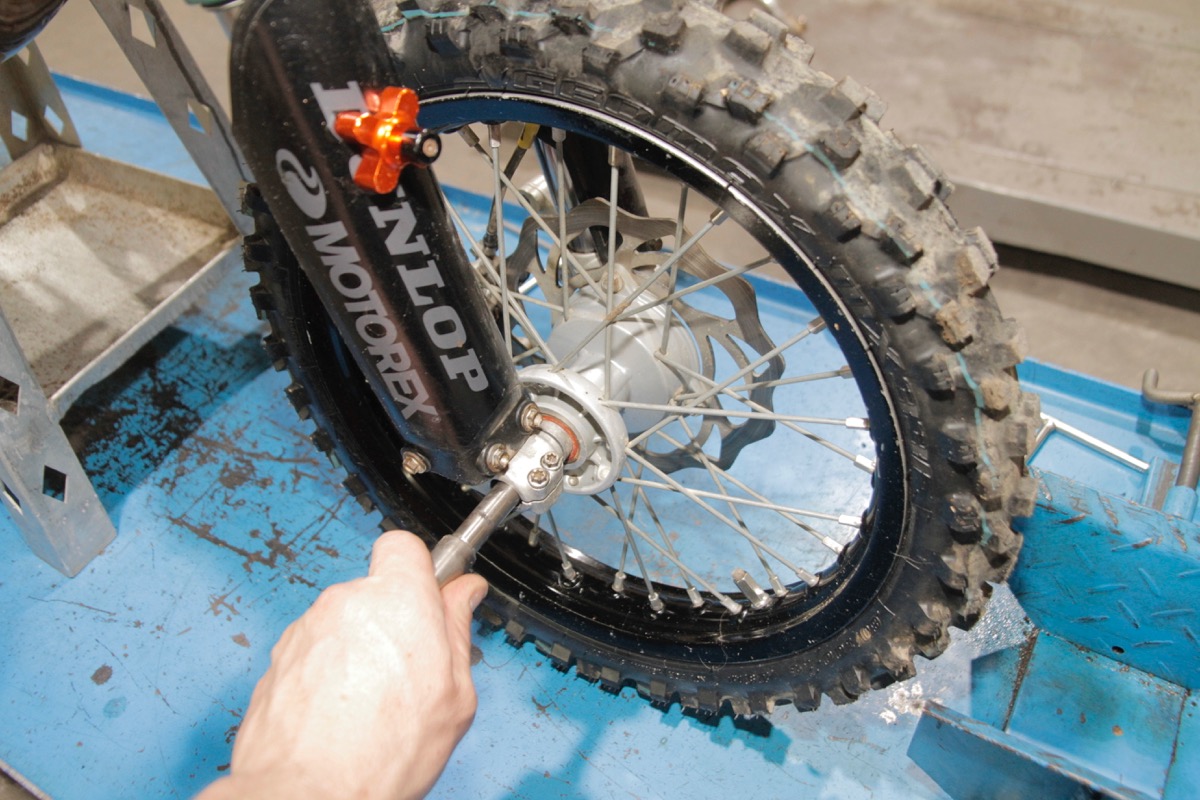
2 AXLE
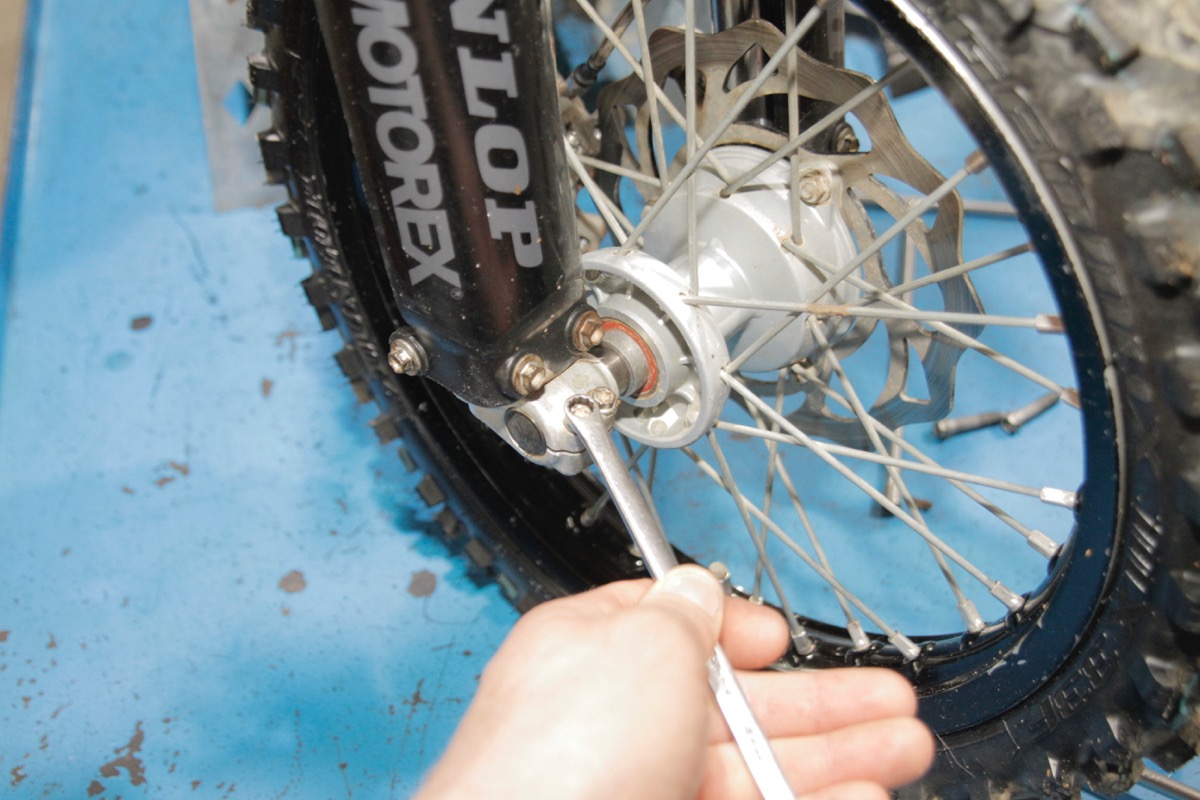
Undo and remove the axe nut and then loosen the pinch bolts holding the axle. If you loosen the pinch bolts first then the axle may just spin in the fork leg.
3 CALIPER
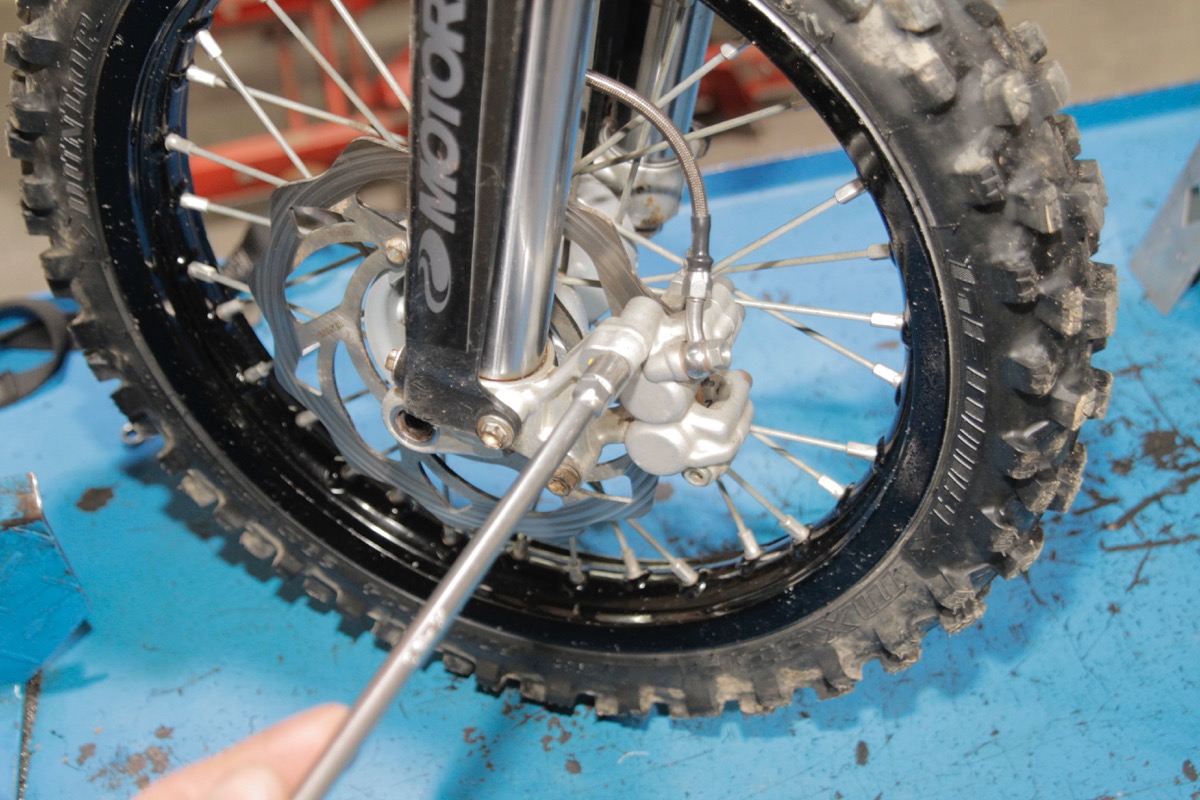
Now remove the brake caliper that is usually held in place by two bolts. Slide it away from the disc and let it hang out of the way.
4 TAP YOUR AXLE

Tap the axle out of the wheel and then remove the wheel and axle and set them aside.
5 GUARDS AWAY
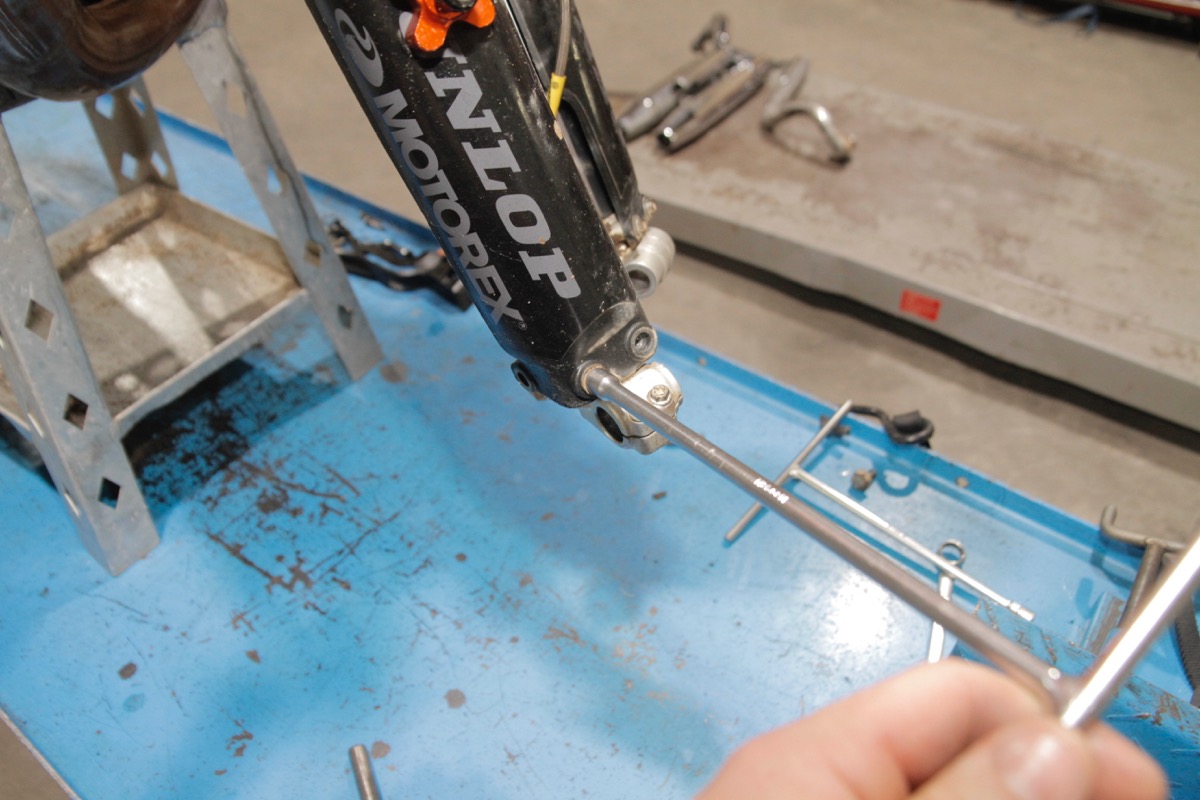
Remove the fork guards by undoing and removing the mounting bolts. You can leave the left hand fork guard attached to the brake line and leave it hanging out of the way while you work.
6 TRIPLE TREAT
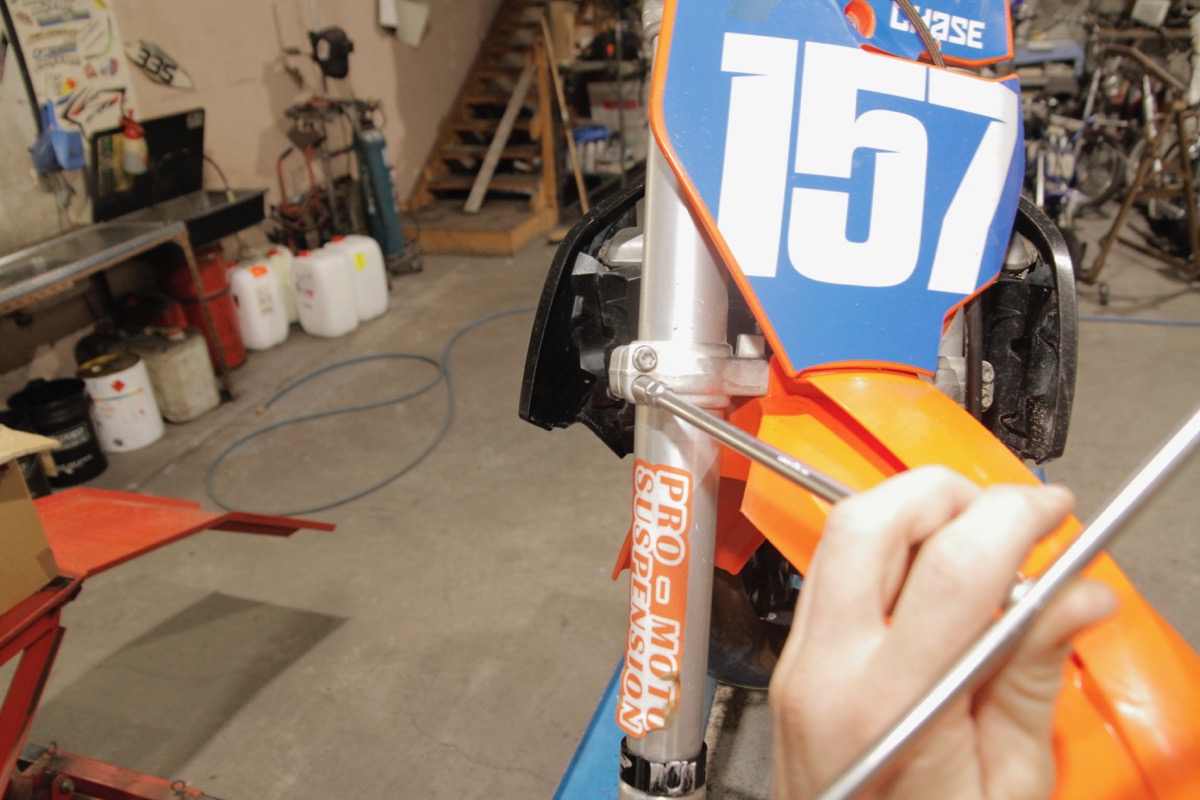
Loosen off all the pinch bolts in the triple-clamps holding the fork in place. You do not need to completely remove these bolts but they do need to be loosened right off so there is no compression forces on the fork tubes.
7 LOOSE LEGS

Grab a fork leg with both hands and rotate it to the left and right while pulling it down and away from the bike. The fork should slide out of the triple-clamps but if it doesn’t you may need to use screwdrivers to gently pry open the triple-clamps to get the fork tube loose.
8 CLEAN TUBES

Before refitting the fork give the legs a wipe with a clean rag and rub the inside of the triple-clamps. If the fork was difficult to remove then you may want to spray some silicone or WD40 inside the triple-clamps to make refitting easier.
9 EVEN STEVENS
Slide the fork legs back into place, positioning them so they are an even distance from the top of the triple-clamps. Some forks don’t have lines on the tubes for you to line up so you may need to use a ruler to get them sitting evenly.
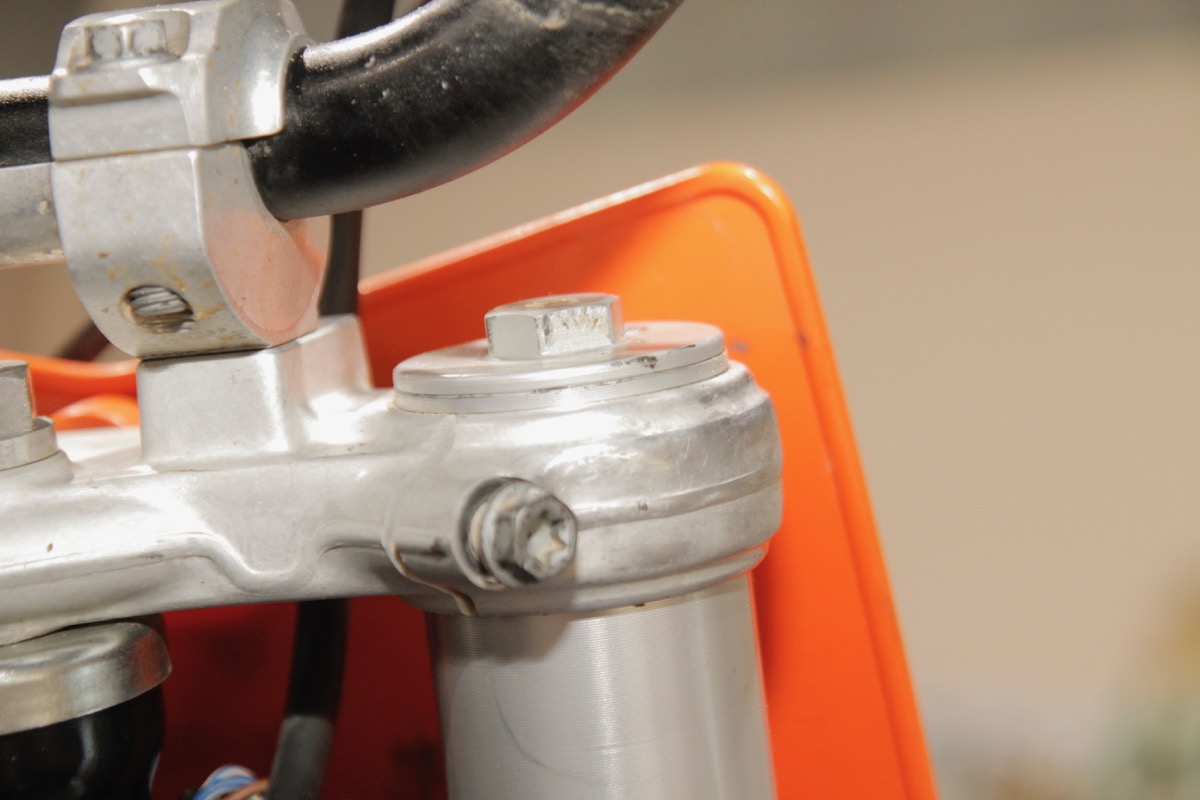
10 BOLT UPRIGHT

Tighten the triple-clamp pinch bolts using the manufacturer’s recommended torque settings. Over tightening of these bolts can lead to improper fork function.
11 NO STRIPPING

Refit the fork guards, being careful not to over tighten the mounting bolts as these fasteners can strip easily.
12 TIGHTEN NUT
Refit the front wheel and axle and tighten the axle nut according to the manufacturer’s specs.
13 REFIT CALIPER

Refit the brake caliper, take the bike off the stand and push the fork up and down a few times so that the axle aligns correctly before tightening the axle pinch bolts.
Technical Editor Mat Boyd
DIFFERENT FORKS FOR DIFFERENT FOLK
There are generally only two main types of fork; the conventional one and the upside-down style which is more common these days because of its greater stiffness and reduced friction.
The “right way up style” is a telescopic fork in which the lower tube, or slider, slides on the upper one. The upper tube is chromed while the stanchions are aluminium alloy. These forks were very popular in earlier years but have slowly been phased out. The upside-down style has the alloy outer tubes bolted in the triple-clamps and the lower, chrome legs fixed to the front axle and wheel via alloy lugs. This style of fork comes in many different styles but the two main ones are open-chamber, or cartridge, and closed/sealed-chamber. The sealed-cartridge fork has two chambers, an internal cartridge which houses the valving which creates damping and an outer chamber which houses a metal coil spring or air in the case of air forks. The open-chamber fork has only one chamber which houses the valving and spring.
TIPS
DO’S
1 Clean and grease the axle
before refitting.
2 Align the fork legs so that they are at exactly the same height.
3 Always follow the manufacturer’s recommended torque settings.
DON’TS
1 Over-tighten any fork bolts.
2 Don’t hit the front axle thread directly.
3 Don’t force any parts into position.
BEWARE
Over-tightening the triple-clamp bolts can lead to the internals binding, which will cause damage as well as reducing the effectiveness of the fork’s damping.