HOW TO LACE A NEW WHEEL
We visited McWatters Competition Development in Penrith, NSW to show you how to lace up a new wheel and get rolling again.
Step-by-step:
1. Remove the wheel
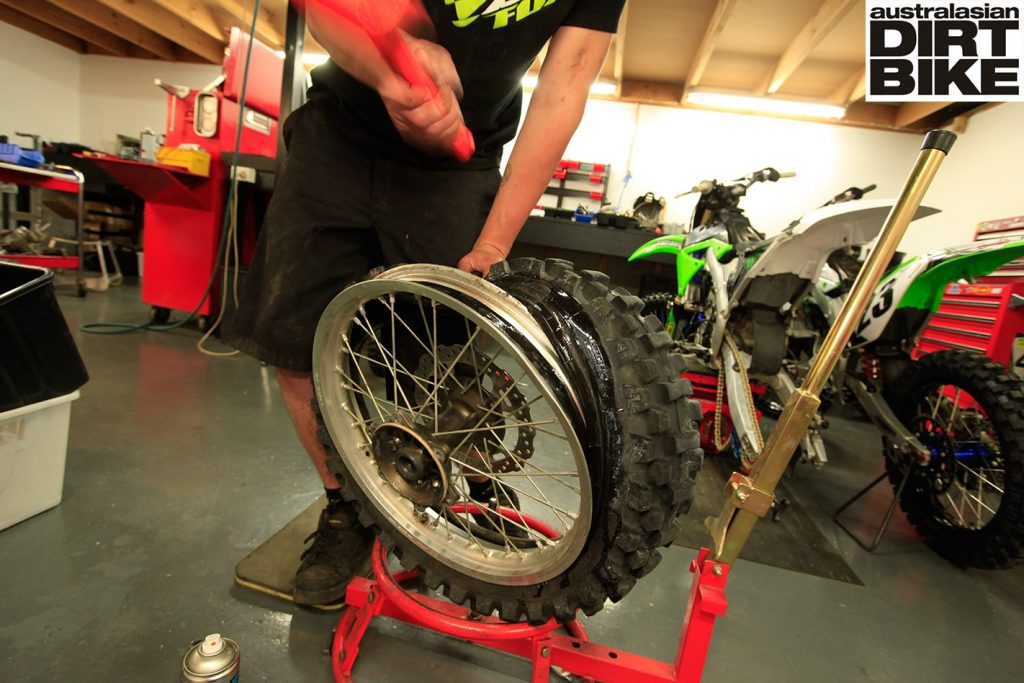
The first job is to remove your wheel from the bike, followed by the tyre, tube, rim lock and rim tape from the rim. Here we’re replacing a set of dented stock Kawasaki rims with a set of slick new black ones for a more updated look. While we could’ve repaired the dents and anodized the rim black we wouldn’t have saved much money.
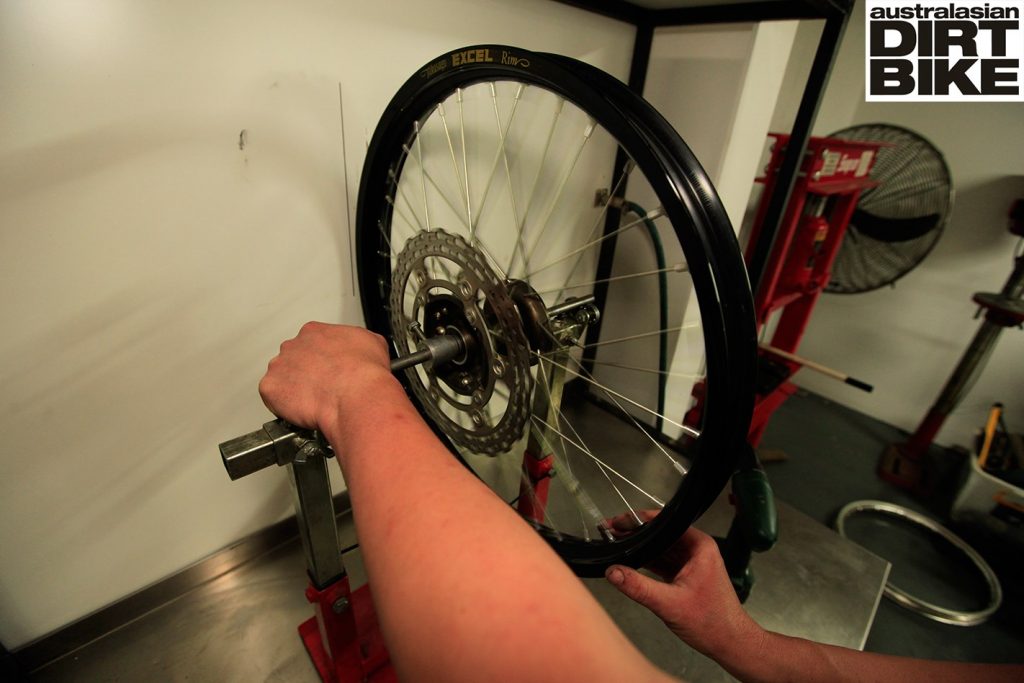
2. Clamp the axle
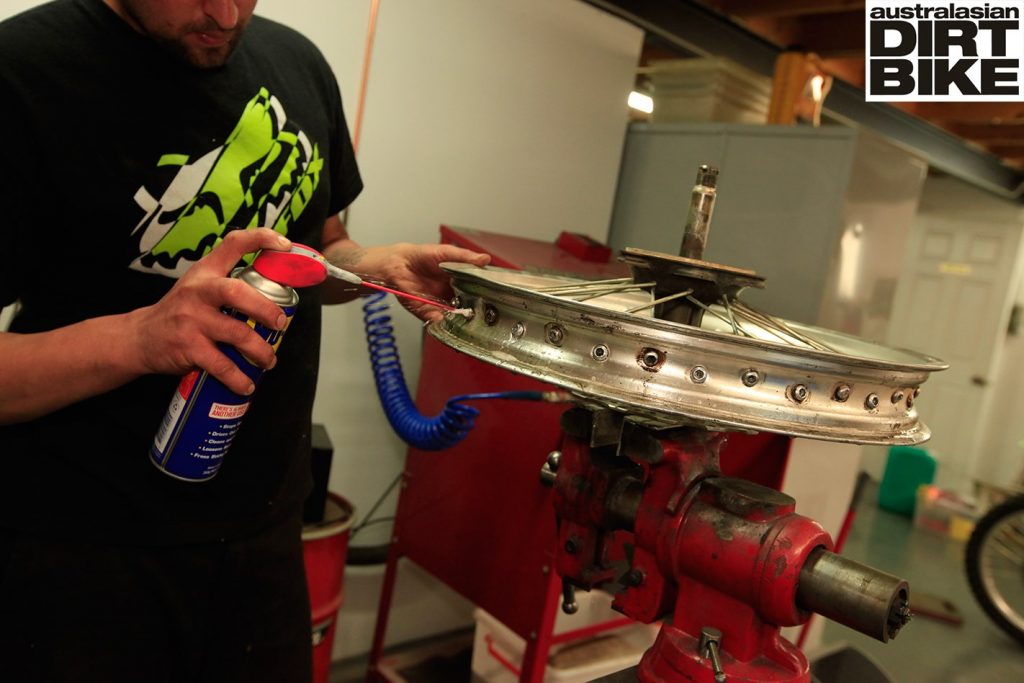
Clamp the wheel axle in a vice with soft aluminium plates and slip your wheel over the top. Next, grab a can of penetrating oil (preferably with a long nozzle attachment) and spray into the end of each spoke. Over time moisture and grit can work its way into your spoke nipples and cause them to seize up.
3. Undo each spoke
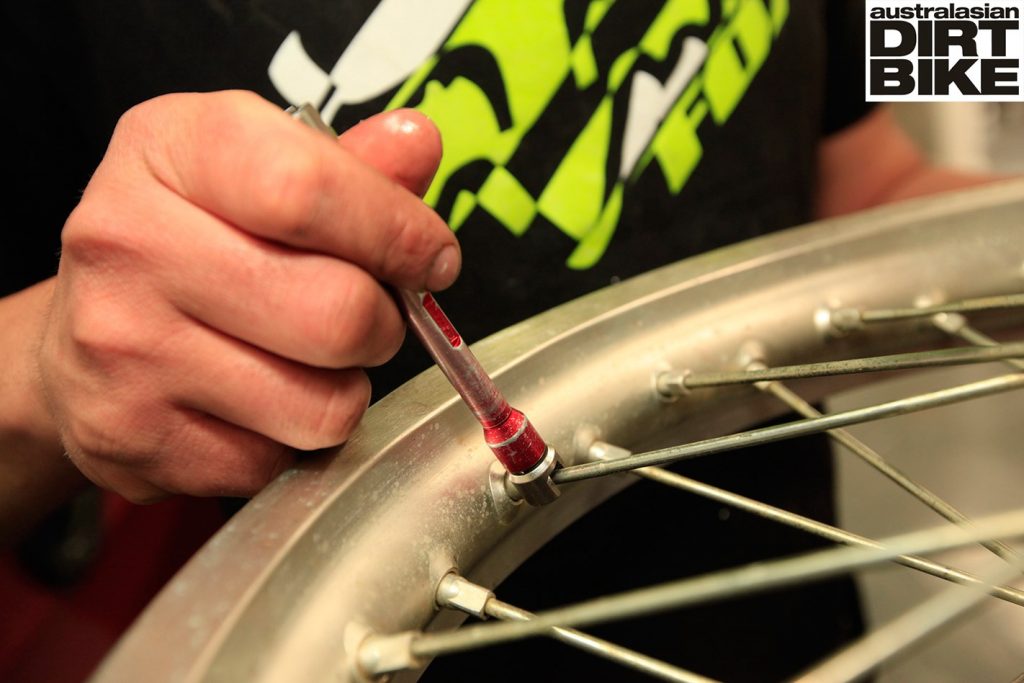
You can damage your rims or break spokes by completely undoing spokes while the others are still at full tension. Using the appropriate sized spoke wrench for your spokes, work around the wheel undoing each spoke nipple just enough to loosen it. Once you’ve released the pressure on each spoke, go around again and remove each nipple.
4. Lift off the old rim
If your spokes are still in great conditions it’s just a matter of lifting off the old rim and slipping over the new one without removing the spokes from the hub. Each spoke should still be crossed over the others correctly and pointing in the right direction for you to feed into the holes in the new rim.
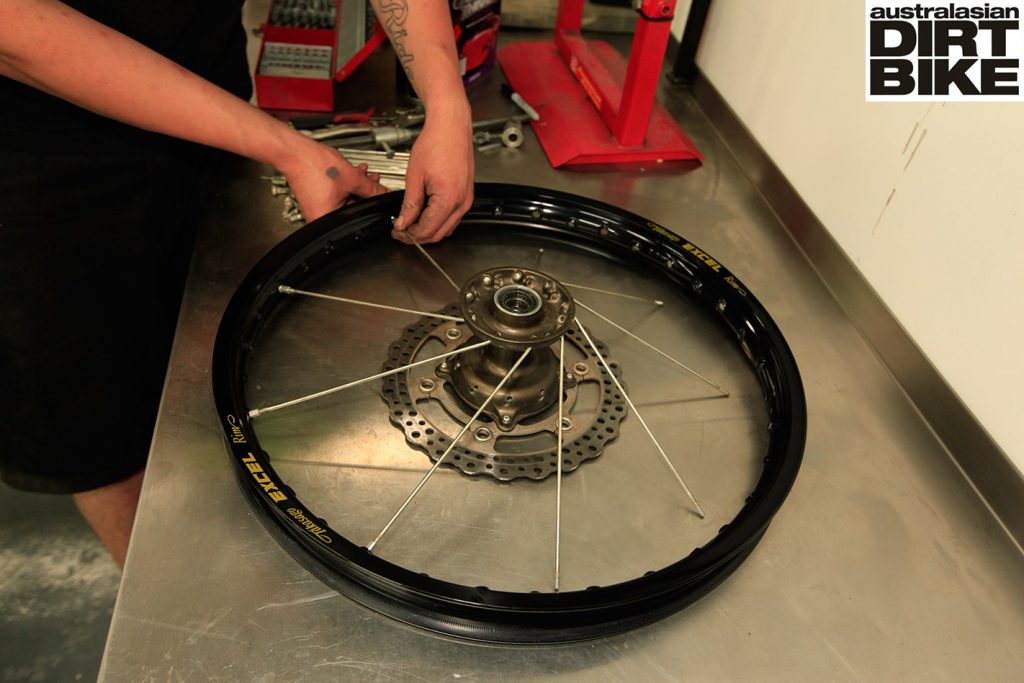
5. Rebuild
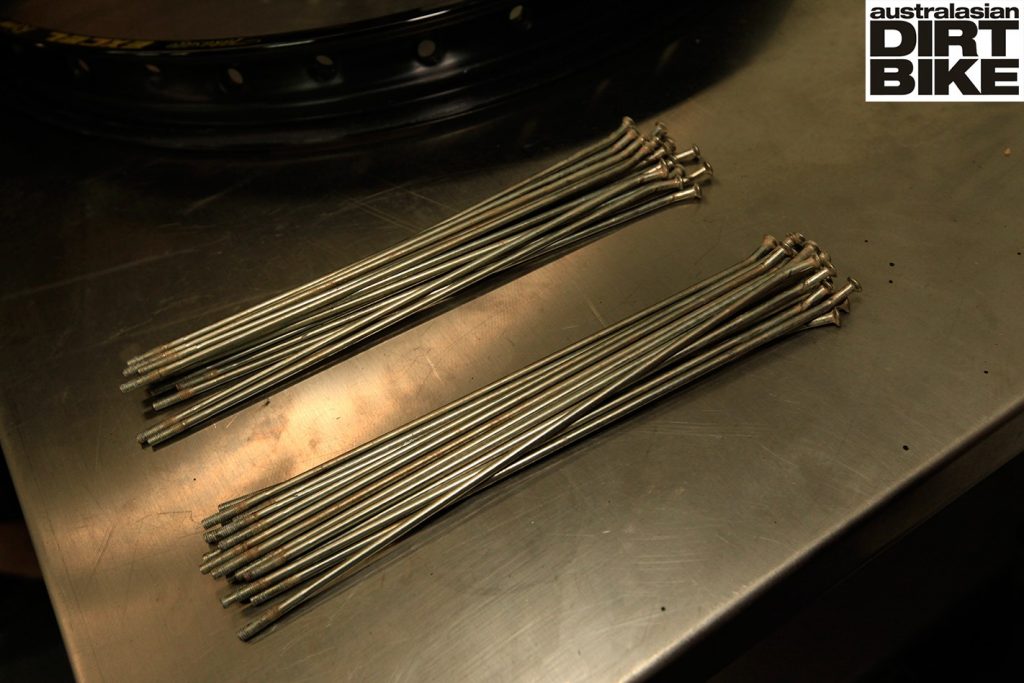
If your hub or spokes also need replacing, transfer to a clean work bench and sit the hub inside the rim. If you’re building a rear wheel, separate your inside and outside spokes (they have a different bend angle) into two piles. If your rim is offset in the hub, so long as you’ve selected the correct spokes they should be the right length to position the rim in the right place when all threaded up exactly the same.
6. Outside spokes
Feed outside bend spokes through the top row of holes in the hub and work around the rim securing each in place four holes along from the last spoke. Flip the wheel over and repeat step six, again with “outside” bend spokes.
7. Inside spokes
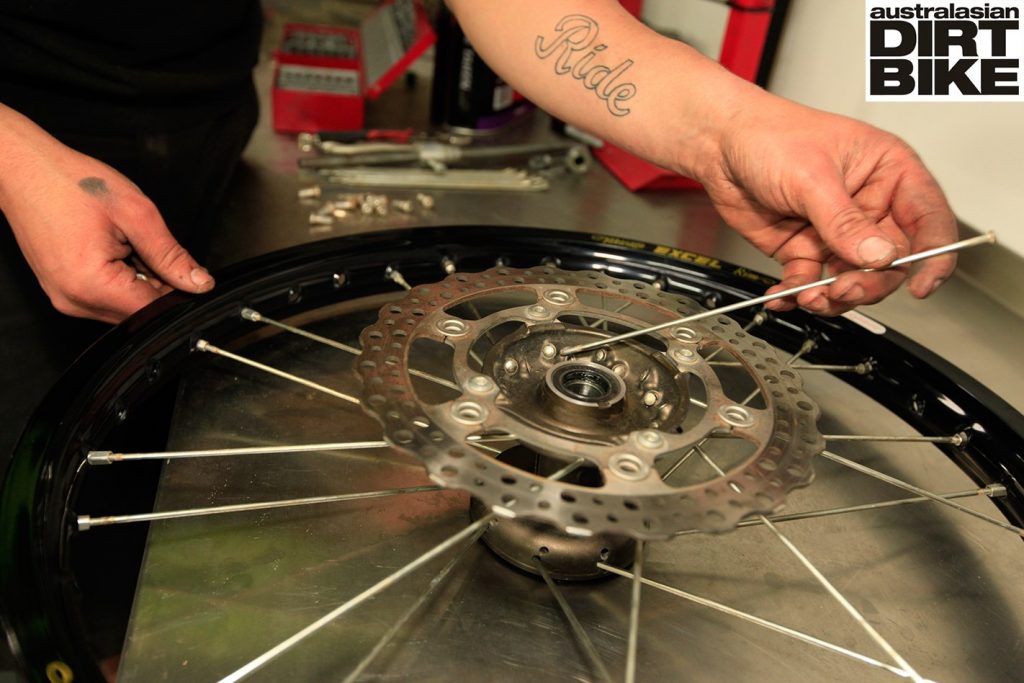
It’s now time to feed through the inside bend spokes. Notice how the holes are set slightly lower in the hubs – this is so each inside spoke can
cross underneath its neighbouring outside spoke as it goes in the opposite direction to its home in the rim.
8. Tightening
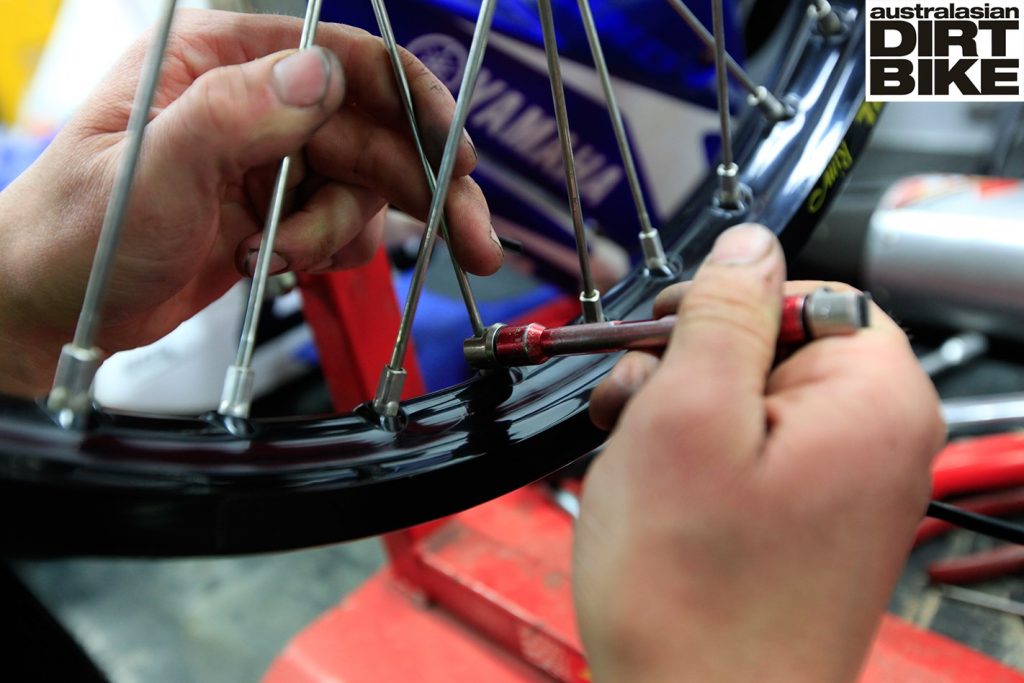
Tighten each spoke nipple up until only two threads on the spoke remain and then go around again until the spoke nipples just cover the thread. From here its time to get your wheel into a wheel truing stand and begin tightening each spoke further until all of them are up to the correct tension.
9. Straighten
Draw a line on the wall in front of your truing stand to gauge with your eye any wobble in the wheel as it spins. At the point where the wheel pulls away from your line, tighten the spokes on the side closest to the line to bring into line. You can also use a cable tie fastened around the frame of the truing stand with the end close to the rim to gauge any irregular movement.
Tips on what to do:
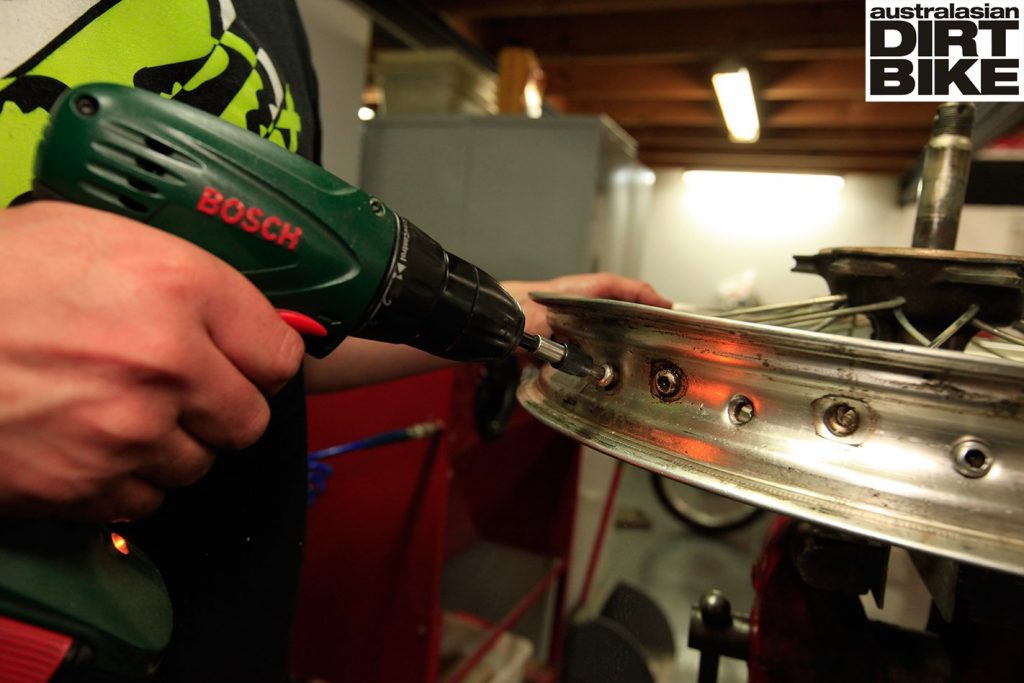
• You can save yourself a heap of time by using a drill with a hex head attachment to quickly spin off and on each spoke nipple.
• If you encounter a few spokes nipples that still refuse to budge, secure a set of alligator clamp pliers close to the nipple to stop the spoke rotating as you undo the nipple.
• Before loosening spokes in the original wheel, place the wheel on the bench and carefully measure the distance from the bench top to the edge of the rim on both sides. If the two measurements are different it means your rim is offset in relation to the hub. While lacing your wheel you must ensure this offset is restored.
Tips on what not to do:
• Don’t attempt this if you’re not confident. Getting your wheels right can be frustrating. An experienced wheel builder or mechanic can save you the hassle for as little as $50 per wheel.
• Don’t put your spoke nipples on without lubricating with anti-seize grease or, at the very least a penetrating oil.
• Don’t reuse old, bent or corroded spokes. They’ll be more likely to break and quicker to seize in the nipple and more difficult to keep correctly tensioned.