The rear brake is a very handy tool in the bush – here’s how to use yours
How to: Full Stop
Step-by-step:
1. Spin it
You probably first did this basic trick on your BMX bike as a kid, but using the rear brake and momentum to turn the bike in a short space can be handy. Simply begin the turn, then pull in the clutch and lock the rear brake. The momentum will help the bike to slide 180 degrees if you do it right.
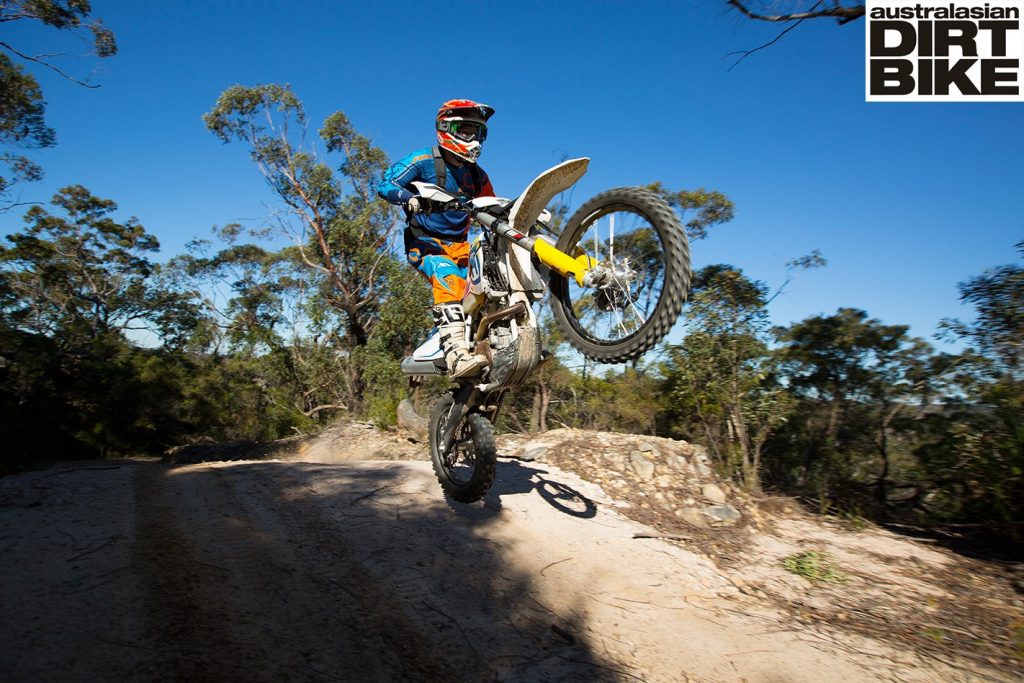
2. Drop the front
Has a wheelie gone too high? Are you part way up a hill, and the front is rising to the occasion a little too enthusiastically? Dab the rear brake. The result is a front wheel heading back to terra firma. Just be sure to feather the clutch at the same time, or the bike will stall.
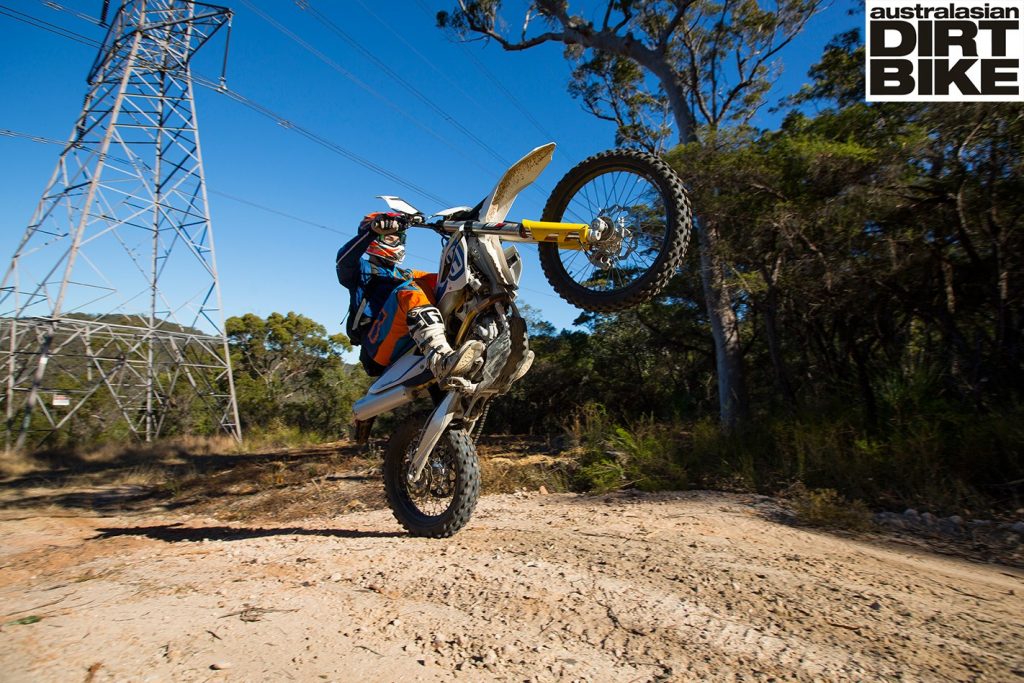
3. Levelled up
There’s nothing like leaving an erosion bank jump with the front wheel pointing at the koalas to get the heart pumping! If this happens to you, do what the Supercross guys do: pull the clutch in and jam on the rear brake. The effect of stopping the rear wheel will stop the front from rising, and even dip it a little. This is a great skill to have if fire trails are your thing.
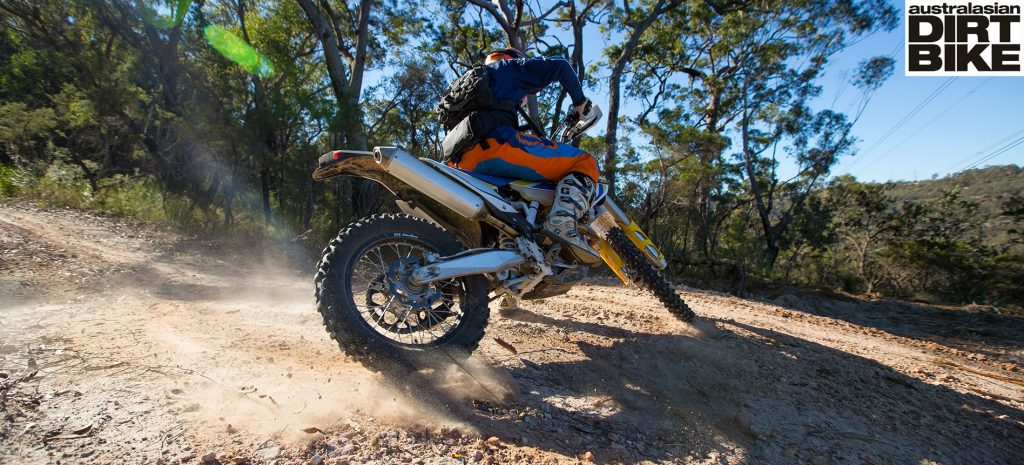
4. Hill climbing
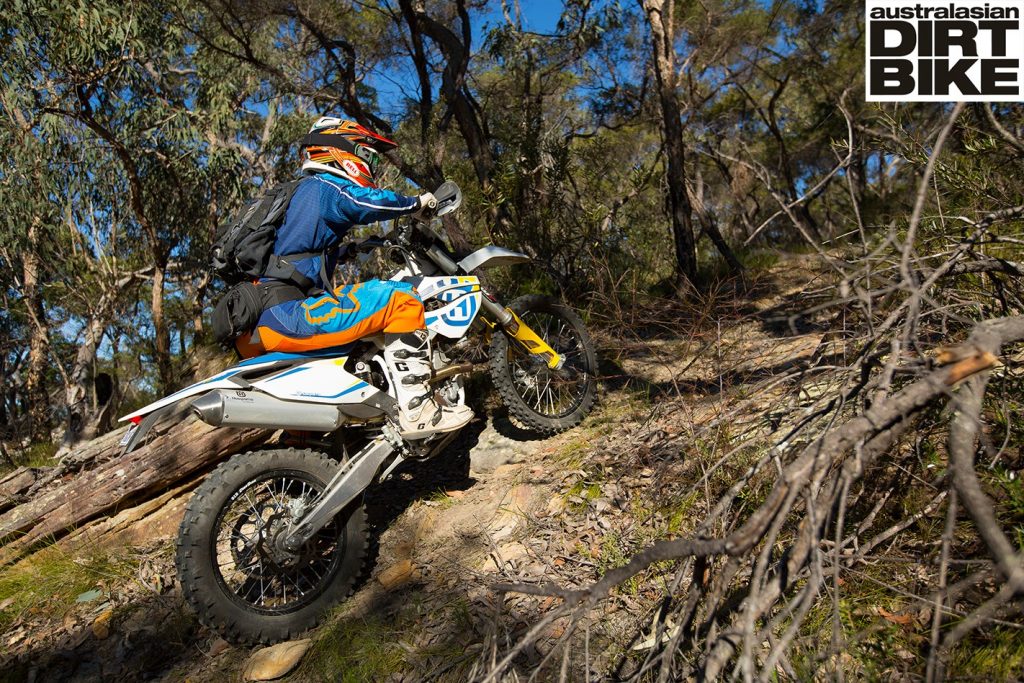
Stuck halfway up a hill? Then do what you learned when getting your car licence – a handbrake hill start. Trying to stay still with the front brake will just result in you sliding backwards down the hill, as all the weight goes off the front wheel with gravity. Instead, use the rear brake, applying it gently to prevent a backflip. Release it as you feed in throttle and clutch to smoothly re-commence ascending.
5. Not for stopping
When it comes to stopping hard, the rear brake is generally all but useless. The weight shifts forward as the brakes are applied, which will just lock the rear wheel if you use it too firmly – extending your stopping distance. The front brake is the stopping brake in most situations. The rear brake is for manoeuvring and the previous steps, not for stopping quickly.
DOs
• Think of your back brake as a manoeuvring tool, rather than a stopping tool
• Practice to get a good feel for how it affects the bike in the different steps
• Remember it’s momentum that will spin the bike in Step 1, not the speed you are travelling
• In Step 4, if you are sliding backwards quickly, ease the rear brake on gently or you could be ejected!
DONTs
• Put up with an improperly adjusted rear brake – take the time to adjust it to allow its use without awkwardness and extra effort.
• Consider a Brake Snake or similar to keep it functional in the event of hitting a rock.
• Miss the rear brake pedal when practicing Step 3 – it can be scary!
• Rely on the rear brake for stopping – in general, it’s the front brake that provides the bulk of the stopping power.
TIPS
• Another rear brake trait is the ability to hold a bike in ruts – apply the rear brake as you enter the rut, and it can help you stay in there, rather than high-siding out of it.
• A spare set of rear brake pads used to be a must for the bumbag, in case a rain burst flogged them out. Brake pads are a lot better these days, but keep your eye on them – a severely gouged rear disc is not a good look and expensive to replace.
• It doesn’t take much to boil the brake fluid in the rear line if you use it a lot on the trail – it also doesn’t take long to bleed some new fluid in there!