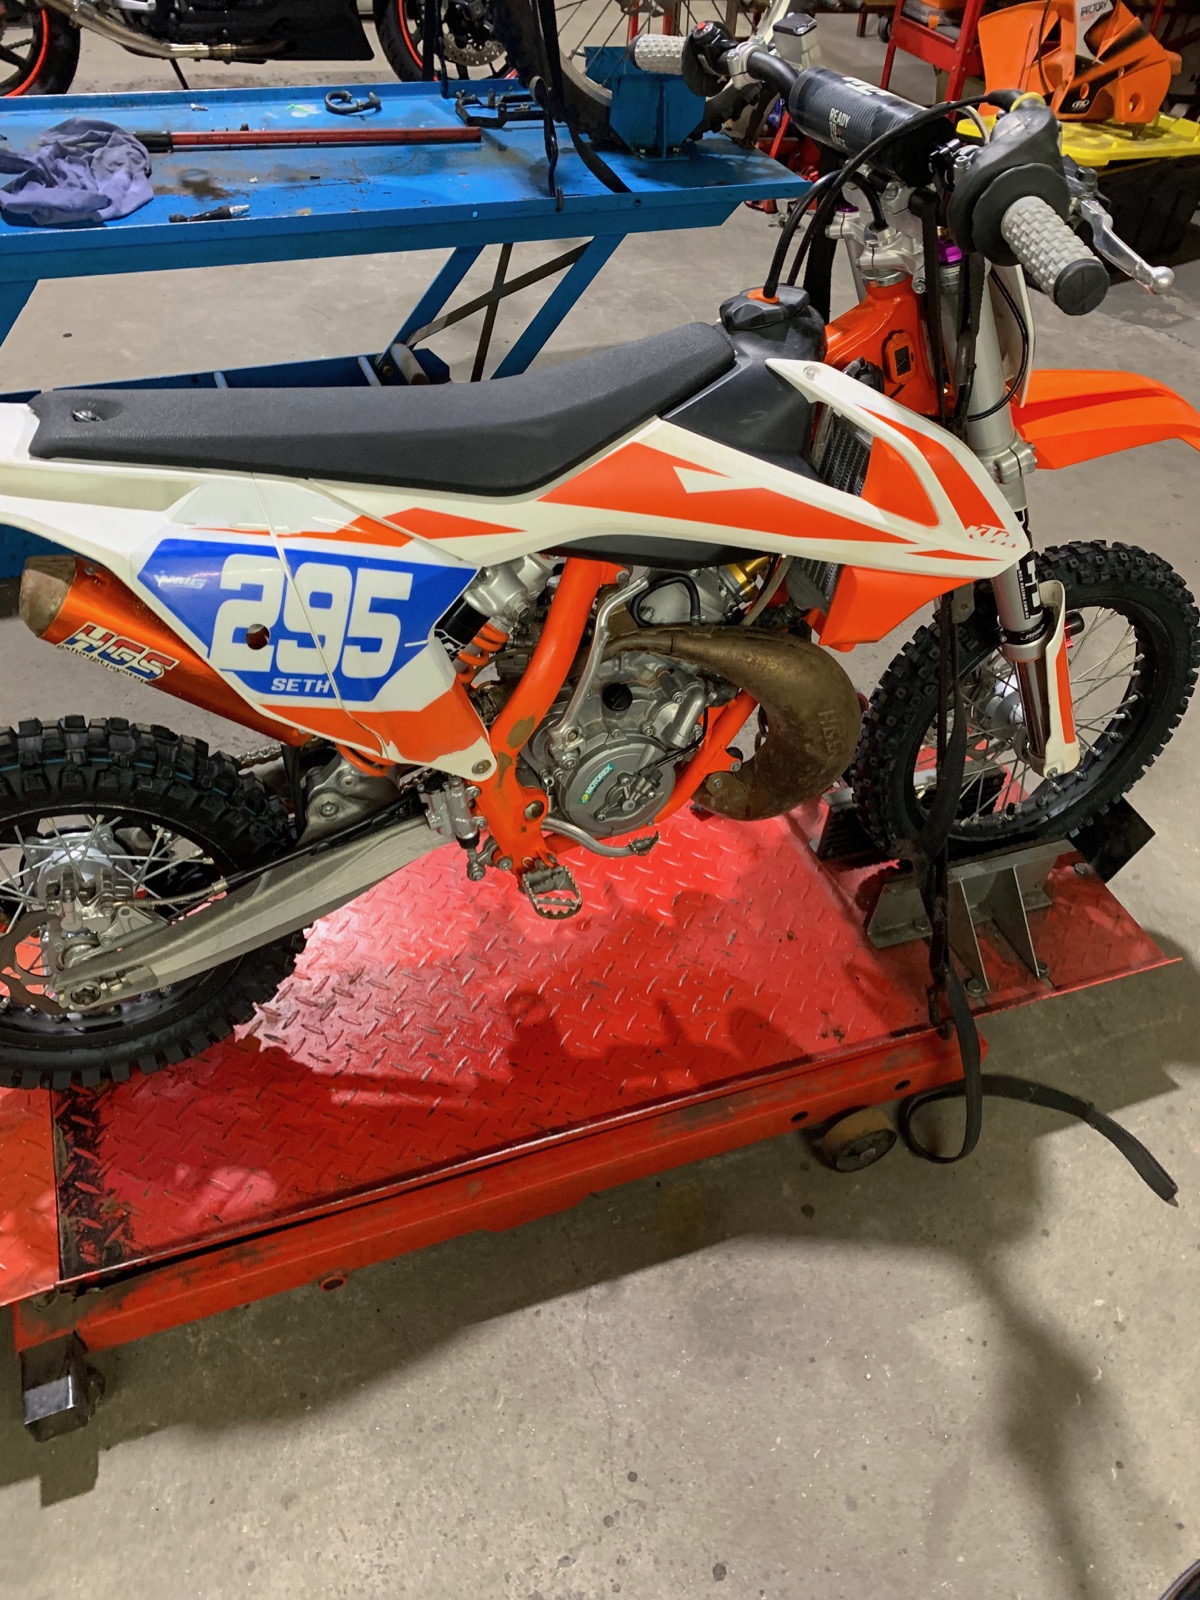
Being that the KTM 65 SX can have hard-charging groms on their backs who are tough on clutches and cause them to wear out much more frequently than they do on full-size bikes. For this reason I have decided to give you guys [parents, of course] the run down
on how to change a clutch on one of these little weapons.
1 STRAP IT DOWN
Strap the bike to a hoist or sit it on a sturdy pitstand so you can work on it without it rocking or falling over. I prefer to use a bike hoist so I’m not bending over for too long.
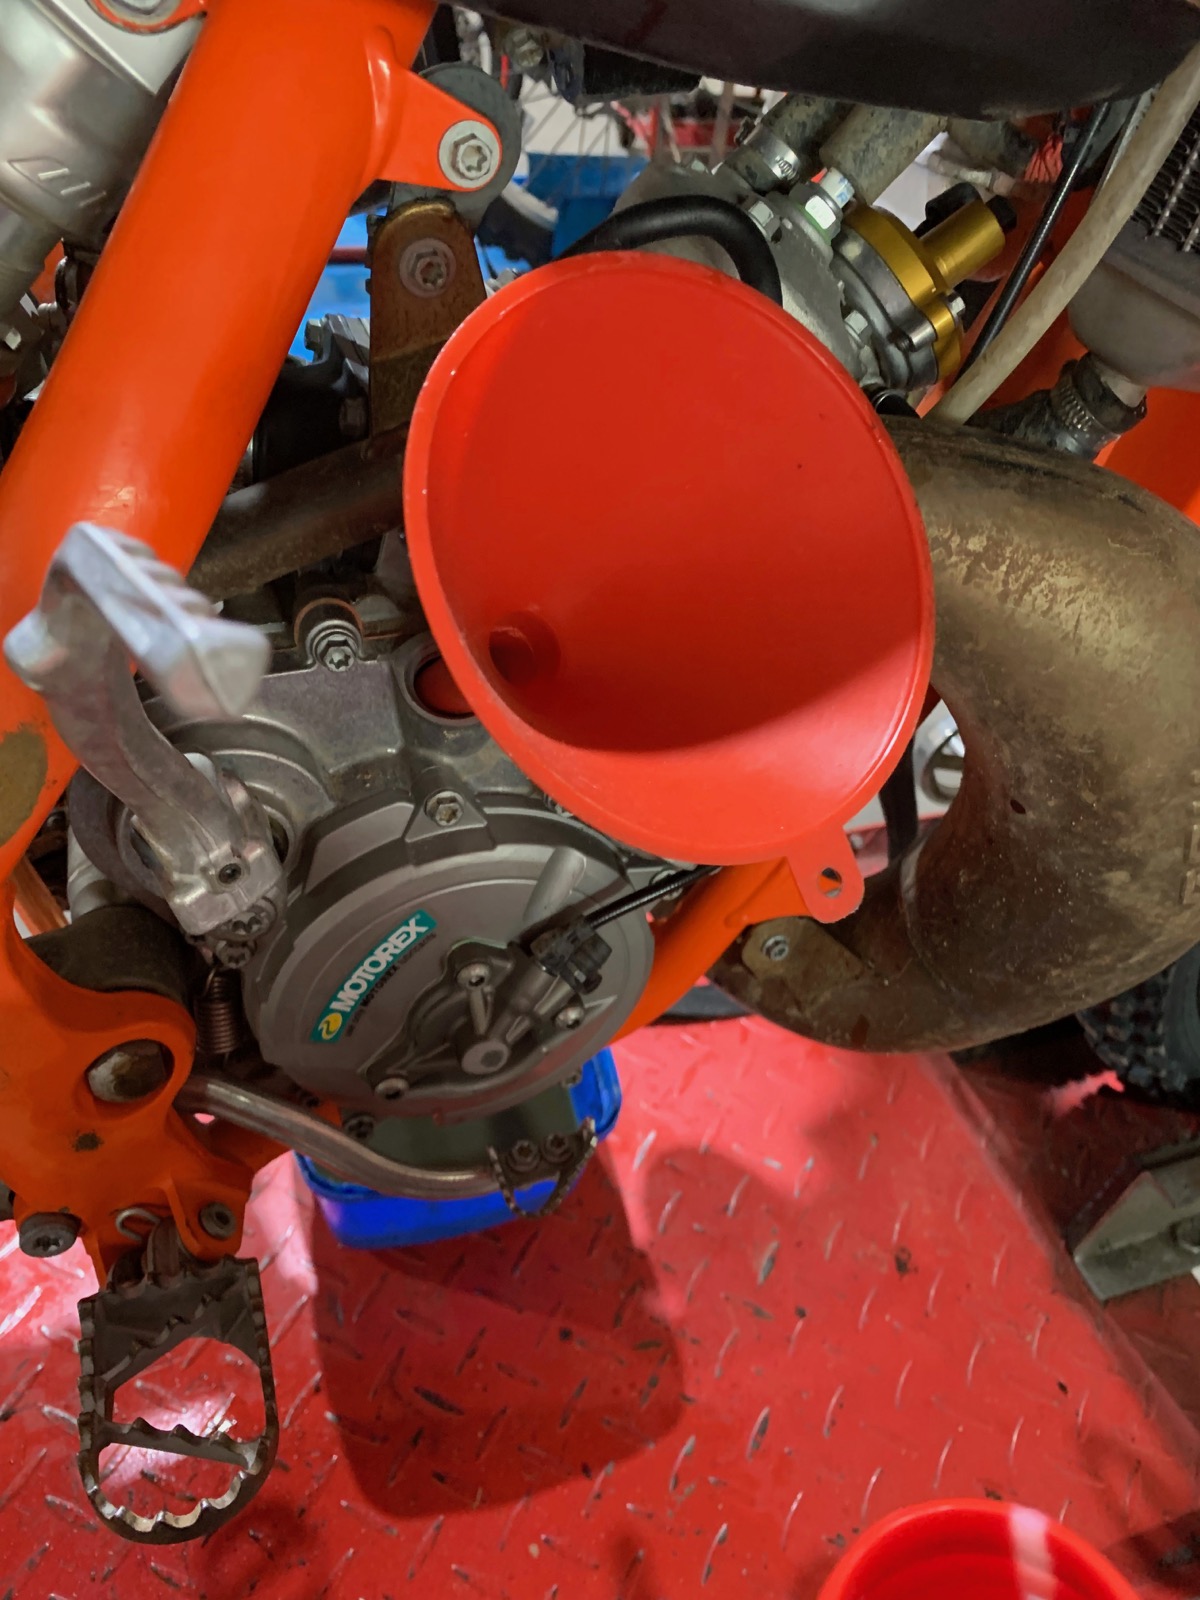
2 DRAIN THE OIL
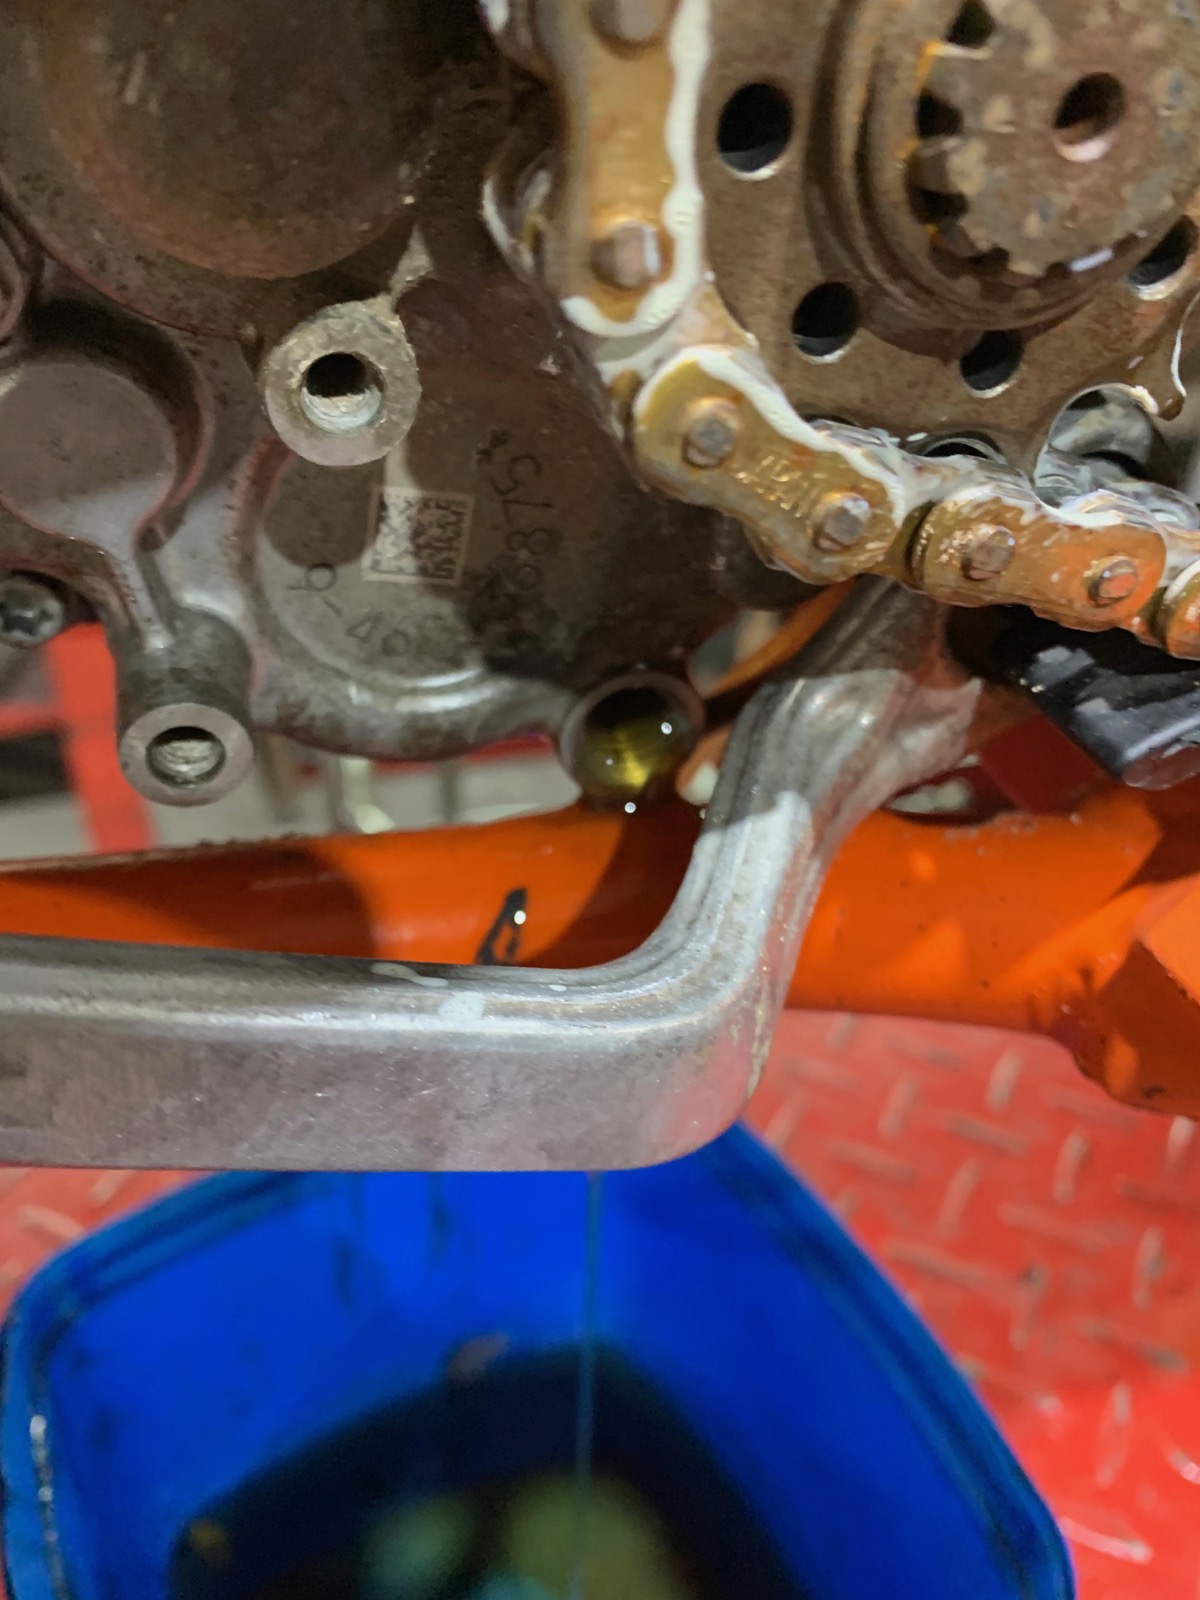
Remove the drain plug and dump the oil from the engine. I find it easiest to reach the drain plug by slightly loosening the gearlever.
3 OUT SLAVE
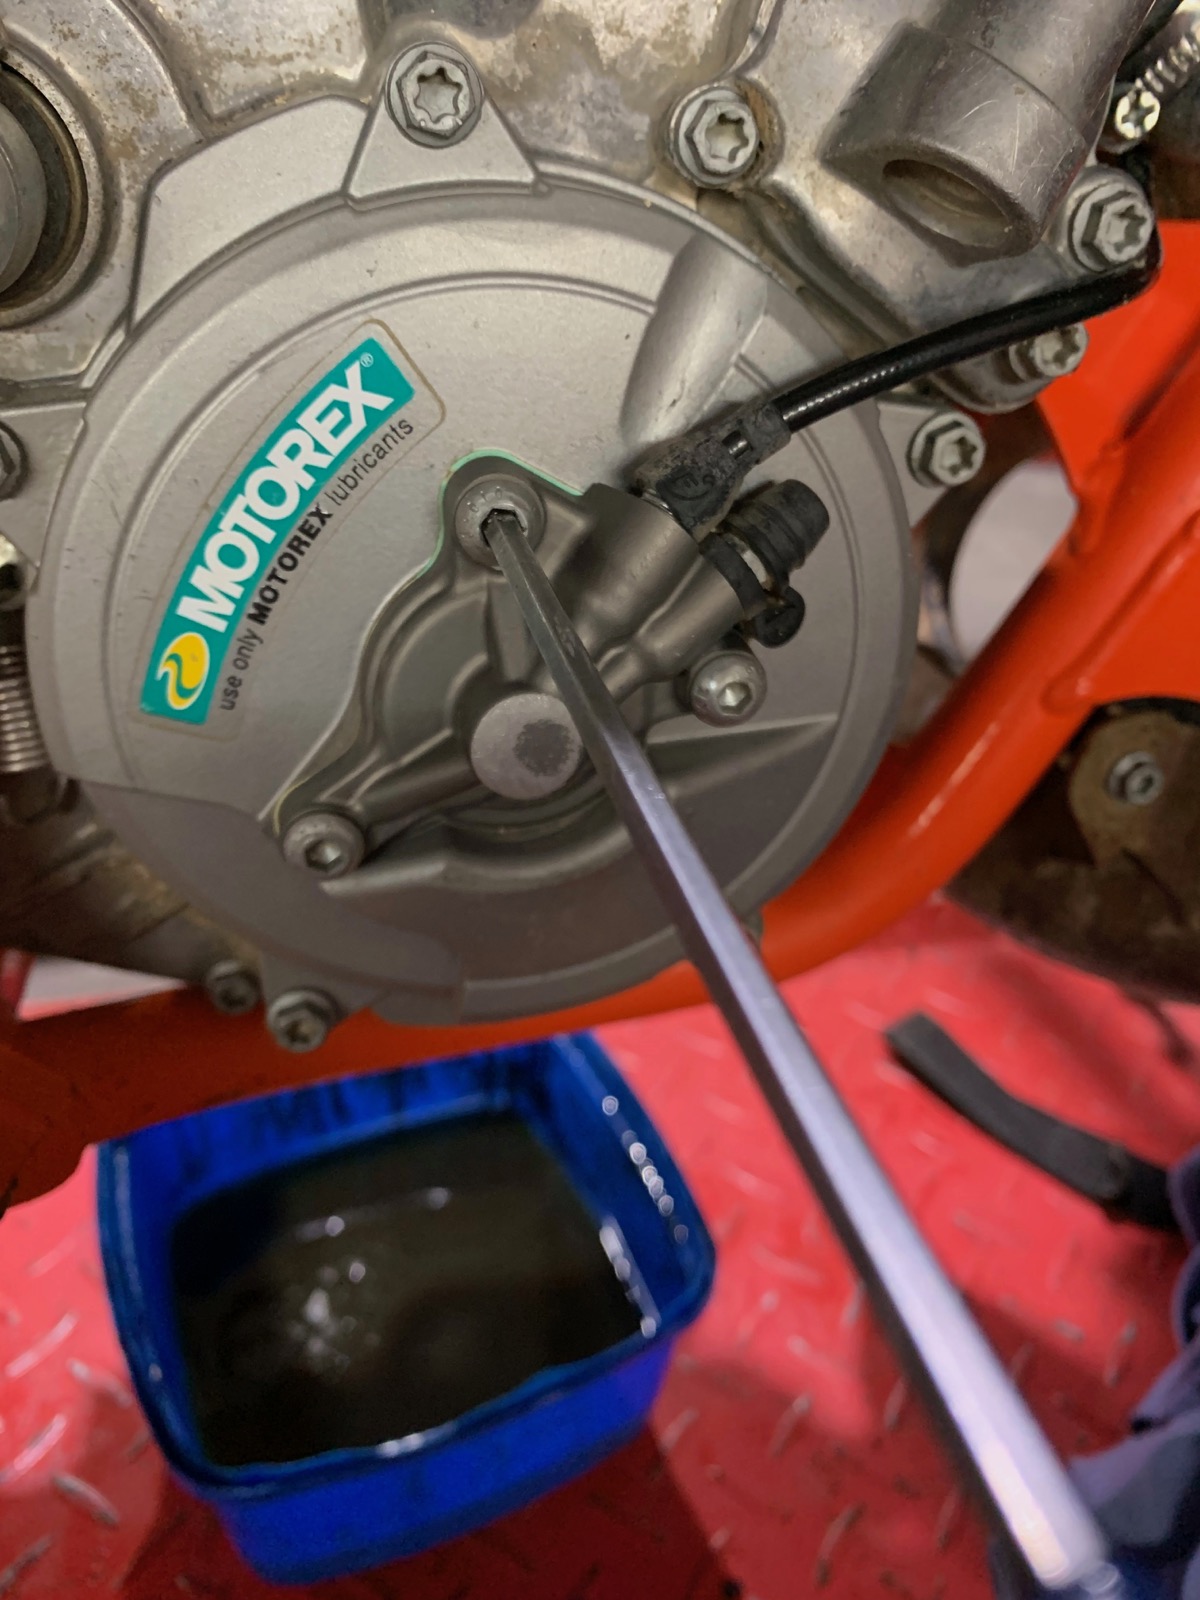
Once you have drained the oil, remove the brake pedal and clutch slave cylinder from the clutch cover by removing the three Allen-head bolts holding it in place. You do not need to remove the hydraulic line; leave it connected and just hang the slave cylinder to one side.
4 REMOVE COVER
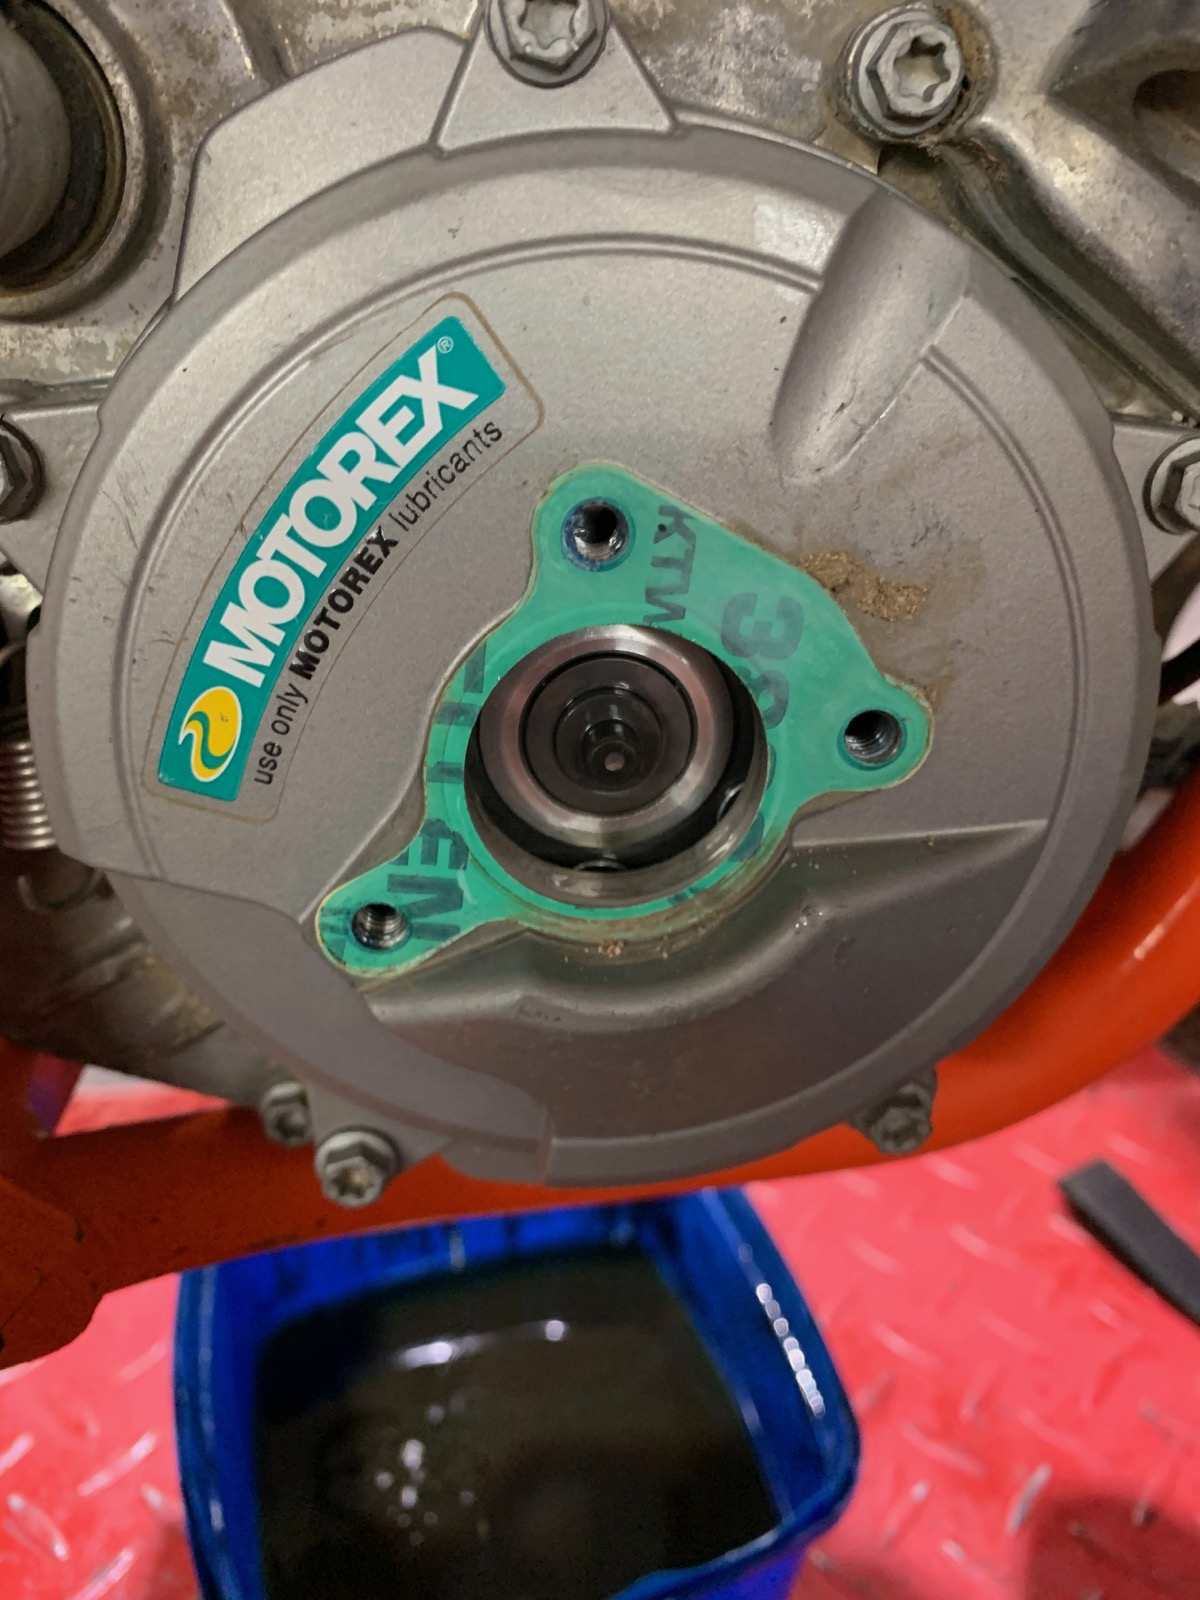
Remove the clutch cover by removing the 8mm bolts holding it in place. Once it’s off, give it a clean and set it aside.
5 WHO’S BOSS
Remove the clutch actuator boss from the centre of the clutch, inspect it for damage and then set it aside.
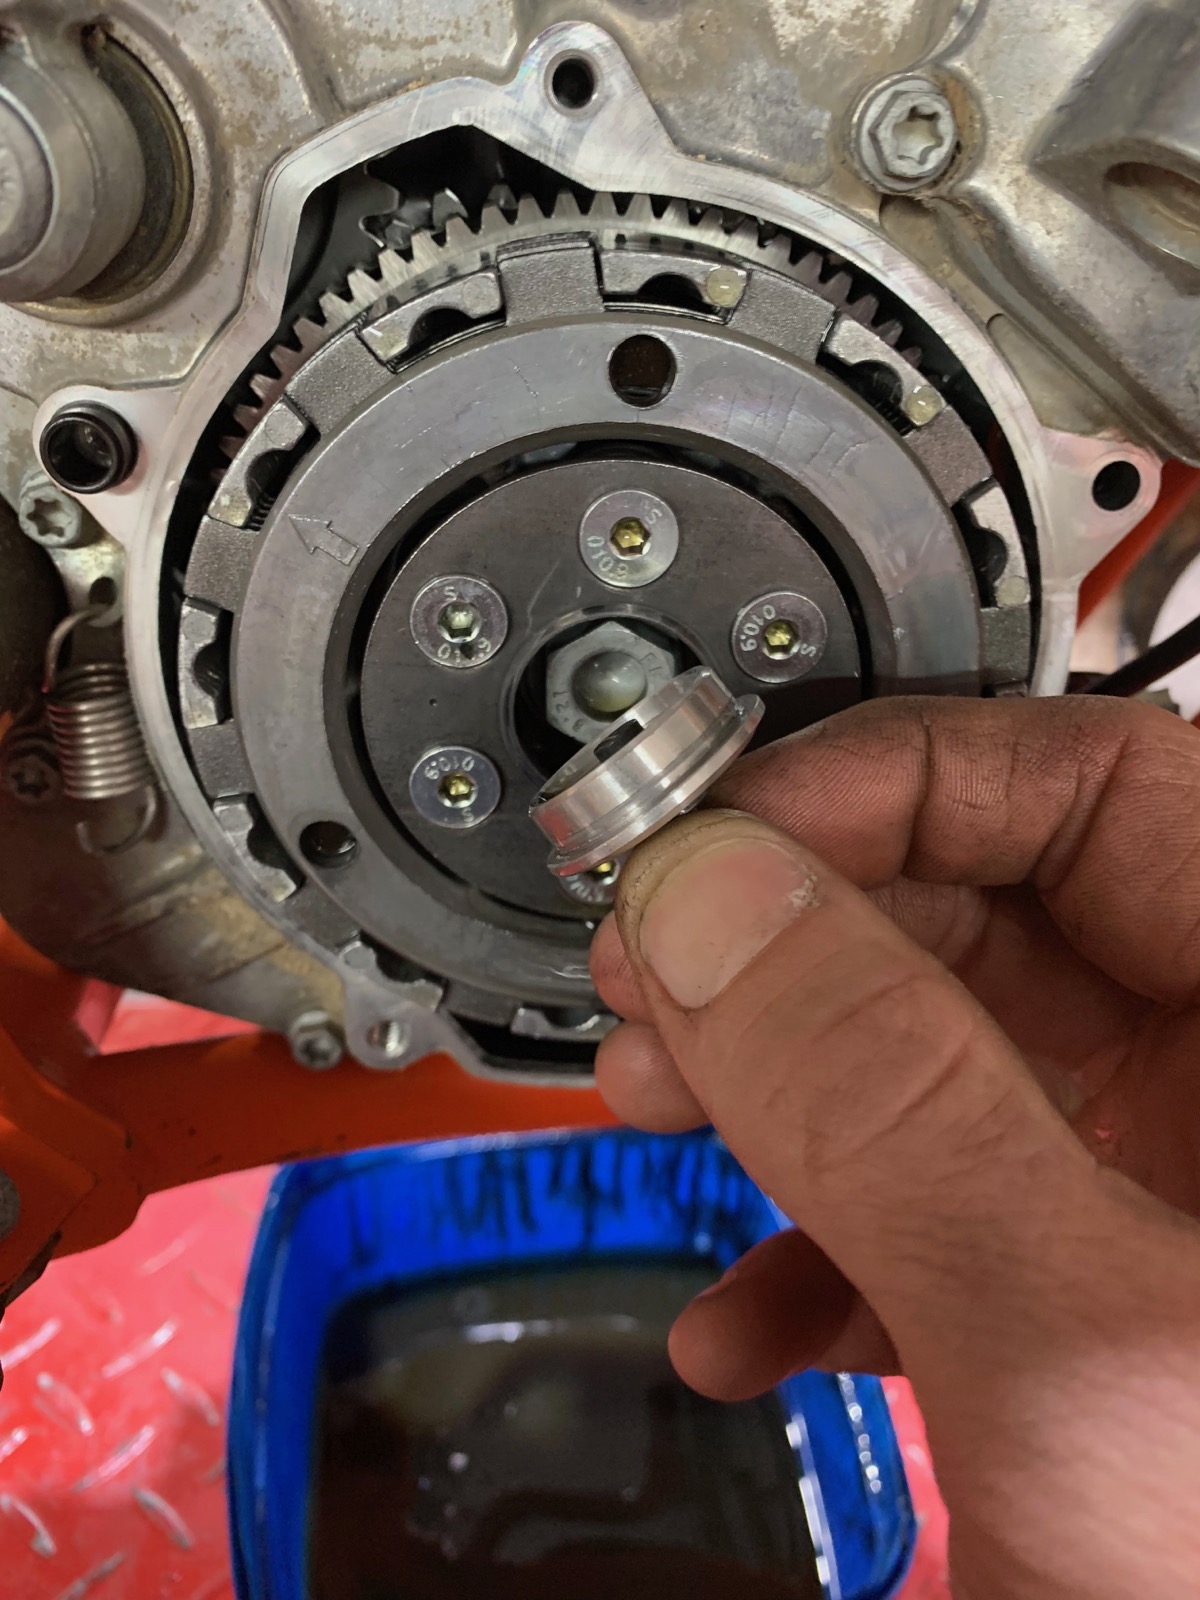
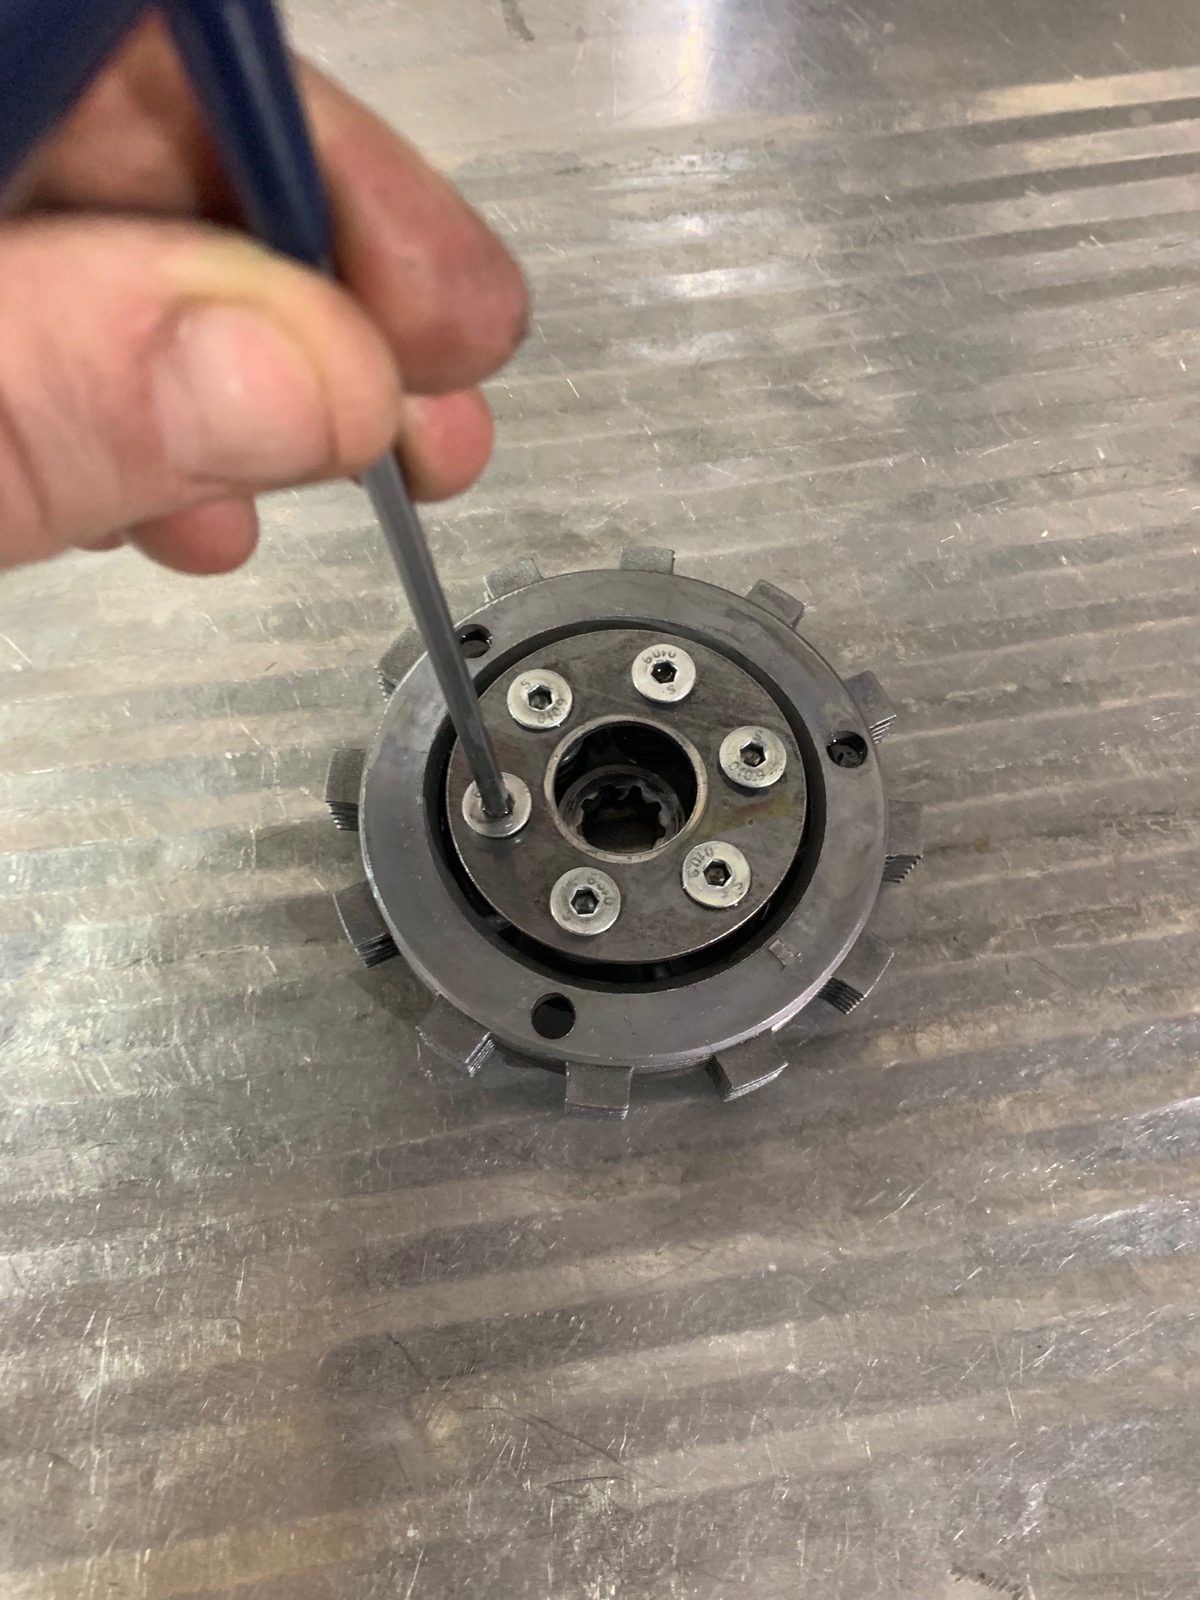
6 HOLD THE NUT

Loosen the Allen-head bolts but do not completely remove them. To loosen them hold the clutch centre nut with a socket and then loosen the pressure-plate bolts.
7 REMOVE IT
Now undo the centre nut, remove the centre clutch assembly and sit it on a clean area of your workbench.
8 DISCARD PLATES
Now remove the pressure-plate Allen-heads and disassemble the clutch pack. Discard the old clutch plates and springs but keep the bolts as you will need to reuse these.
9 HAVE A SOAK
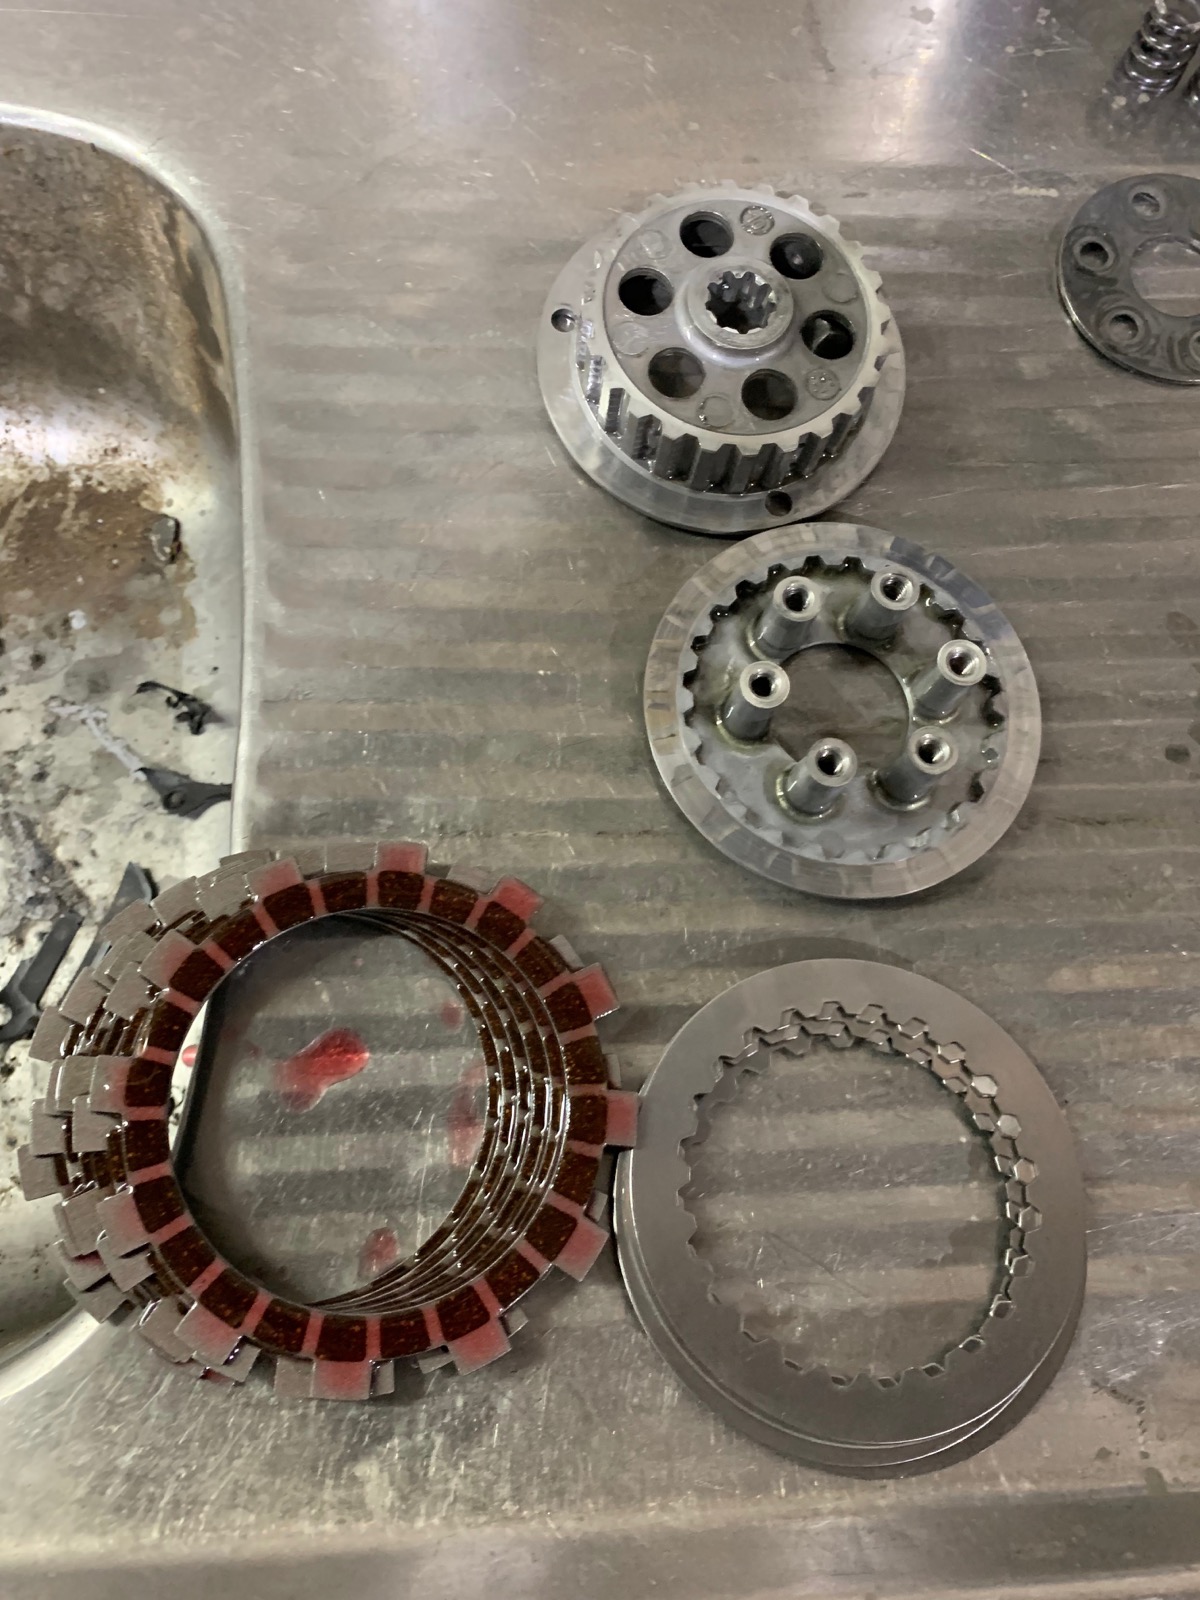
Soak the new clutch plates in oil for at least 15 minutes before installing and then reassemble the centre clutch assembly with the new plates and springs by alternating between fibre plates and steel ones, starting and finishing with a fibre plate. Make sure to leave the pressure plate bolts finger tight until installed.
10 INSTALL THE PACK
Re-install the centre clutch assembly. You will need to rotate each plate so they interlock with the outer clutch basket while you line up the spline on the inside of the clutch hub. Be patient, this will be fiddly and may take a moment or two.
11 TIGHTEN NUT
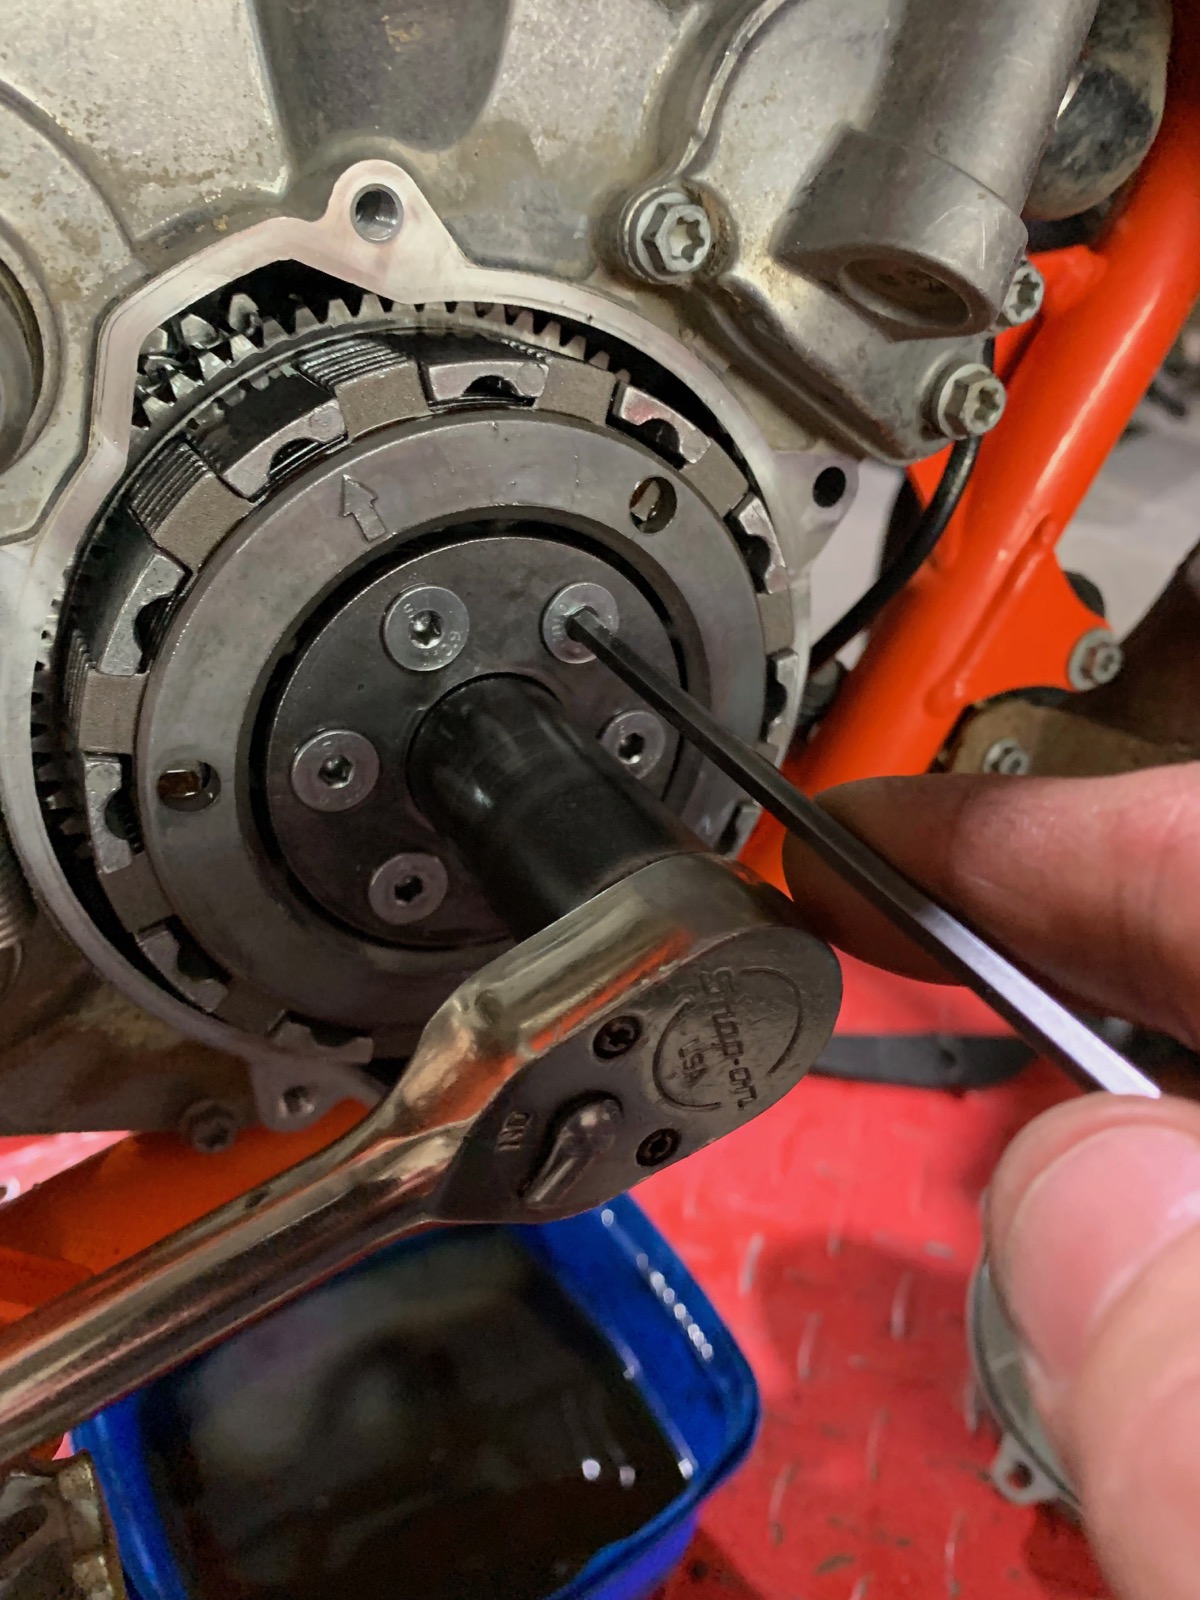
Now tighten the inner clutch nut, but be sure to put Loctite on the thread before installing. Then, once again, hold the inner clutch nut with a socket while you tighten the pressure plate bolts.
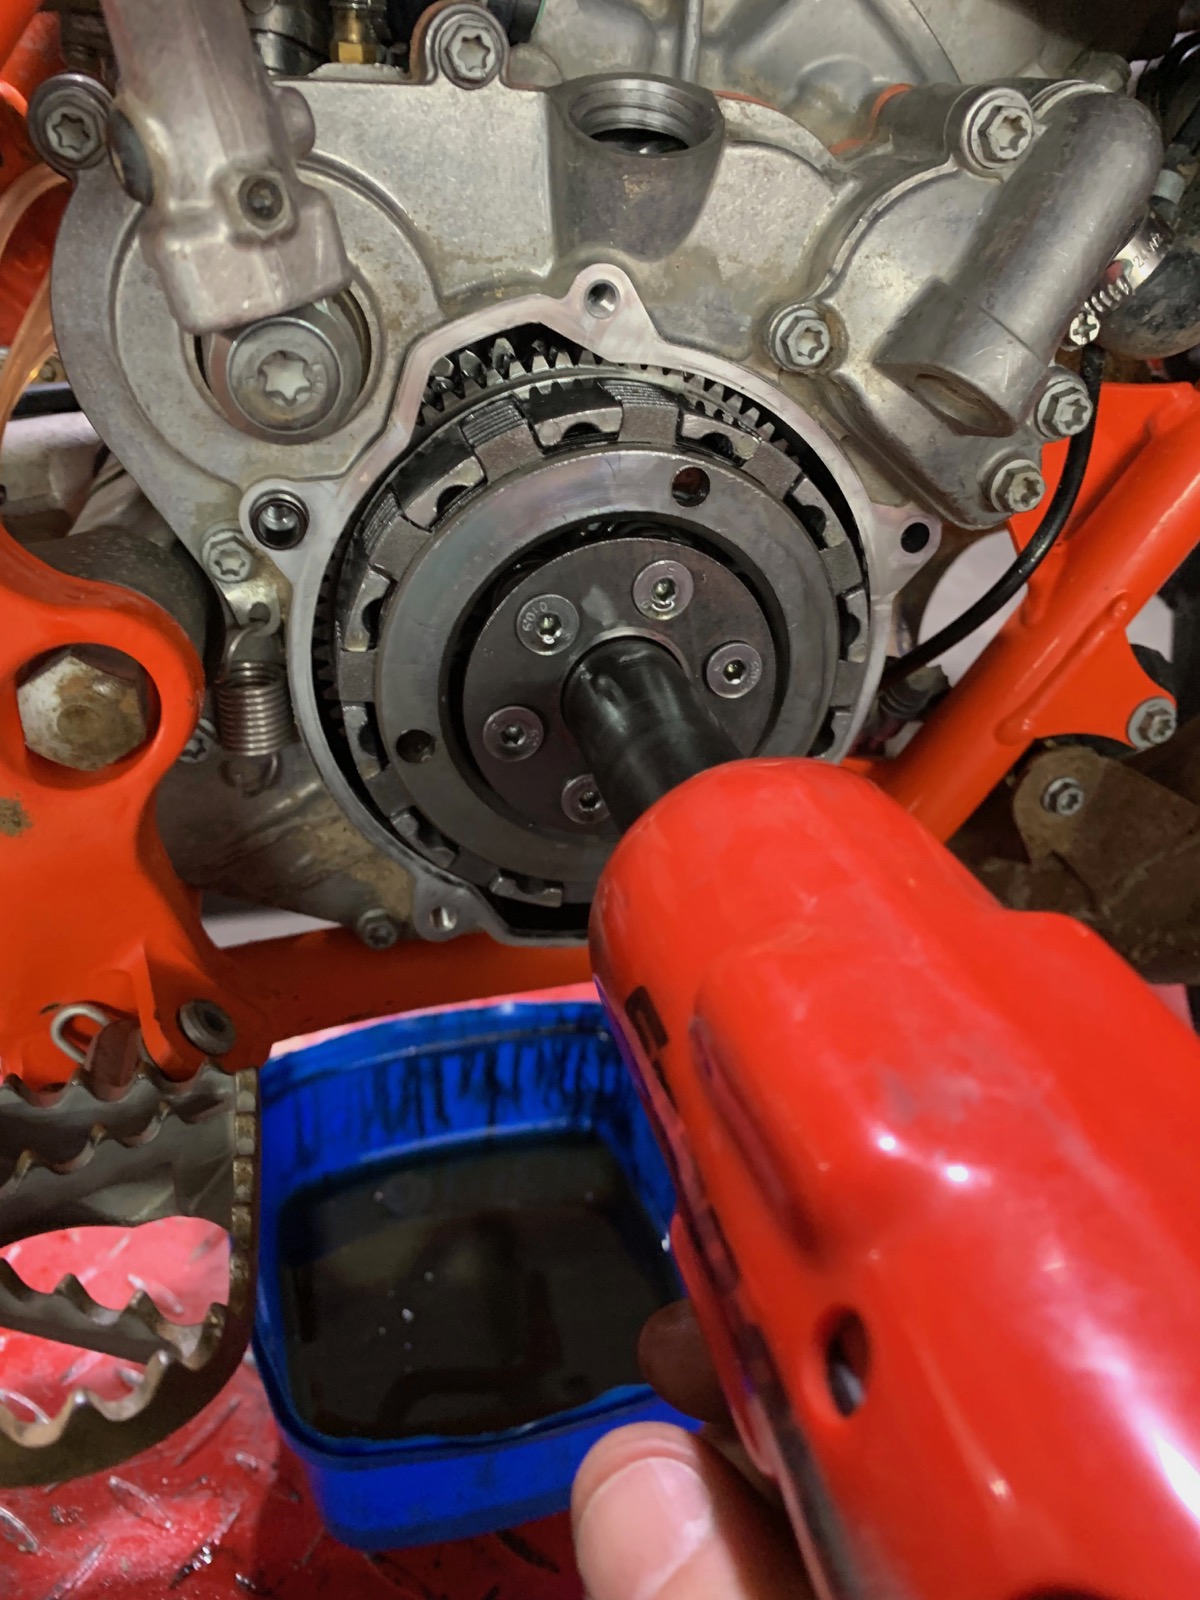
12 BOSS BACK
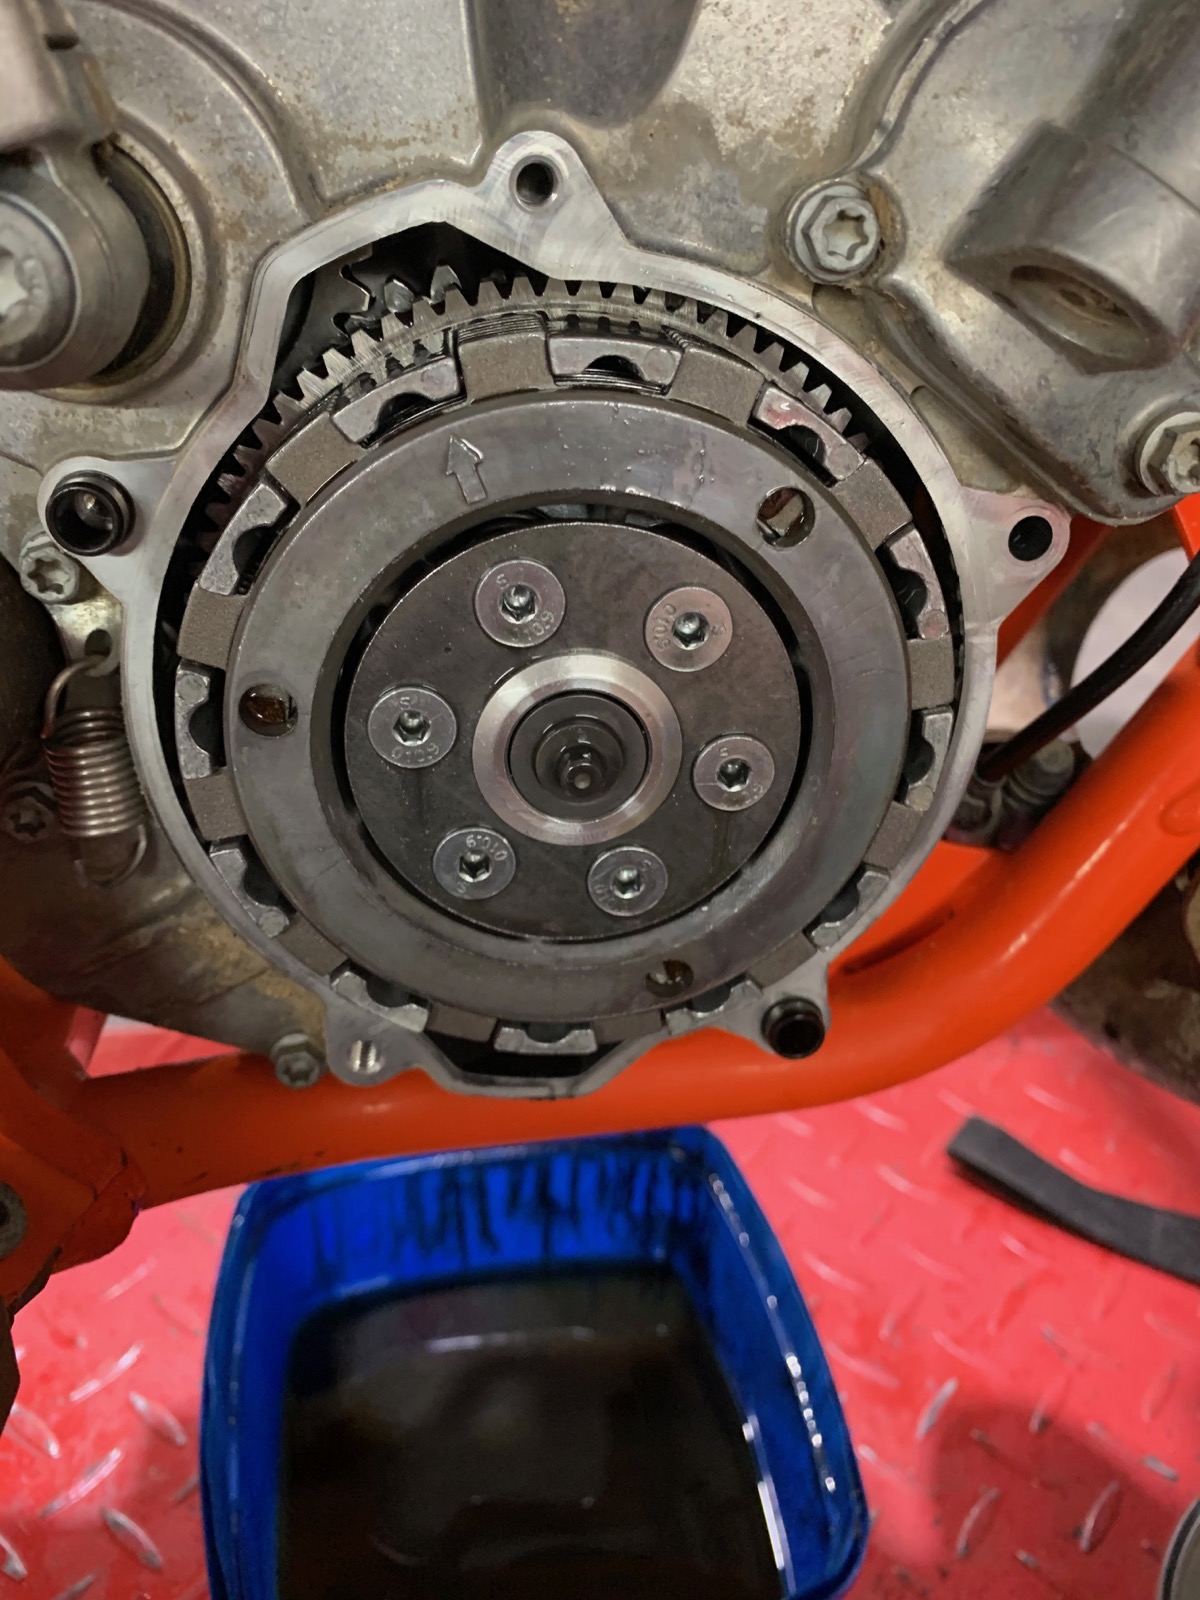
Reinstall the clutch actuator boss, then bolt the clutch cover back on and reinstall the slave cylinder.
13 FRESH OIL
Refit the sump plug and fill the gearbox with fresh oil. Make sure to use the 8mm oil-level check bolt on the left-hand side of the engine to get the level correct. Clean up any excess oil and then give the new clutch a work out. Technical Editor Mat Boyd
WHAT’S SO DIFFERENT?
The KTM 65 SX and TC65 clutch is unique because it works in reverse to a conventional multiplate design. The KTM 65 outer clutch hub is fixed to the gearbox input shaft and the pressure plate is on the inside, between the inner hub and the clutch basket. When the clutch is activated, the outer hub stays still but the pressure plate moves to release the force on the clutch stack so the plates can slip.
In a conventional design, the clutch hub is also fixed directly to the gearbox input shaft but the pressure plate is located on the outside, closest to the clutch cover, instead of in the centre of the clutch assembly as on the KTM 65 SX. When the clutch is actuated on a conventional clutch, the pressure plate is either pushed or pulled outwards towards the cover, not pushed inwards like the 65cc Austrian’s system.
This all means that to replace the clutch plates and springs on the KTM 65 clutch the centre hub needs to be removed while on a conventional clutch you only need to remove the pressure plate on the outside of the clutch pack, making it a much quicker and easier job.
TIPS
DO’S
1 Use a new gasket on the clutch cover.
2 Use a new gasket on the
clutch slave cylinder.
3 Use Loctite on the centre clutch bolt.
DON’TS
1 Over-tighten the clutch bolts.
2 Reuse any worn or damaged parts.
3 Force any parts into place, everything should slip together easily.
BEWARE
Make sure you test the clutch yourself for correct operation before you put your kid on the bike and send them straight out onto the track.