Alright, so you’ve spent a bit time of your new E-MTB and you’re ready to tackle a few more sizeable and technical features. You’ve mastered the smaller stuff and now you’re ready to shred whatever the trail throws at you right? Well to that I say, kind of. There is still a lot to perfect when it comes to E-MTB riding and once you start bigger risks, you want to make sure you can pull it off if someone goes wrong cause bigger droops and jumps comes more risk and the possibility of getting hurt.
So, let’s conclude this three part mini-tutorial series with three more things that you may face out on the trail. Remember, take your time and work up to the bigger stuff and if you are fortunate enough to have a trail that has many of these kinds of features, work up through the different size obstacles. Get your confidence up before you decide to get hardcore with it all.
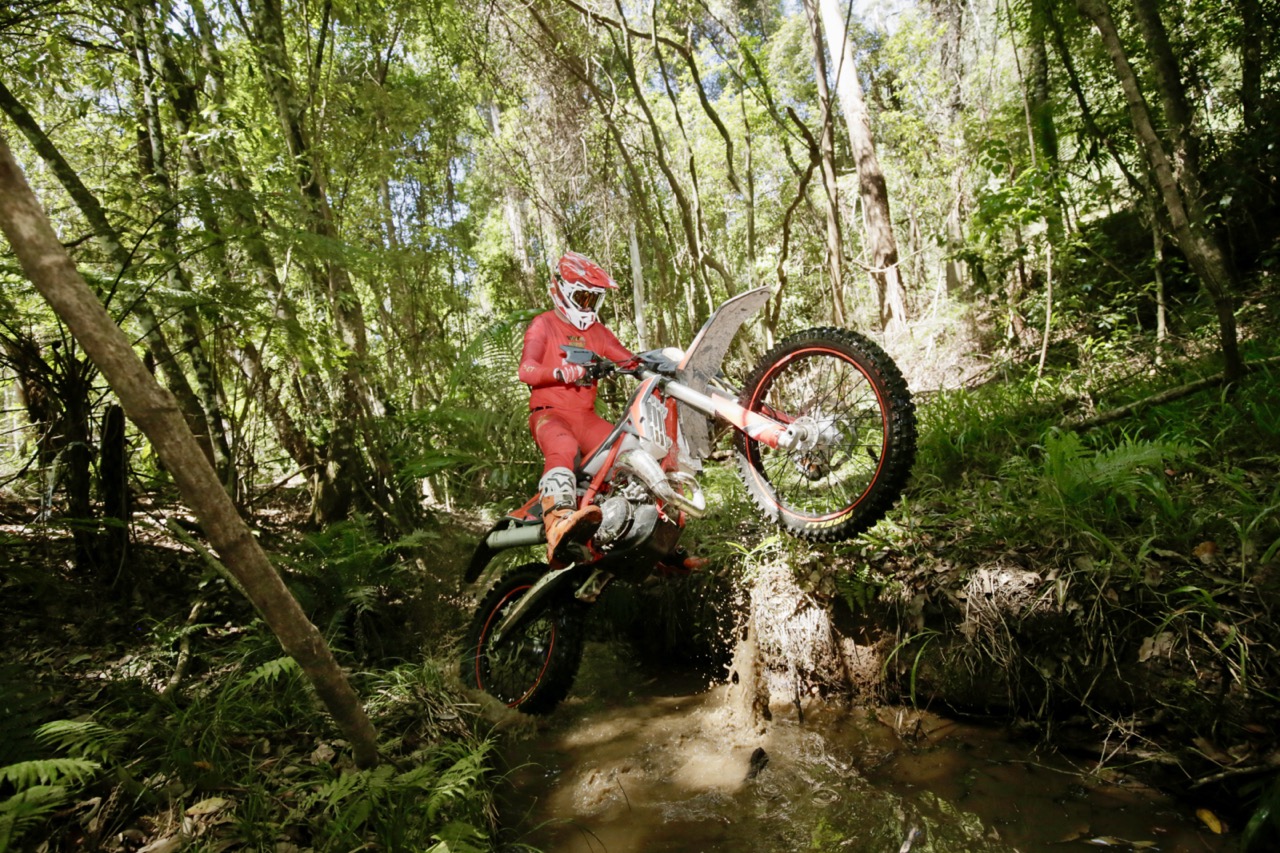
BIG DROPS:
Drops are things that will more often sneak up on you out of the blue. They usually will be more so on a blue level loop and definitely on a black loop, so just make sure you’re ready. Keep your head up and look ahead making sure you’re ready for the drop, remember to have level pedals and body positioning over the centre of the bike. It’s very similar to that of dropping off a ledge or logs on a moto but rather than having the throttle to get your front end up, the E-MTB requires momentum before the drop so can then loft the front wheel slightly. This will ensure the bike flies front end high off the drop and reduces the risk of tagging a pedal or snagging the bottom bracket and sending you to ENDOnesia.
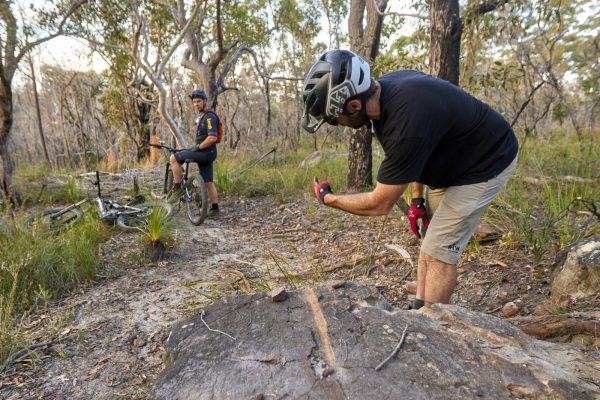
If you are concerned about where to go off the drop and where the safest place to ride off is, pull up before the drop, scope it out and then grab a rock, sandstone works the best, and draw a line on the rock as a guide of where to ride off. This way you know exactly where to go and therefore, eliminate a little more risk factor. Just make sure that you have your speed and balance dialled before you get to the drop!

RIDING UP AND DOWN TRAIL BRIDGES
Sometimes, you’ll come across a bridge or ‘north shore’ section on a trail whether it’s a bridge across a creek or a down from a big rock or more extreme, a skinny bridge that goes up into the trees and then drops off the end. These are really cool features that add that little bit of extra flavour to your ride. They can also cause a bit of a tricky situation depending on when they’re at and how they’re built.

Sometimes they’re built by people who most certainly are not carpenters, and the construction method is a little out there. If they’re wet, oh baby they can be lethal! Have you ever tucked the front on a slippery bridge on the moto? It’s not a nice feeling and if you hit the deck on an MTB, it hurts a lot.
My advice for tackling a downhill bridge or north shore section is much like the rest of the bigger stuff. Be patient with it and work up to it. First of all, scope it out and see what the bridge is actually doing for the trail.
Is it rollable? If so and you do roll it, will your frame hit in any way? What’s the angle that you’re hitting the bridge at because you want to be 90 degrees every time. You can also use the same approach with the large drop and grab a rock and draw where to go if you’d like as a reference.
Remember that you probably won’t be able to pedal on the bridge so gaining momentum before it and level pedals again is key to getting across or down it with success. Don’t go crazy with your brakes on the bridges either, locking up the wheels is a good way to get yourself off-balance and ride off it incorrectly. Nice, smooth braking trying to ensure the wheels don’t lock up but more roll-on like ABS in a car.

PEDALING UP STEEP, SWITCHBACK HILLS
Yep, hills seem like an afterthought on your EMTB but even with the pedal assist and even in boost mode, you will still encounter sections that are tricky to manoeuvre and easy for you to stall out on. The most common thing as far as crashing goes that I’ve seen with E-MTB riders is when a rider comes across a tight, switchback section and the power of the motor causes the bike to ‘lunge’ under load and that then offsets the riders balance, and they have to stop or they simply fall over.
I even witnessed my brother looping his E-MTB out around a tight corner when he shifted down a few gears and then went to put a big crank in. The bike just took off in turbo mode and he looped out and, not going to lie, (once I knew he was ok) I laughed out loud. Much like using the clutch on your dirt bike to control the revs through tight sections, you can do the same thing on an E-MTB by using the rear brake.
Having a finger on the rear brake while climbing, is a great little habit to get into, as it allows you to modulate the power being put out by the motor. If you do change down the gears as you should for a hill, then your pedal strokes will become easier and therefore you should be able to pedal up easier. However, with a steeper trail and lighter gearing combined with having your dropper post up whenever you climb also means that there is a good chance that the front end gets light. So, make sure that you are sitting more forward on the bike while pedalling, finger dragging the brake ever so slightly and with nice, smooth pedal strokes, work your way up the trail. You want to feel the bike engage with every pedal stroke.
It becomes very tricky if you have a climb with loose rocks or rock ledges thrown in the mix. This is where you need to take the skills from your moto and pick your lines on the E-MTB extra carefully. Number one is look up as you can’t pick a line if you’re staring at the front wheel.
Keep up those pedal strokes smooth and feel the rear tyre grabbing the ground rather making it spin. This is crucial for getting through the nasty stuff, momentum is your friend, but you have to try and have it built up before the hill starts. Continuous pedal strokes are what is going to get you to the top.

FINAL THOUGHT
There’s no doubt that riding your E-MTB will translate skills over to your moto and vice versa. I find that if I have to spend a bunch of time riding my E-MTB, I get on the moto and I feel like I’m lighter on my feet and I let the bike move around a little more. I also find that I ride more alert on the moto after riding my E-MTB a lot due to having to be so precise on the pushy.
It’s really important to know within yourself the limits of where your E-MTB will take you. I can’t stress enough that when you are learning and tackling these different kinds of obstacles to never do it alone and if you have the opportunity to follow someone through a section and speed gauge them, do that! Most importantly, go and have fun. That’s why we ride bikes!

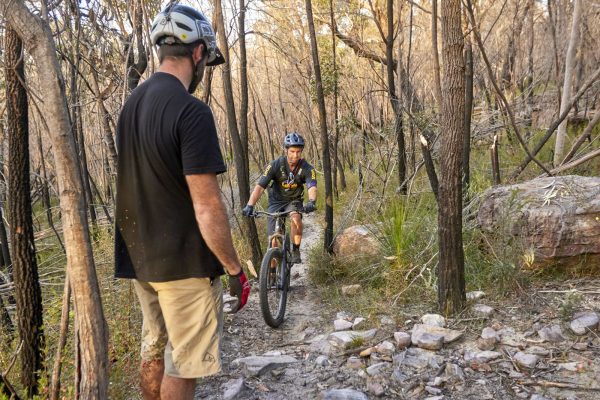
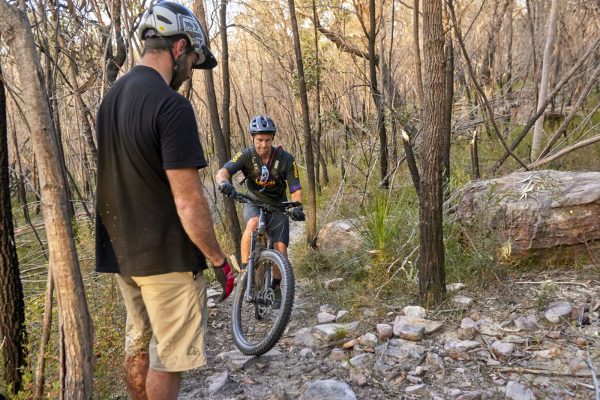
WORDS GEOFF BRAICO
PHOTOS JOSH EVANS