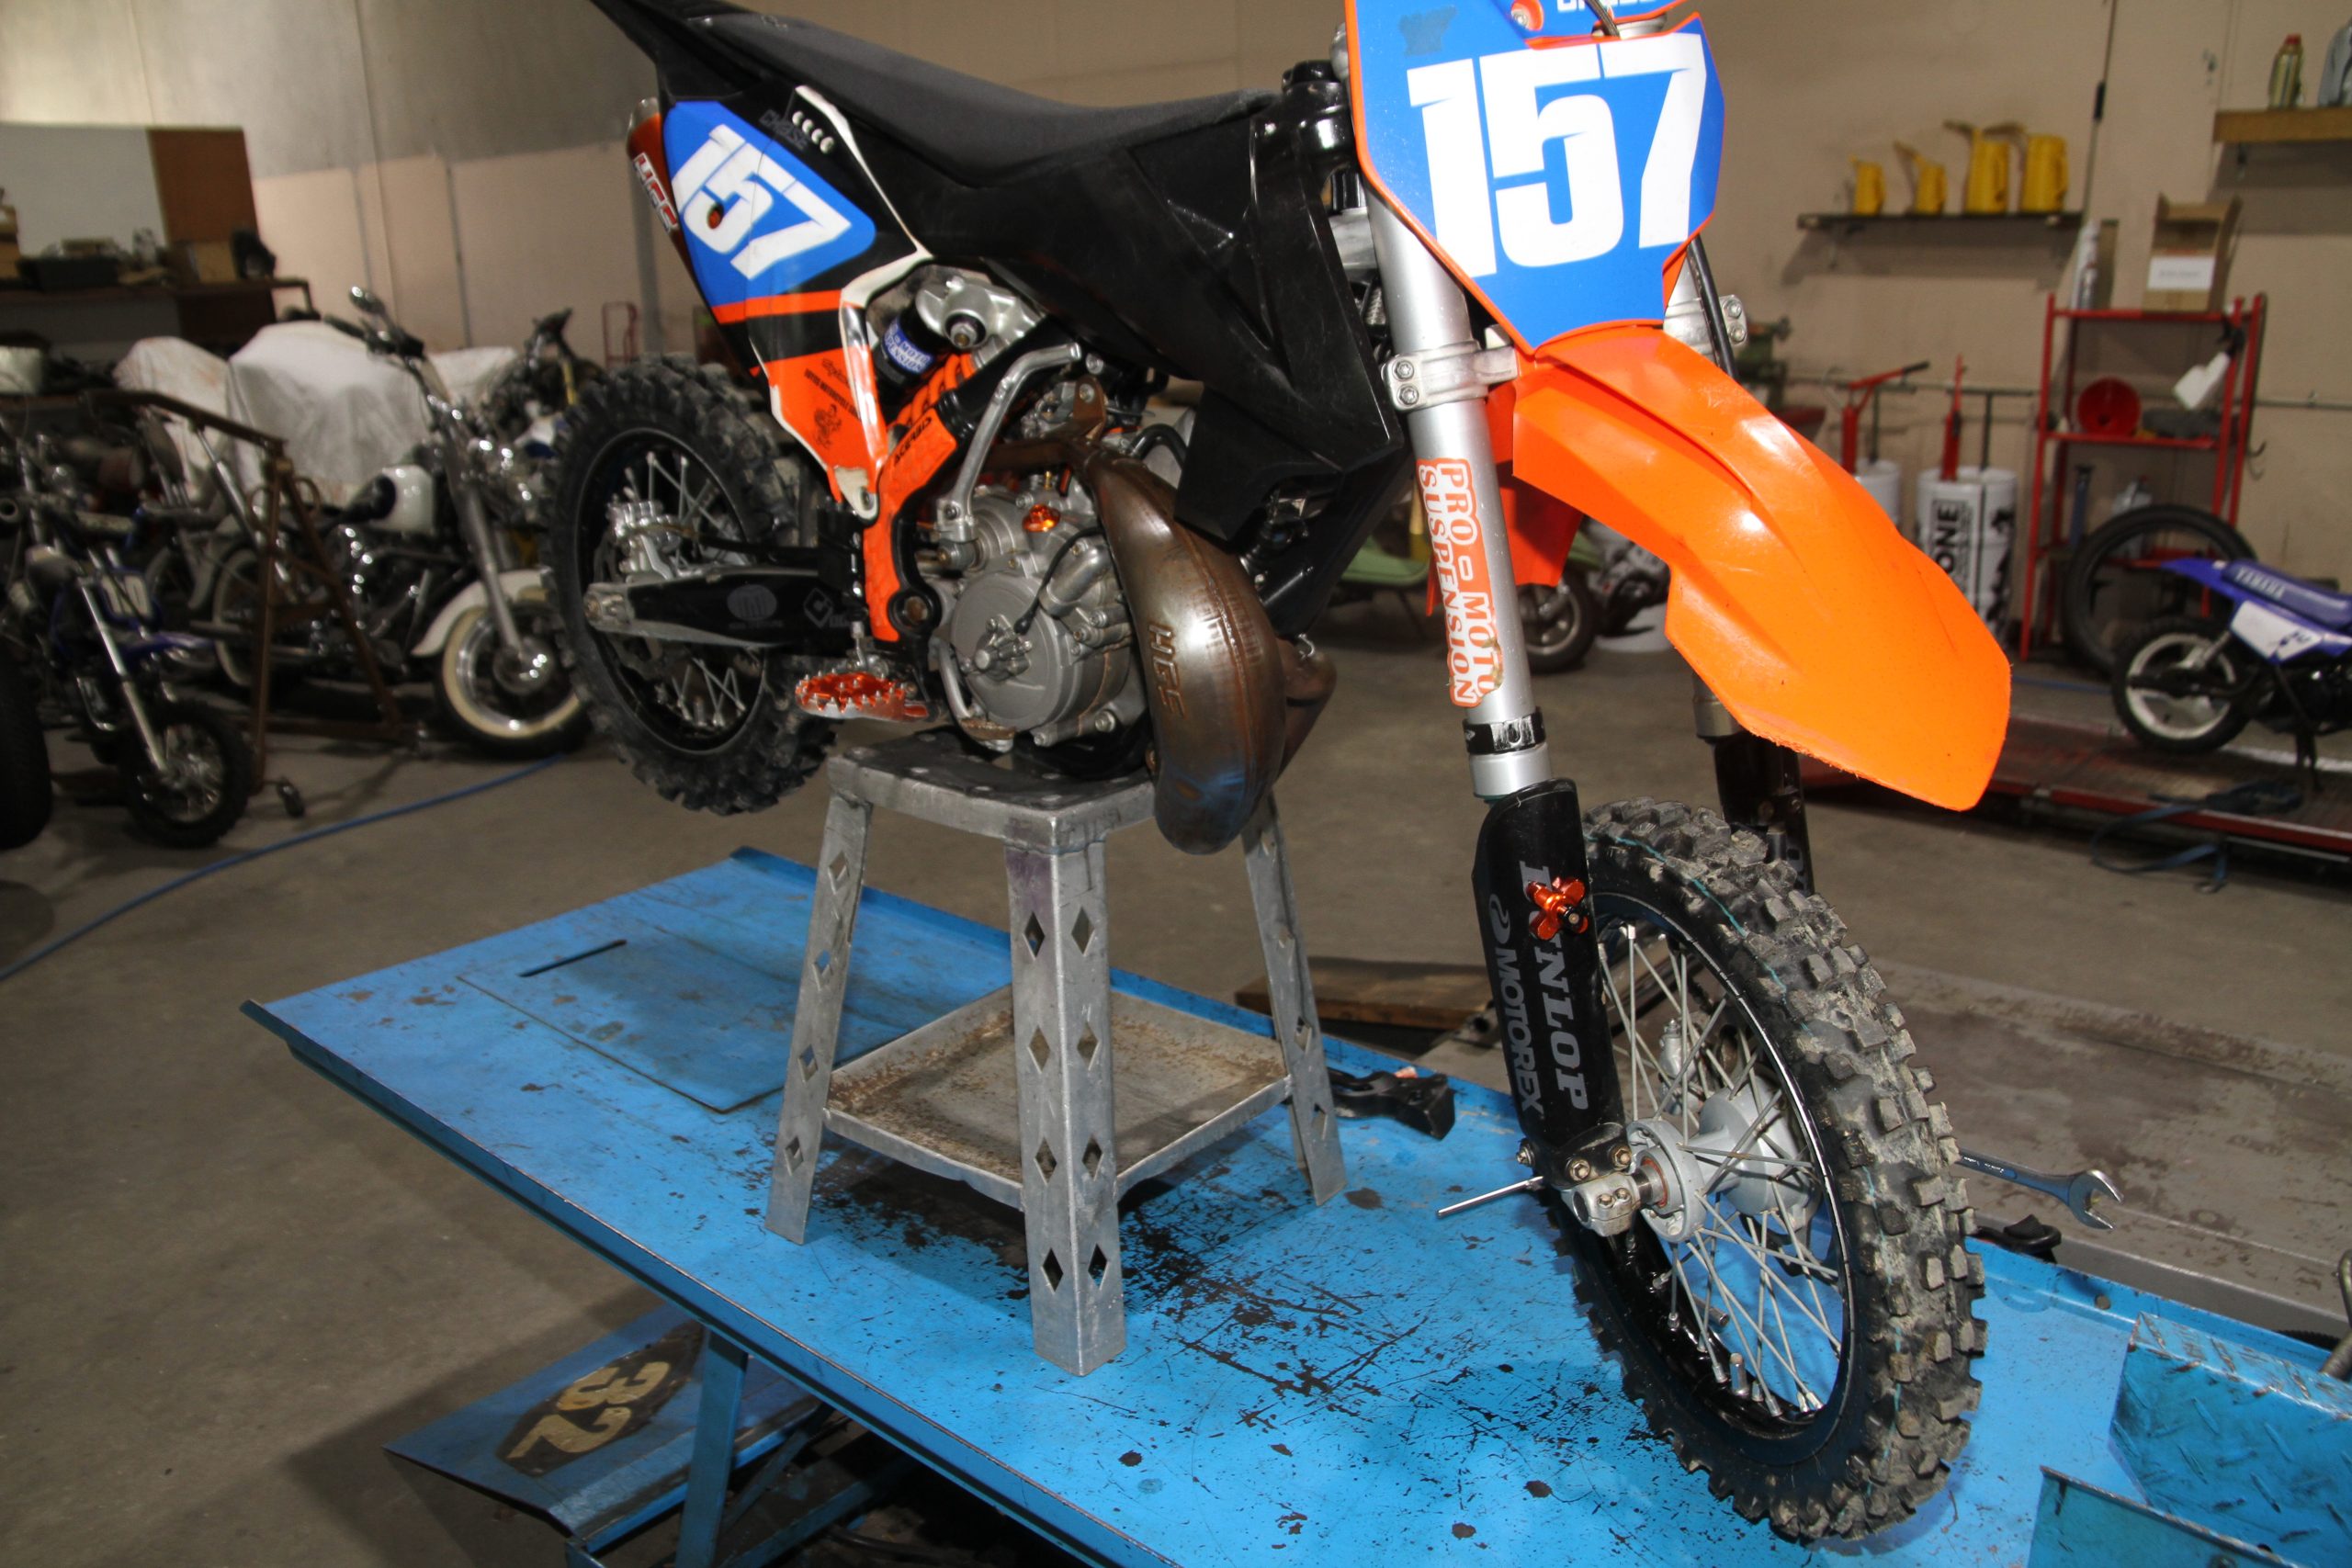
While this might be a quick and simple task for many, to some it is still up there as a great mystery. Removing a two-stroke flywheel at some point whether it be to replace a stator or crank seal or to just clean up the flywheel. You will need a flywheel puller that specifically fits your model of motorcycle as different models can have different size and pitch threads in the flywheel. These are available through bike shops or online stores either as a genuine part of through Motion Pro, MCS or Bike Service. Get your hands on a flywheel puller and then let’s get onto remove a two-stroke flywheel.
#1 UNCOVER
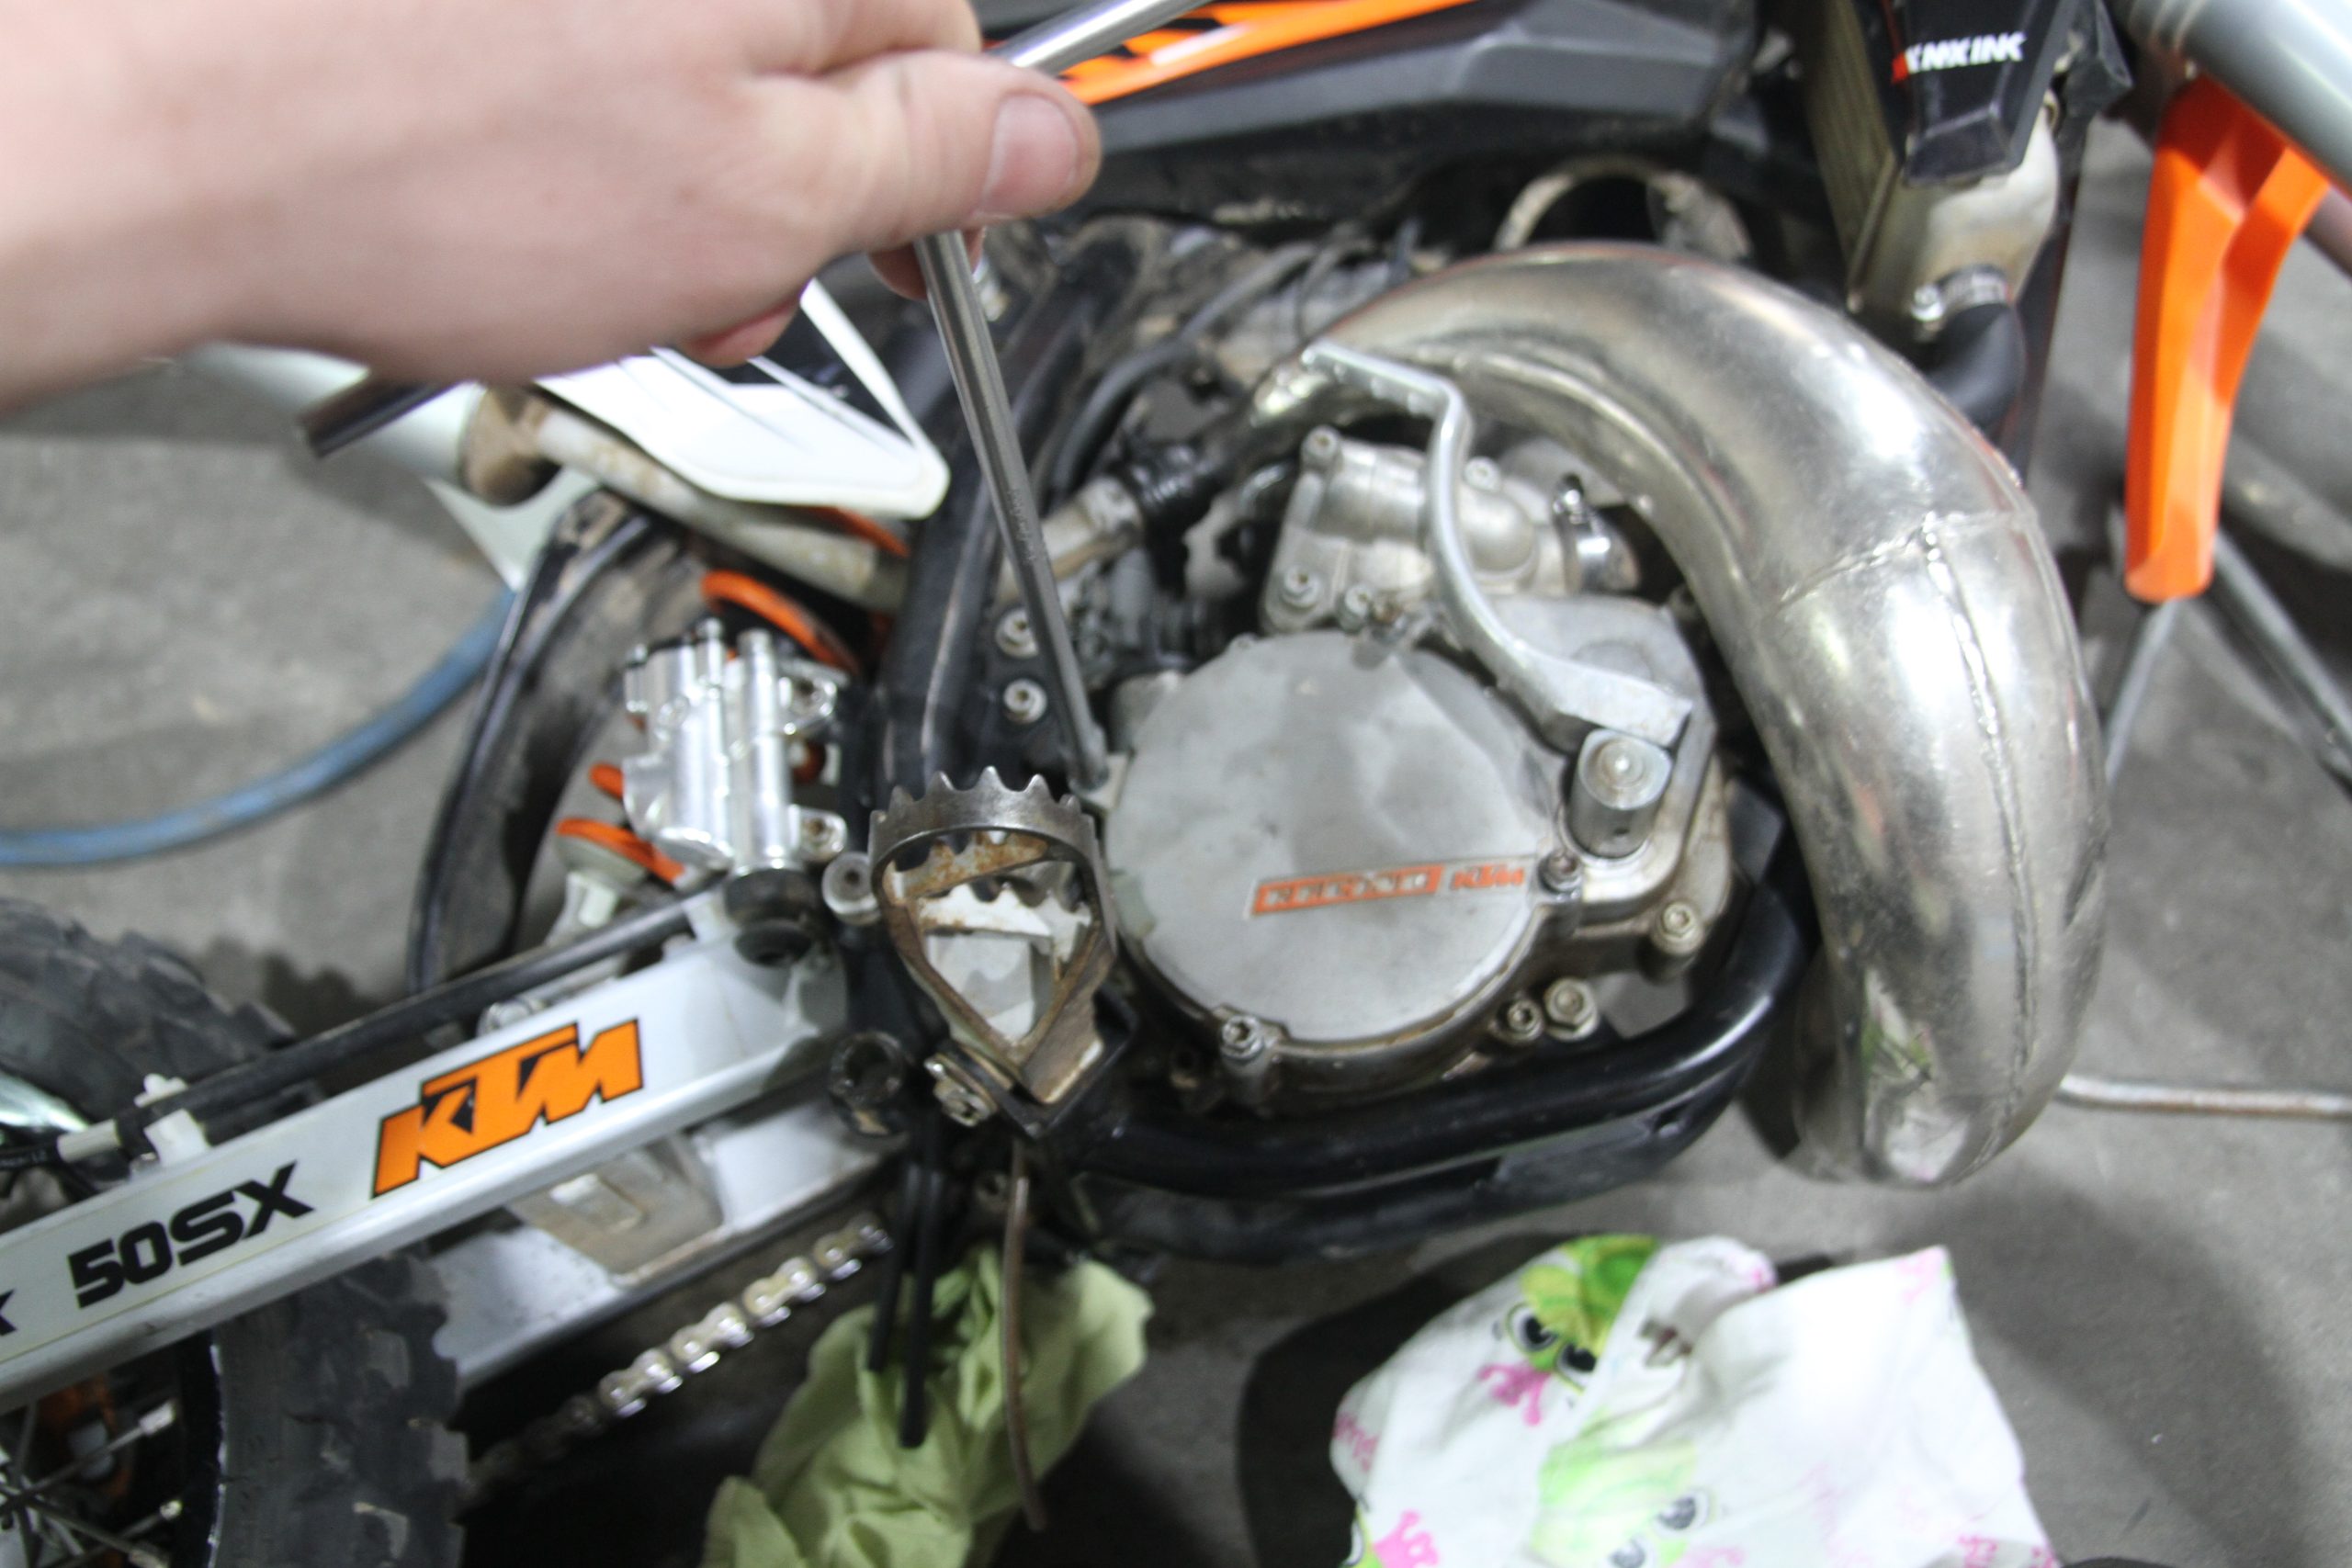
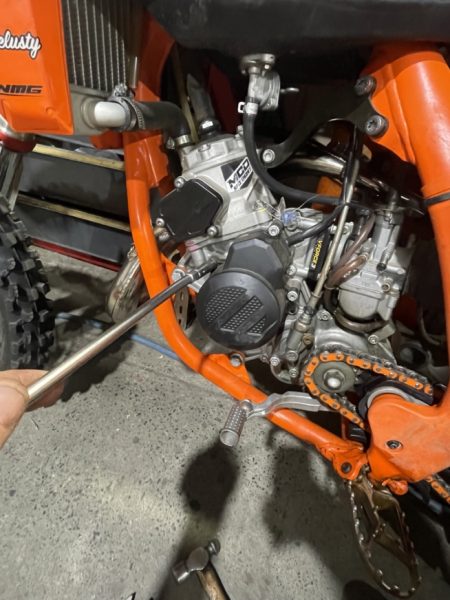
Set the bike up so you have plenty of room and access to the flywheel side of the engine and then begin removing a two-stroke flywheel cover. These covers are generally plastic but can also be alloy on two-strokes and held in place by several bolts.
#2 NUTS AWAY
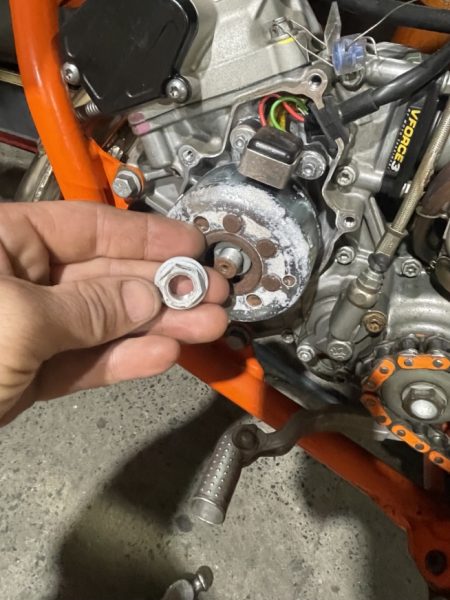
Once you have removed the flywheel cover you will need to remove the nut securing the flywheel in place. If you have a rattle gun then you can use it to remove the nut. If you do not then place the engine in gear and have someone sit on the bike while holding the brakes on and you can remove the nut with a ratchet and socket. Many bikes also have a washer behind the flywheel nut which you will also need to remove before threading in the flywheel puller.
#3 PULLER IN PLACE
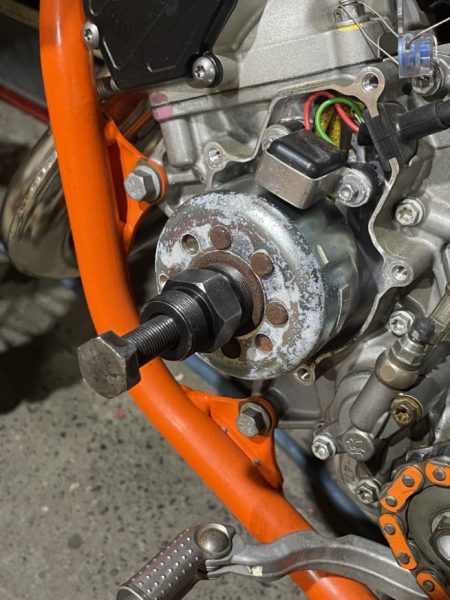
Thread the flywheel puller into place. The flywheel puller threads into the internal thread around the outside of the recess where the flywheel nut sits. This is a left handed thread so be sure to thread the puller in the right direction. If this thread is dirty or tight then spray the thread with some lubrication as you will need to thread the puller in as far as you can. If the puller is to shallow in the threads then it will pull straight out and potentially damage the puller and/or flywheel.
#4 BREAKING FREE
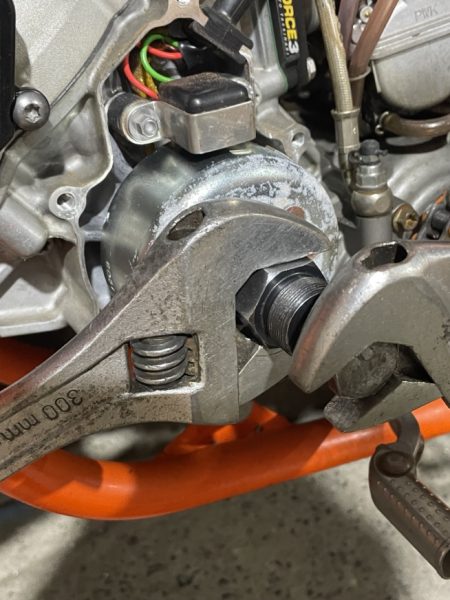
Now take two spanners and tighten the internal bolt in the centre of the puller. You will need to hold the base of the puller with one spanner while you tighten the centre bolt with the other. This centre bolt will apply pressure to the crank shaft to break free the flywheel from the taper on the crankshaft. Usually once you have begun tighten the puller you will hear a crack and the flywheel will come free. However some flywheels are stubborn and require you to tighten up the puller and then give the centre puller bolt a few taps with a hammer to jolt the flywheel free.
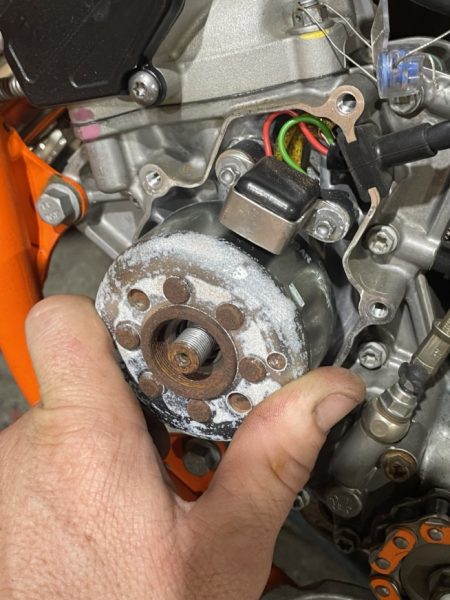
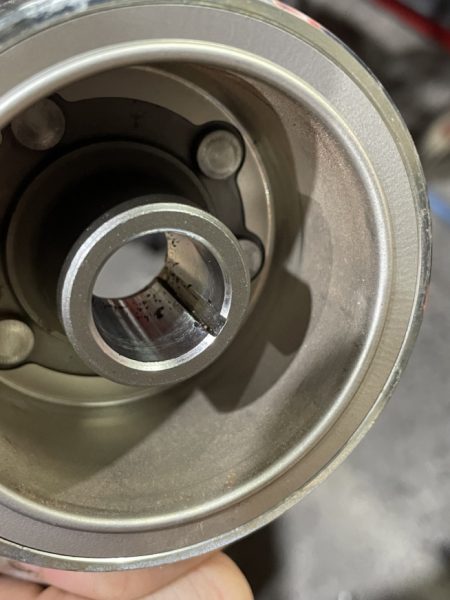
#5 INSPECT TAPER
Once the flywheel is free inspect the taper on the inside of the flywheel and the taper on the crankshaft. These two tapers need to be clean and undamaged before the flywheel can be refitted. Also check the keyway in the crankshaft. This should fit into the crankshaft nice and snug but not have any burred or damaged edges that will stop the flywheel from slipping snuggly into place.
#6 RE-ASSEMBLY
When it comes to refitting the flywheel, line up the key way and slide the flywheel into position. To make sure you have it seated correctly try to turn it back and forth and it should be sitting firmly in place. Then take you flywheel washer and nut and torque them back into place with a small amount of Loctite on the thread and then refit the flywheel cover.